Table of Contents
The following guide provides a clear overview of Figure, with the most relevant background, details, and practical takeaways.
Figure Overview
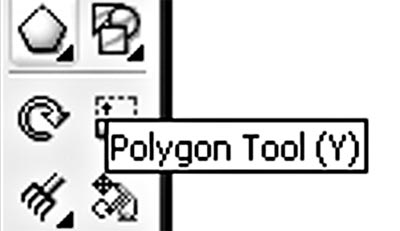 Figure 1
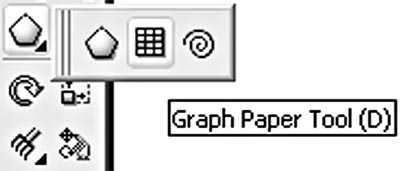 Figure 2
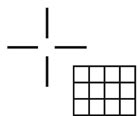 Figure 3
- Select the Graph Paper Tool, you can press the shortcut (D key) on the keyboard to select this tool. At this point the mouse pointer becomes the symbol as shown in Figure 3.
- Bar properties of the Graph Paper Tool together with the properties bar of the Sprial Tool. In the properties bar, enter the line number and column number in the Graph Paper Columns and Rows box. Optional values in the Graph Paper Columns and Rows box allow 1 to 99 (Figure 4).
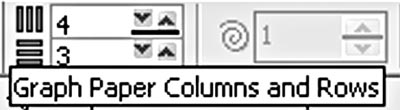 Figure 4
Colouration: - Just like drawing rectangles or circles. Click and drag the mouse diagonally to create a grid (Figure 5). - To create a grid with squares we set equal number of rows and columns in the Graph Paper Columns and Rows box and hold down Ctrl while dragging the mouse (Figure 6).
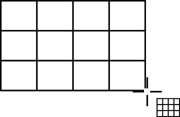 Figure 5
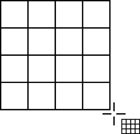 Figure 6
- After being created, the Graph Paper object cannot edit its properties, must set its properties before creating. - To manipulate on each small square (or rectangle) we can separate small squares by using commands. - Select Object - Ungroup (or press Ctrl + U to execute the Ungroup command) (Figure 7).
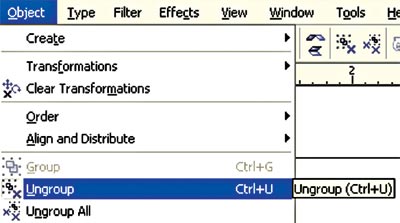 Figure 7
Then edit each square (or rectangle) as objects created with the Retangle Tool. Lam Khe
FAQ
What is the main topic of Coreldraw - Lesson 7: Charting Tool: Figure?
The following guide provides a clear overview of Figure, with the most relevant background, details, and practical takeaways.
Why is Figure important?
Figure Overview Figure 1 Figure 2 Figure 3 - Select the Graph Paper Tool, you can press the shortcut (D key) on the keyboard to select this tool.
What should readers remember about Figure?
At this point the mouse pointer becomes the symbol as shown in Figure 3. - Bar properties of the Graph Paper Tool together with the properties bar of the Sprial Tool.
Related Articles
 Getting Familiar with the Pick Tool in CorelDraw5 minutes read
 Technique Using the Pick Tool and the Transformations8 minutes read
 Coreldraw 12 - Lesson 8: Spiral Drawing Tool3 minutes read
 Get Familiar with Coreldraw 12 - Lesson 1: Set up the Drawing Page4 minutes read
 Coreldraw - Lesson 9: Road Drawing Tools4 minutes read
 Coreldraw - Lesson 9: Road Drawing Tools (Continued)4 minutes read
Reader Comments 0
Sign in with email or Google to join the discussion.