Table of Contents
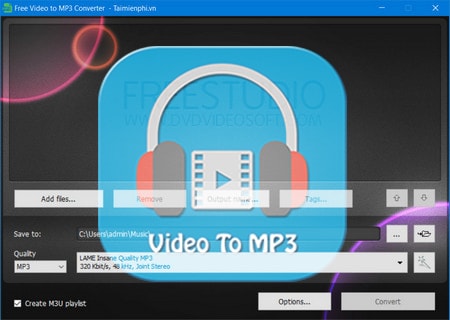
DVDVideoSoft Free Video to MP3 Converter extracts audio from video files stored on a Windows PC. It can process several local videos in one queue and currently offers MP3, WMA, and WAV output. Use MP3 for convenient playback and smaller files; use WAV when an editor or production workflow needs uncompressed PCM audio.
Only convert recordings you own or have permission to use. This guide covers local video files, not bypassing a streaming site's download or copy controls.
Download and prepare the converter
- Download the program from the official DVDVideoSoft Free Video to MP3 Converter page.
- Read each installer screen and decline unrelated optional software if an offer appears.
- Keep a backup of important source videos. Do not enable any option that deletes input files until you have verified the audio output.
The screenshots below show an older release, so buttons and available presets may look different in the current version.
Add one or more videos
- Open Free Video to MP3 Converter and click Add files. You can also drag supported video files into the window.
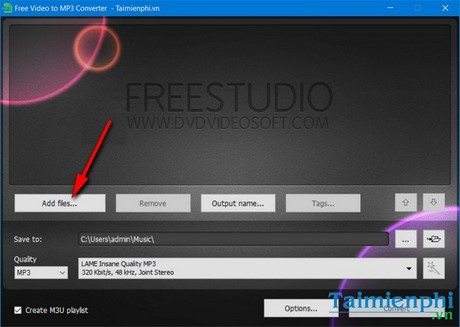
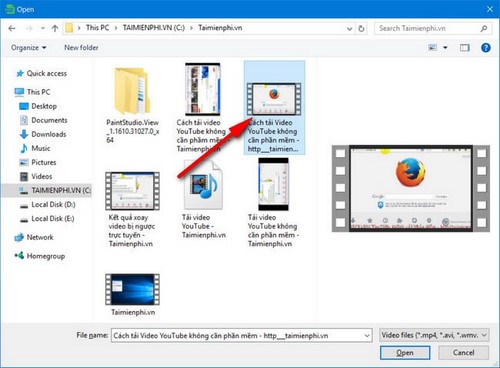
- Select one or more videos and click Open. Batch processing is useful when every file needs the same output format and quality.
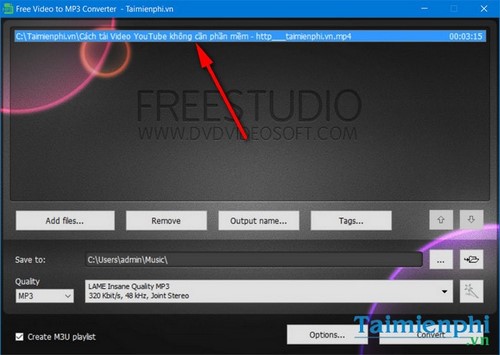
- Review the queue. Remove any file that should not be processed.
Choose MP3 or WAV output
Open the output-format or quality menu.
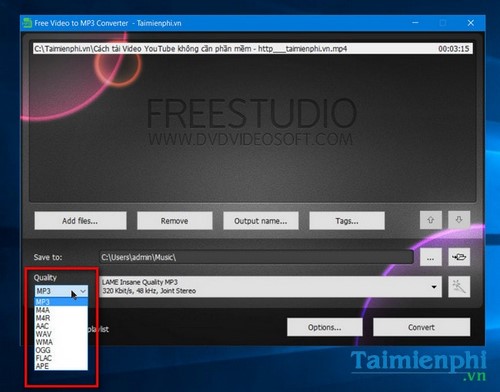
- MP3: broadly compatible and much smaller than uncompressed audio. Start with the default or source-aware quality and make a short test.
- WAV: useful for editing and tools that require PCM audio. It creates a much larger file.
- WMA: choose it only when a device or existing Windows workflow specifically requires WMA.
The old interface may display additional profiles, but the developer's current product page specifically advertises MP3, WMA, and WAV output. Do not assume every format shown in an older screenshot remains available.
WAV is “lossless” as an output encoding, but conversion cannot restore detail already removed from AAC, MP3, or another lossy soundtrack inside the video. It only prevents another lossy stage after decoding.
Select the output folder
- Click the folder or browse control beside the destination path.
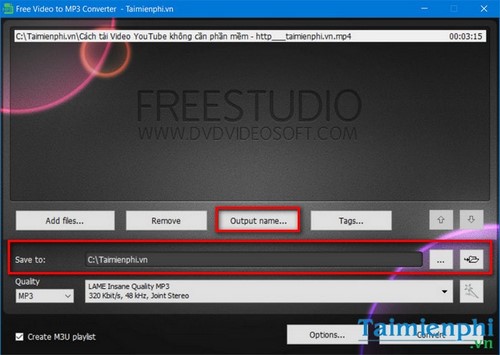
- Create a separate output folder, especially for a batch. This keeps audio results apart from the source videos and makes them easier to review.
Review Options before converting
Open Options and review every setting rather than accepting an old tutorial's choices.
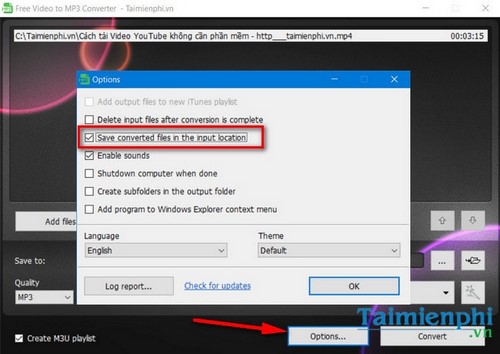
- Delete input files: leave this disabled. Automatic deletion is risky and provides no conversion benefit.
- Save output beside input: convenient for one file, but a dedicated output folder is clearer for batches.
- Play sounds when complete: optional.
- Shut down when finished: use only after testing that the queue, format, and destination are correct.
- Create subfolders: helpful for keeping batches organized.
- Add to the Explorer context menu: optional; enable it only if you want right-click integration.
Choose output filenames
The output-name section can add a prefix, suffix, or separators to generated filenames.
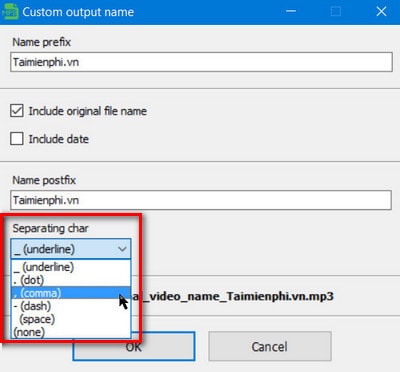
Use names that preserve the source order and identity. Before running a large batch, convert two files and confirm that the naming rule does not create duplicates or overwrite an earlier result.
Convert and open the result
- Review the queue, output format, quality, filename rule, and destination.
- Click Convert.
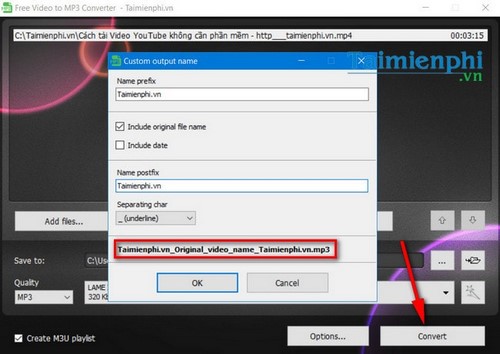
- Wait for all files to finish. Encoding time depends on duration, source codec, output format, and computer performance.
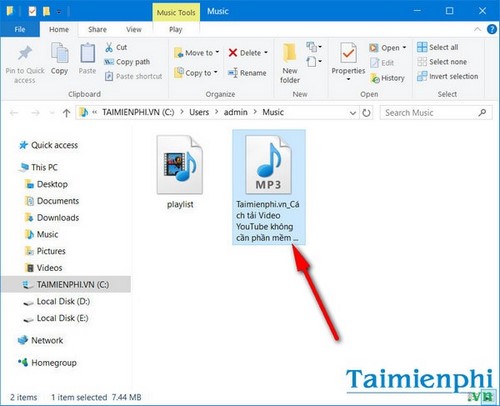
- At completion, close the status window or choose the folder button.
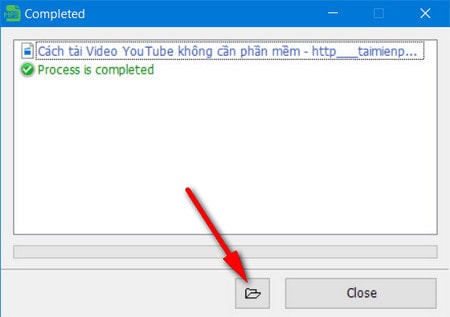
- Open the destination folder and test the files.
Verify the audio before removing anything
- Compare each output duration with its source video.
- Listen to the beginning, middle, and end.
- Confirm that the correct language or commentary track was extracted.
- Check for clipping, silence, or missing stereo channels.
- Open the result in the device or editor where it will be used.
- Add artist, title, album, or other tags if you are building a music or podcast library.
Keep the original videos until every output has passed these checks. A successful status message confirms that encoding finished; it does not confirm that you chose the intended stream or quality.
When to use another tool
Use FFmpeg when you need exact stream selection or automation, and use VLC or Format Factory when you already have one of those applications installed. Our guide to local MP4-to-MP3 conversion compares those workflows. You can also review other video-to-MP3 converters or follow the Format Factory WAV conversion guide.
Related Articles
 How to Convert Video to Mp3 Using Free Video to MP3 WMA Converter8 minutes read
 6 Tools to Convert Audio to Video Online7 minutes read
 How to Convert Audio Formats with Online Audio Converter6 minutes read
 Convert Audio to WMA Using Total Video Converter3 minutes read
 How to Use Media Converter to Convert Video and Audio3 minutes read
 How to Split Video Audio on Video Converter5 minutes read
Reader Comments 0
Sign in with email or Google to join the discussion.