4 ways to recover files from Recycle Bin in Windows 10
You can delete everything; old emails, text messages, apps, etc. Certain files can also be deleted from your PC because they are no longer needed or take up too much space.
You may even have accidentally deleted an important folder and wish you could undo it. Thankfully, Windows temporarily stores deleted files and folders in the Recycle Bin so they can be restored or permanently deleted.
In this article, you will learn about some lesser known but equally effective ways to recover files from Recycle Bin in Windows 10.
4 ways to recover files from Recycle Bin in Windows 10
Some methods of recovering files from the Recycle Bin are not well known. However, they are not only easy to implement, but can also be a "lifesaver" if you accidentally put a file in the Recycle Bin and want to bring it back to its original location.
Method 1: Recover deleted files with Recycle Bin Tools
The Recycle Bin Tools tab is a hidden gem that can help you manage deleted files. Although the name sounds a bit abstract, this tool can help you recover your files and folders from the Recycle Bin.
Step 1. Open the Recycle Bin and find the file or folder you want to restore. You can also select multiple files or folders.
Step 2. Go to the top of the Recycle Bin folder and click on Recycle Bin Tools in the purple 'Manage' tab.
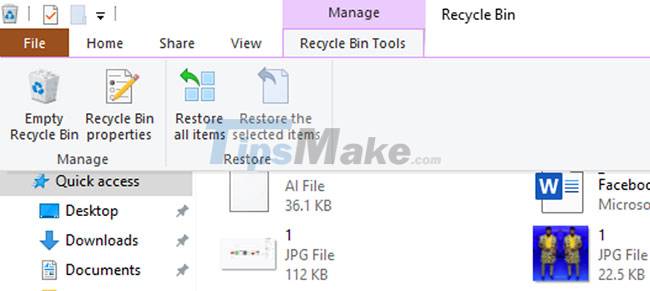
Step 3. Click Restore the selected items. This will move the selected items from the Recycle Bin to their original location on the computer.
Step 4. To restore all the files in the Recycle Bin, just click Restore all items and then all the files will appear again.
If you love this feature and want to add it to the Quick Access Toolbar, just right-click Restore the selected items or Restore all items, then click Add to Quick Access Toolbar.
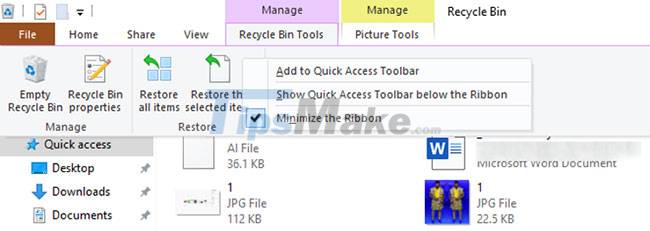
Note: When using this method, make sure you remember the original location of the files you want to recover, otherwise they may get mixed up with other files on your computer. If this happens, just press Ctrl + Z to undo the restore, then right-click and select Refresh.
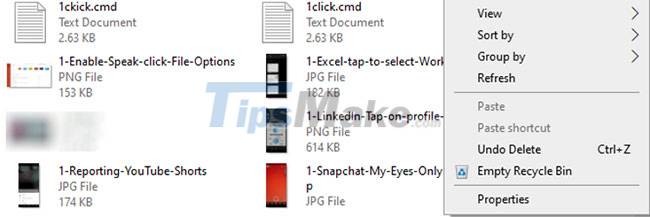
Hover your mouse pointer over the file or folder and record the original location before restoring using this method.
Method 2: Recover deleted files using Cut & Paste feature
Just like Ctrl + Z or undo, the Cut & Paste function is very popular with computer users all over the world. But have you ever thought about using this feature to recover deleted files or folders from Recycle Bin? Here's how you can do it too:
Step 1. Open the Recycle Bin and find the items you want to restore. If your Recycle Bin is full, you can search for the item using the 'Search bar' provided you know the filename or keyword in it.
Step 2. Select all the items you want to recover.
Step 3. Right-click them and choose Cut or press Ctrl + X on your keyboard.

Step 4. Go to any location or folder where you want to paste the cut items, right click and select Paste or press Ctrl + V.
This will restore the deleted item to the location you selected.
Using this collage method, you don't need to remember the original file location or worry about the recovered file getting lost somewhere. This is another easy way to recover deleted files from Recycle Bin.
Method 3: Recover deleted files with Move To function
Like Recycle Bin Tools, this is another little known method to recover deleted files from Recycle Bin in Windows 10. And like collage method, it allows you to move deleted items to any place. any location you choose.
Here's how to do it:
Step 1. Open the Recycle Bin as usual and select the items you want to restore.
Step 2. Go to the top of the Recycle Bin folder and click the Home tab. This will open a ribbon.
Step 3. Click Move to and select the destination from the drop-down menu.
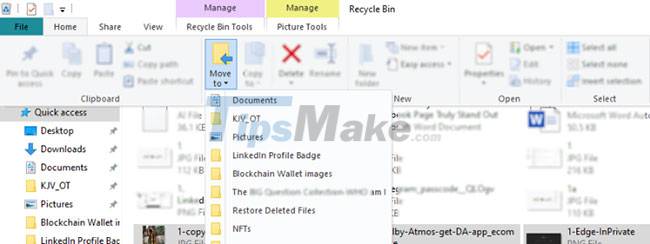
The files will be automatically restored to the location you selected.
Step 4. If you want a different location than the ones shown, just click Choose Location, then select Move, or click Make New Folder if you like.
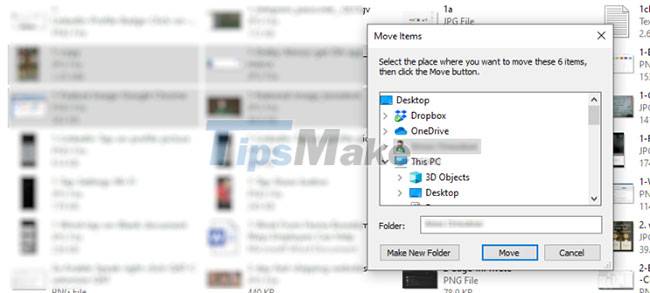
Step 5. Go to the destination folder and the recovered files will be waiting for you there.
Using the 'Move to' method allows you to move deleted files into a custom new folder. If you don't want to delete items in this folder, you can rename it 'Do Not Delete'.
Method 4: Recover deleted files by using drag and drop feature
Using the drag and drop method, you can recover deleted files to any location you choose. You can simply drag and drop files back to your desktop, but did you know that there are tons of little shortcuts you can make to get your files back as soon as possible?
Here's how to do it:
Step 1. Open the Recycle Bin and select the files you want to be restored.
Step 2. Drag and drop them to any folder or location shown in the "Quick Access" pane on the left.
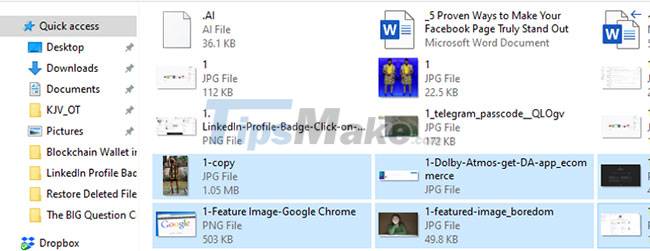
Step 3. If you can't find your preferred location in the Quick Access pane, simply click the Restore Down button in the upper-right corner, next to the "Minimize" button, to resize the Recycle Bin window.
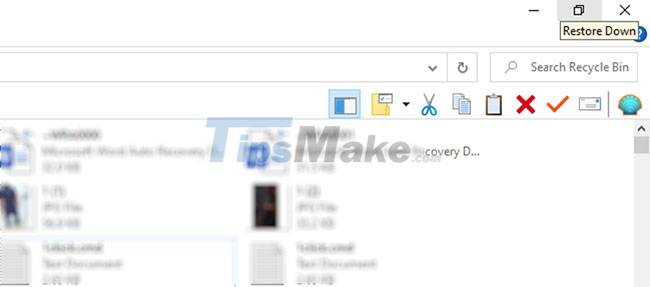
Step 4. Open the destination folder, click the Restore Down button and drag the selected files from the Recycle Bin into it.
This drag and drop method is just as effective in recovering deleted files from the Recycle Bin as the other methods described.