4 quick access to a Terminal in Linux
You really need a terminal that is always available in Linux? Here are 4 different ways to quickly access a terminal.
Keyboard shortcut
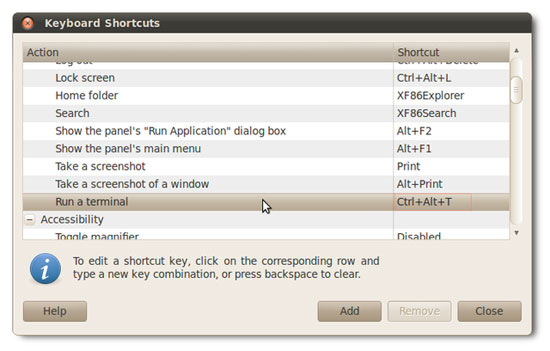
In Ubuntu and Linux Mint, although the terminal shortcut is a combination of Ctrl + Alt + T. If you want to change this shortcut to open the terminal in your own way, go to Menu > System > Preferences > Keyboard Shortcuts .
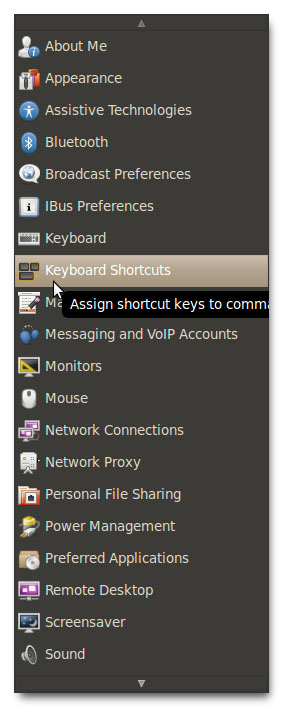
Drag down the window and find the shortcut for ' Run a Terminal '. If you want to change the settings, click Run a terminal and then set the new shortcut as desired.
Right mouse menu
If you always have to open a terminal and then browse to the place you just opened in Nautilus (the file manager program), you can change the access method with an installation package.

To install this package, you only have to open Ubuntu Software Center and search for nautilus-open-terminal . Install this package and exit, restart Nautilus.

Next, right-click the desktop or any folder to open a terminal directly to that folder.

Drop down terminal
Guake is a drop-down terminal that can give you easy access no matter what you are doing. To install Guake, open the software center and find the guake.
Note : if you use KDE Desktop Environment, you can install YaKuake to get the same feature.
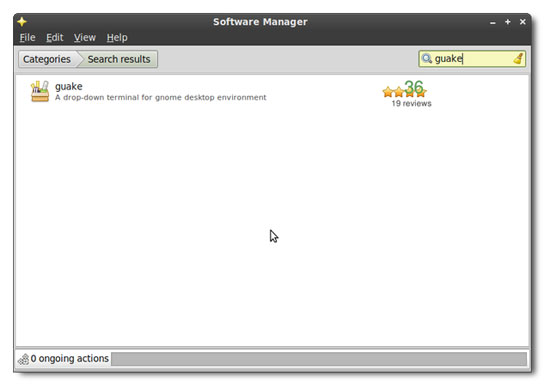
After you've installed Guake, open your menu and run Guake Terminal.
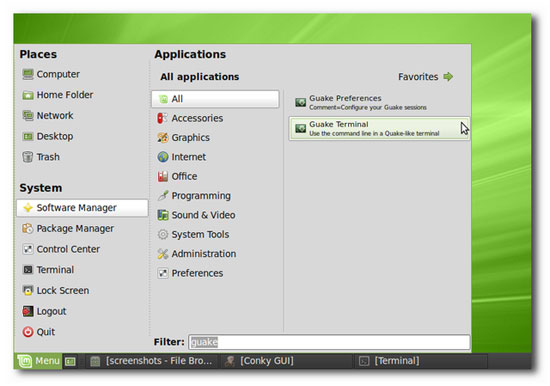
Test what you've just done by pressing F12. You will get a drop down terminal. If you press F12 again, this terminal will disappear.
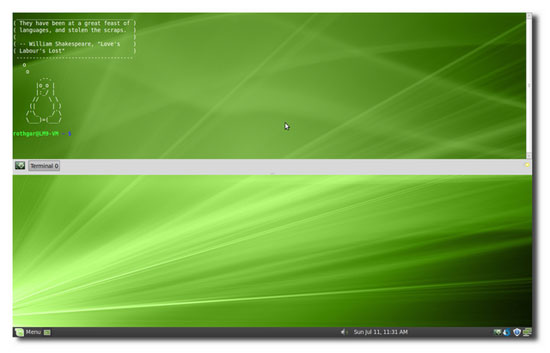
You can change the existing preferences by right-clicking on the icon tray and selecting preferences.
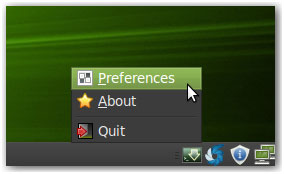
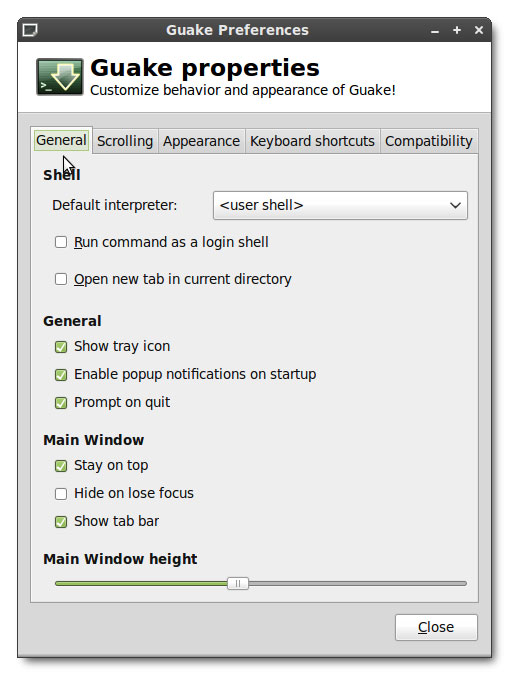
You can change the shortcut, the width of the terminal window, hide the terminal here.
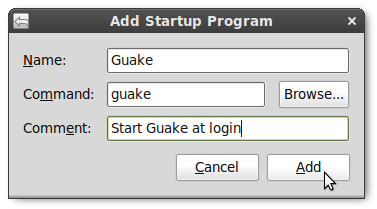
If you want Guake to be available every time you log in, add it as a startup application (the application starts with the operating system). To do this, open Control Center > System -> Preferences -> Startup Applications .
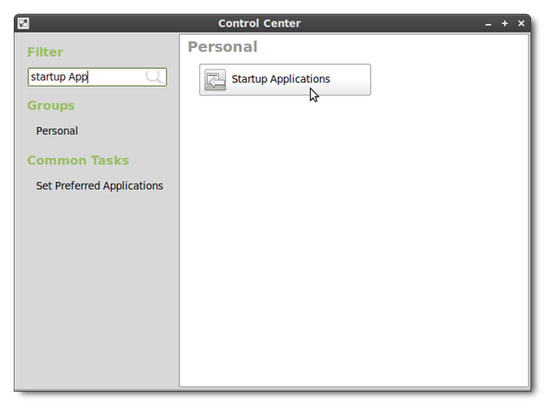
Then add Guake as a program that starts with the operating system.
Mount the terminal on the desktop
The final method of being able to access a terminal quickly is to mount the terminal right on your desktop. To do this, your computer must run Compiz desktop effects.
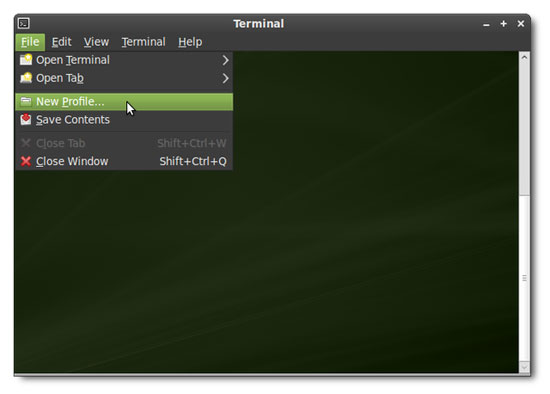
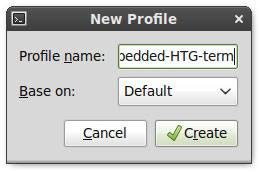
The first step is to install a new terminal profile. Open the terminal > File -> New Profile . You should give this profile a unique name so you can distinguish it from the terminal we are about to attach. In the example, we name this terminal window as embedded-HTG-term .
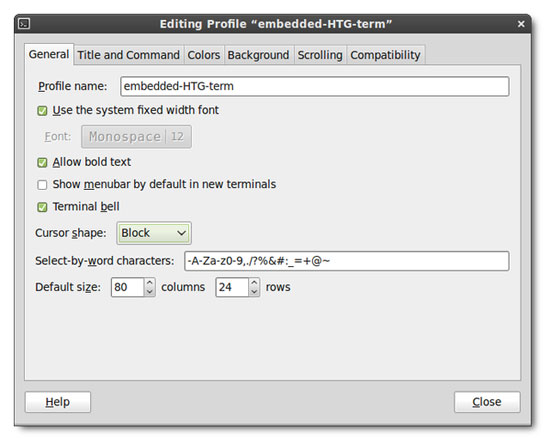
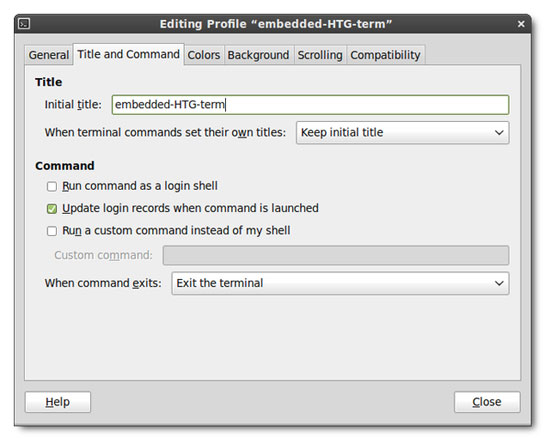
In the profile settings window will display the settings and you will have to reset the new profile we just created with the following information:
Show menubar : off
Initial title : embedded-HTG-term
Khi kết nối lệnh đặt tên danh sách tên : Hold the original title
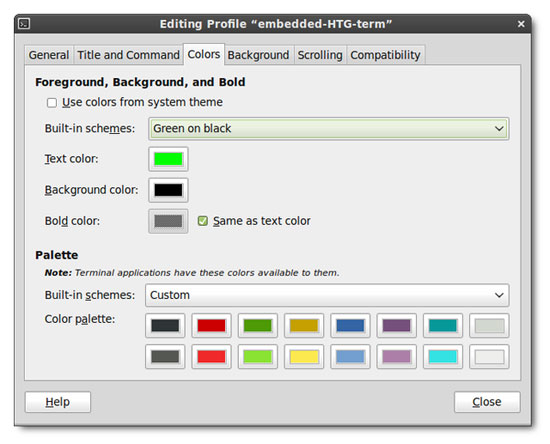
Color scheme : Choose the color that matches your desktop
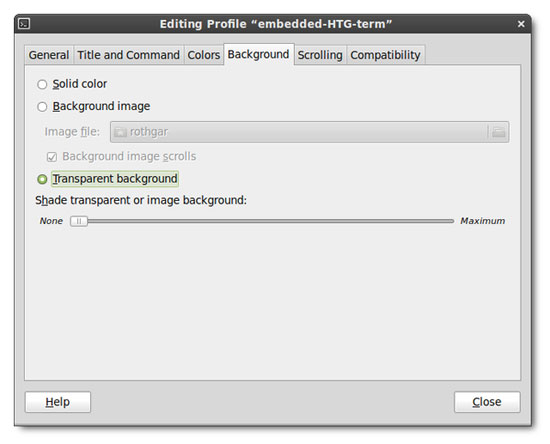
Transparent Background : Move the slider to the level you want, making it easy to see the characters.
Scrollbar : disabled
Next, go to Compiz Configuration Manager and activate the plugins: regex matching, window decoration, window rules, and place windows.
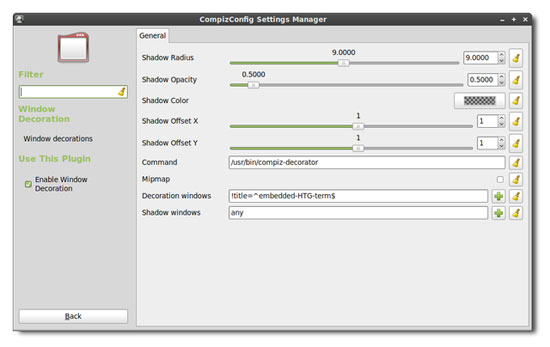
In the window decoration section, add the following line :! Title = ^ embedded-HTG-term $
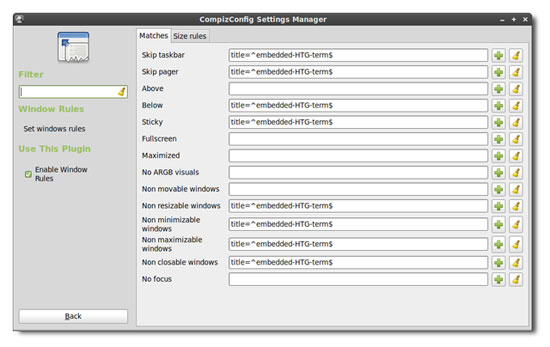
In the window rules plugin, add the following line: title = ^ embedded-HTG-term $ to: Skip taskbar, Skip pager, Below, Sticky, Non resizable window, Non minimizable window, Non maximizable window, and Non closeable window.
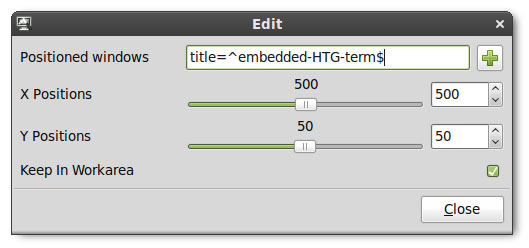
In the place window plugin section , click the Fixed window placement tab and then add the new item in windows with fixed positions . Name this new item with title = ^ embedded-HTG-term $ .
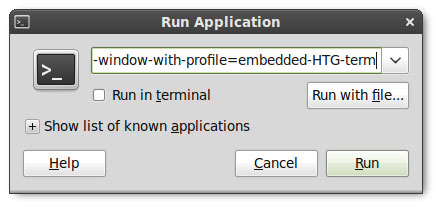
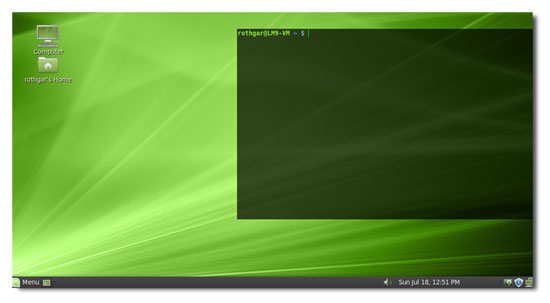
Now you can press Alt + F12 and type gnome-terminal –window-with-profile = embedded-HTG-term to display a terminal window mounted on the desktop.
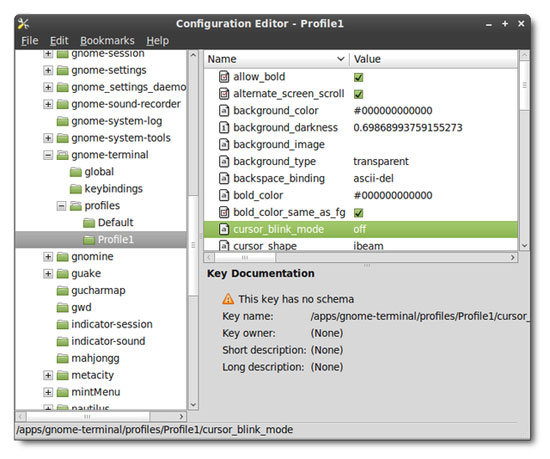
If you do not want to display the cursor in the new terminal, open gconf-editor and browse to apps / gnome-terminal / profiles / Profile1 / cursor_blink_mode and set the value to off . In fact, this step you can still ignore.
So we have successfully implemented 4 ways to quickly access a terminal in Linux. Good luck!