Types of data hiding in Excel - Part 2: How to hide cells, overflow text
Continuing the 'Extremely useful guide to all types of data hiding in Excel'. TipsMake would like to introduce to you part 2: How to hide cells, overflow text ....
In life and work, there are always secrets that we want to keep a secret, want it to be hidden, and so is in Excel. To continue part 1:
TipsMake will show you how to hide cell (cell) and overflow text (text overflow cell) in this part 2.
1. Hide cells
Basically, Excel cannot 'hide' a cell or a cell base in the same way as comments, rows and columns are hidden.It means you will make it disappear until you make it appear again. Excel can only obscure cells with spaces like the example below, because if you 'hide' it as rows and columns, what will those cells be replaced with?
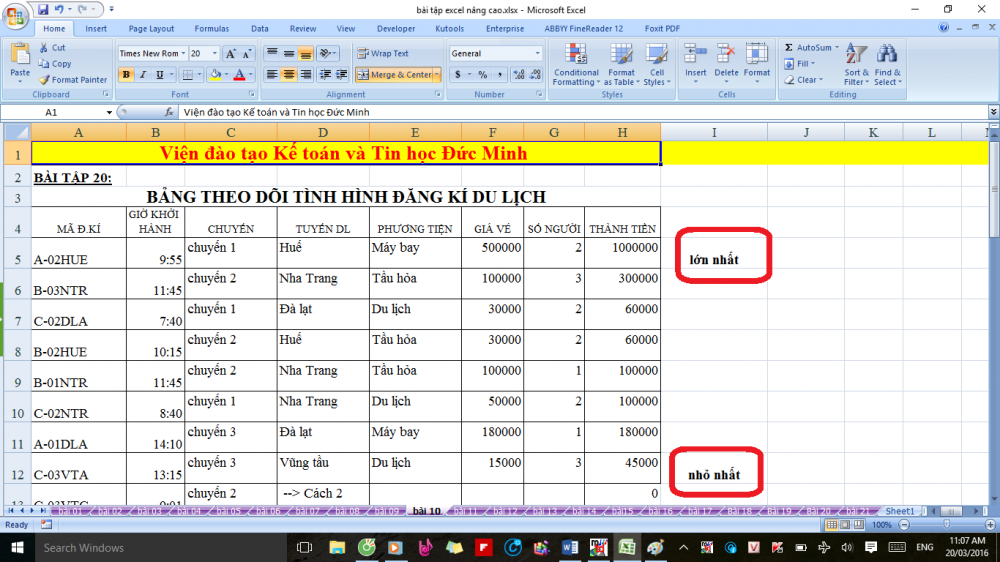
To help you understand TipsMake better will give an example you want to hide two cells I5 and I12 in which the words 'largest', 'smallest' as in the picture below, you need to follow these steps:
- Step 1: You press and hold Ctrl and then left click on the two cells I5 and I12 . Continue to press ' Ctrl + 1 ' to enter Format Cells.
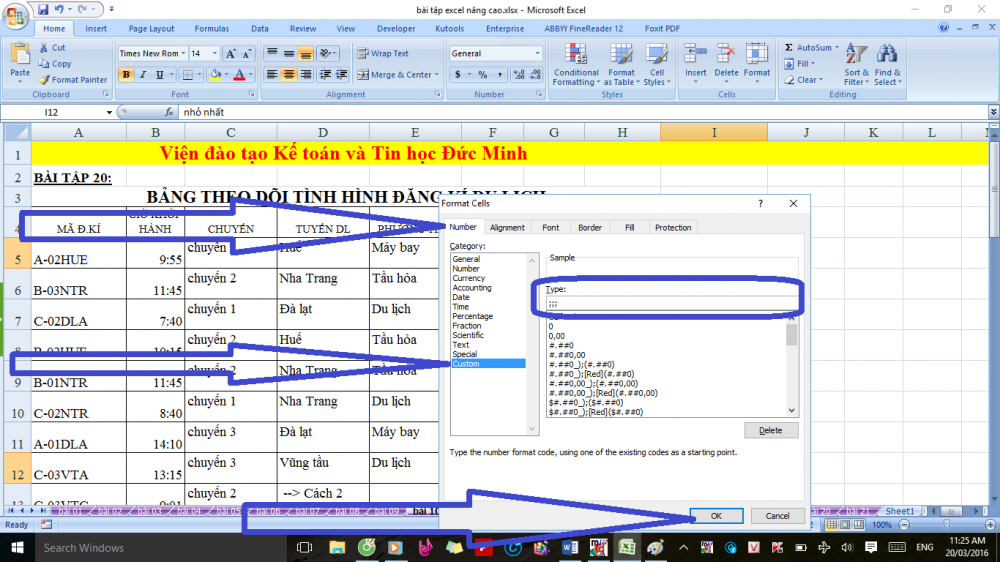
- Step 2: At the ' Number ' tab, select the ' Custom ' section at the bottom. Then enter the three-character ' Type ' text box ;;; '(without the quotation marks'') as shown in the picture, then press' OK ':
And this is the result:
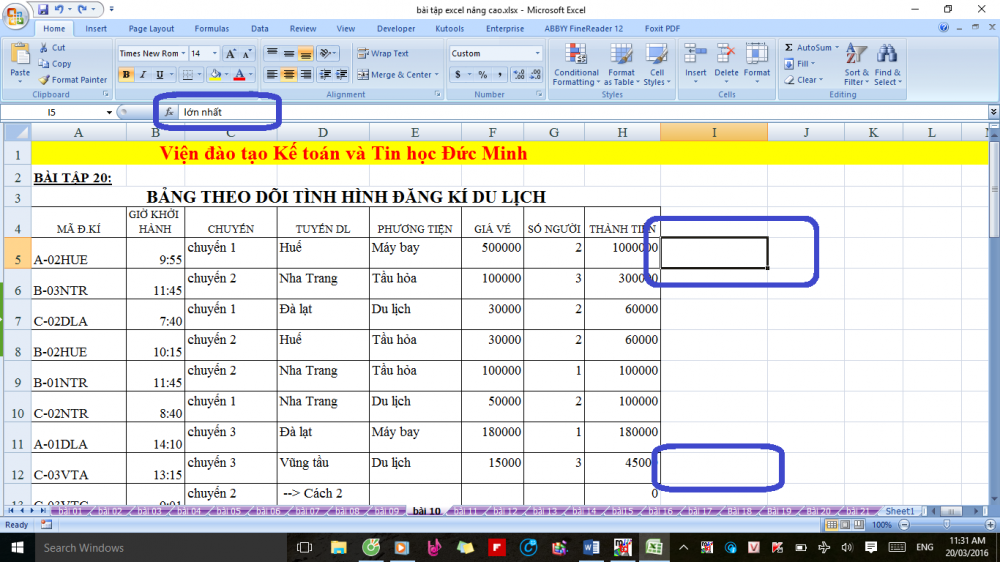
==> As you can see above, the data in cells I5 and I12 have been replaced by spaces, but it still appears in the Formular Bar when you click to select. To display the same, simply go back to Format Cells and select its original format ( Number, Text, Date and Time, .).
==> Note : If you do not select the original format for the hidden cells, no matter how you replace the data in that cell, the cell is still displayed as a space .
2. Hide overflow text (overflow text)
In Excel, when you enter too many words into a cell, those extra words will overflow to the adjacent cells , this is called ' Overflow Text '. For example, in the screenshot below, the text in cell A1 is flooded with adjacent cells:

This is the default of Excel and sometimes will make you feel a bit inconvenient, but you can completely change this by:
- Step 1 : Select the cell to be changed, right-click and select ' Formart Cells '
- Step 2 : In Format Cells , select the ' Alignment ' tab, then select ' Fill ' in the ' Horizontal ' section as shown below, then press ' OK ' to finish.

==> And here is the result:

Part 2: How to hide cells, overflow text in the series 'Instructions on all types of hidden data in Excel extremely useful' here is over. If you find this article useful for the community, don't be afraid to share it via facebook! TipsMake wish you success and see you in the following sections, promising many interesting things.