Basic Scratch tutorial for beginners
With Scratch coding, children learn to combine code and art together, thereby helping them learn to think creatively, reason scientifically, work in groups,. In this article, Let's learn the basic Scratch tutorial for beginners.
Important Elements in Scratch
Sprites
In Scratch, a Sprite is any object, from characters like people or animals to props, like a guitar and even a button. All of these are controlled by code and blocks of code.
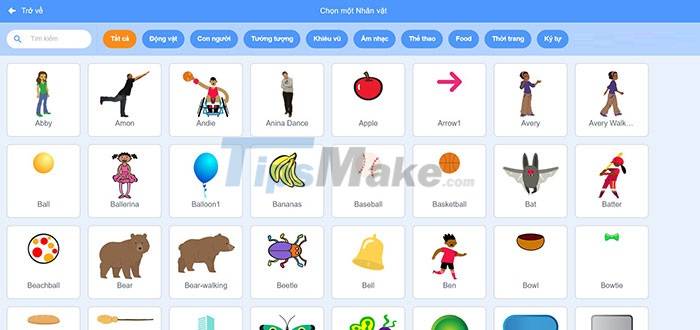
Every new Scratch project comes with a Sprite already loaded into the program, and there's a library with lots of extra content to choose from. From there, children can rename the Sprite, add more Sprites.
Code blocks
Scratch runs block-based code, which means that different blocks of code and their configuration hold everything when it comes to creating games or stories. These different block types include:
Motion blocks, control Sprite movements such as glide, rotate, move. For example, select a block that moves 10 steps so that the Sprite moves forward 10 steps.

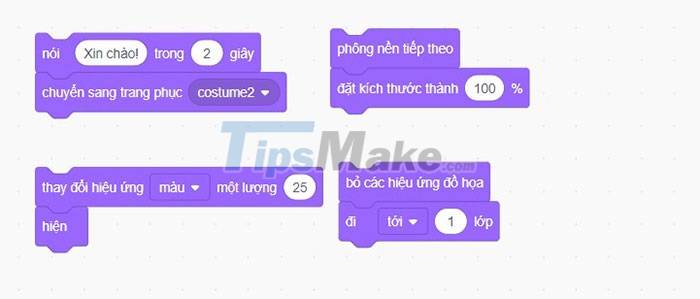
The Display Block changes the appearance or actions of the Sprite, like changing its color or size or saying something. For example, resize an amount of 10 or say Hello! in 2 seconds.
Sound blocks add sound effects to the Sprite such as playing, editing sound effects, or changing the volume.

Event blocks, tell the Sprite when to start running the code.
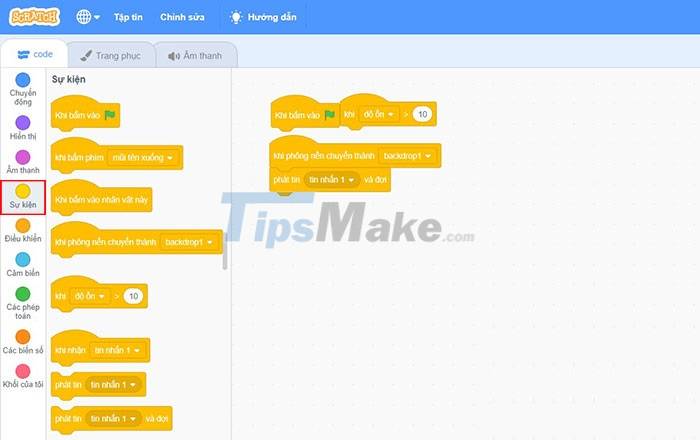
Control blocks are used to animate repeat or pause between events.
Several types of games can be created with Scratch
Once you understand how blocks work, let's start learning what is possible with Scratch. Although the creativity with code blocks is endless, there are a few types of games created with Scratch below.
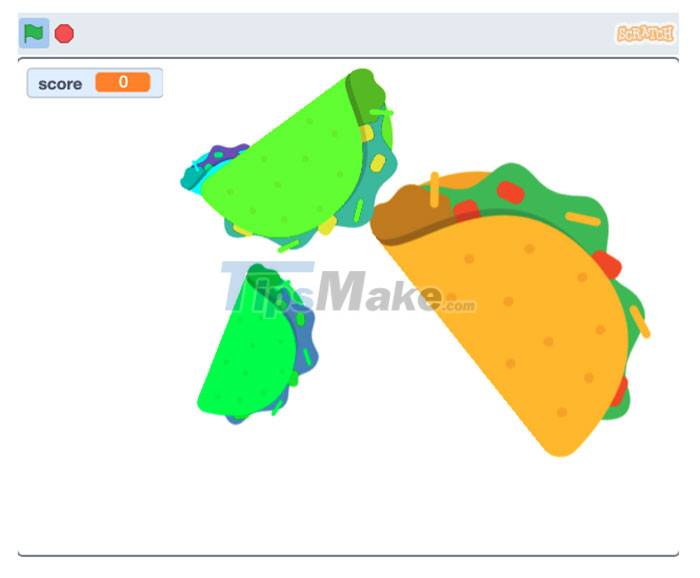
Click Game: Players click Sprites on the screen to earn points for each successful action. For example, maybe it's clicking tacos to score points, where clicking on smaller and harder tacos earns more points.
A game of catch: Control a Sprite and move it to score points. For example, a cat chases a balloon and every time it makes contact with the ball, the player gets a point.

Pong Game: A game similar to table tennis, people use the mouse to control the stick and smash objects towards the opponent.
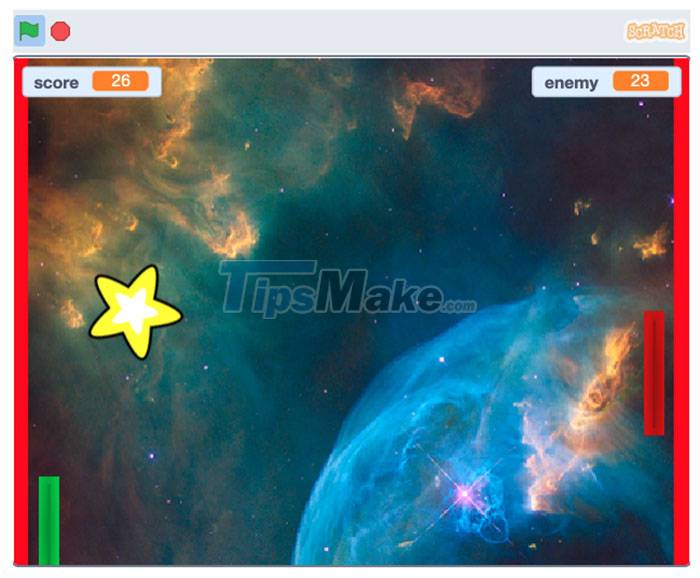
Scratch's interface
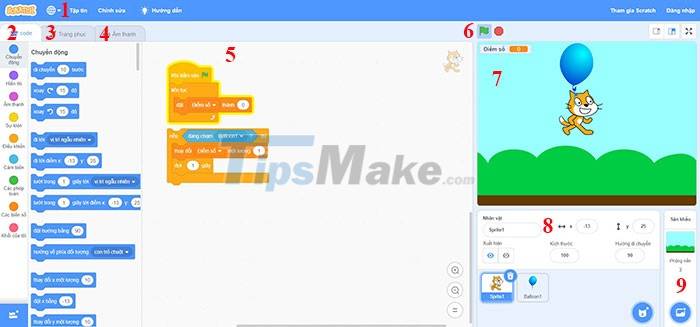
- File: This is where the game can be saved (to a Scratch account or computer) and project files can be downloaded.
- Code tab: The main working area, where all the code blocks are kept. Users can add code blocks to Sprites and backgrounds to animate the scene.
- Outfits Tab: This is where Scratch patterns and their costumes can be created and edited.
- Audio Tab: Used to add and remove sound files for Sprites.
- Coding area: The empty area where the code blocks for sprite animation are placed.
- Blue Flag (Start): The green flag button, or start button, is used to run the code.
- Scenario preview: This window shows the story or game, where the user can preview how the code they've created works.
- Character: Sprite is kept in the Character panel. Clicking on each Sprite allows editing the code blocks attached to it.
- Stage: The background image for the scene.