Summary of ways to quickly connect a computer to a projector
Summary of ways to connect a computer to a projector quickly, simply, detailed from A to Z, easy to do..
Projectors are essential equipment in presentations or meetings in classrooms and meeting rooms. To successfully export images and videos from your computer to a projector, you need to know how to connect the devices together. Let's follow the simple way to connect your computer to a projector through the article below!
How to connect computer to projector using shortcut keys
Have you ever heard of connecting a projector to a computer using a shortcut key? It's hard to believe, right? To connect a projector to a laptop, press the combination of 2 keys Fn + the projection screen icon key. Depending on each computer model, there will be different icon keys, specifically as follows:
ACER, TOSHIBA, SHARP: Fn + F5
SONY, IBM, LENOVO: Fn + F7
PANASONIC, NEC: Fn + F3
ASUS, DELL, EPSON: Fn + F8
FUJUTSU: Fn + F10
HP, COMPAQ: Fn + F4
Summary of ways to quickly connect a computer to a projector
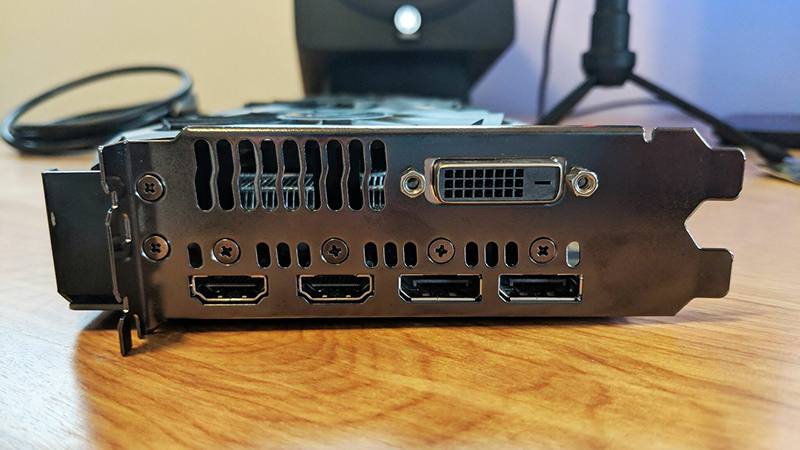
How to connect computer to projector using HDMI cable
Connecting your computer to a projector using an HDMI cable will give you high-quality images because it transmits an uncompressed signal. The resolution of your HDMI cable will determine the standard of the image.
Here are 5 steps to connect a projector to a laptop using an HDMI cable:
Step 1: Turn on the projector and computer
Step 2: Plug one end of the HDMI cable into the HDMI port on the projector.
Step 3: Plug the other end of the HDMI cable into the HDMI port on the computer/laptop:
Step 4: After plugging in the cable, the computer screen will appear on the projector. If it does not appear, press the Windows + P keys on the keyboard, select the mode to display the computer screen on the projector. Duplicate (displays exactly like the laptop screen), Extend (only the parts that are dragged to the projector screen will be displayed).
Connect projector to laptop with VGA cable
To connect your computer to the projector using a VGA cable, you need to prepare a VGA cable , then follow the steps below.
Step 1: Press the POWER button to turn on the projector on the remote control or projector, if you see the light on the projector turn green, it's done. If the projector has just turned off, you need to wait a few seconds for the fan inside to stop spinning and then press it again.

Step 2: Turn on your computer/laptop
Step 3: Plug the cable end into the VGA port on the projector
Step 4: Plug the other end of the wire into the VGA cable into the VGA port on your laptop or computer.
Step 5: After successful connection, the computer screen will appear on the projector. If there is no signal, press the Auto Setup button on the remote control again to let the projector re-scan the signal from the computer.
Step 6: If the laptop screen does not appear on the projector even though it has been successfully connected, press the Windows + P key combination and select Duplicate.
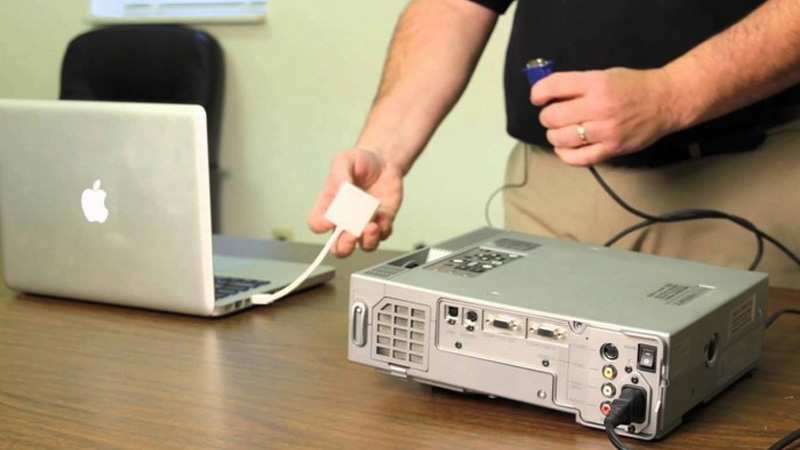
Connect to projector via WiFi on Windows 10, 11
To connect your computer to the projector via WiFi on Windows 10, Windows 11, go to Settings on the projector and find the Screen Mirroring feature > Turn it on.
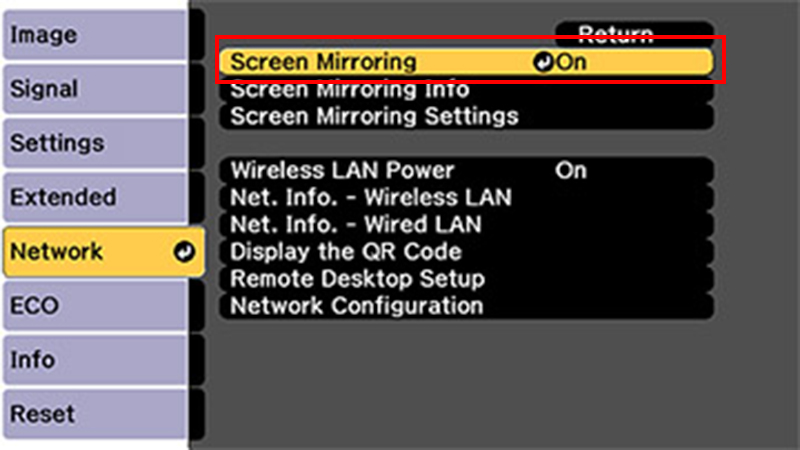
Press the Windows + S key combination > Type Connect to wireless display > Enter.
Next, scroll down to Connect to a wireless display > Click Detect > Select the projector name > Connect.
Connecting a projector via DisplayPort
To connect your computer to a projector via DisplayPort, do the following:
Step 1: Press the POWER button until the light turns green to turn on the projector on the remote control or projector body.
If the projector has just been turned off, wait a moment for the fan to stop spinning and then press the power button again.
Step 2: Use one end to plug into the computer's DisplayPort port, the other end to plug into the projector.
Step 3: Start the computer and wait a few minutes to connect the 2 devices together.
How to set up a Mac connection to a projector
Step 1: To set up a MacBook connection to the projector, go to Apple Menu > Select System Preferences > Displays.
Step 2: In the Arrangement section, uncheck Mirror Display if you want to extend instead of mirror the screen > Drag the screen to adjust the arrangement direction.
Step 3: Select Mirror Display if you want to mirror the screen.
Some notes for stable projector connection
- When using a wireless connection, keep the computer and projector close to each other and close to the WiFi signal for stable transmission.
- Do not place your laptop close to the projector, because the projector will radiate heat and heat up the computer, so keep it at a certain distance.
- For wired connections, you need to limit touching the wire to avoid image interference during broadcasting.
- Turn off the projector and computer when not in use to cool and prolong the life of the machine.
Conclude:
Above are simple and quick ways to connect your computer to a projector . Hopefully you will be able to fix the problem correctly and quickly when an error occurs.