10 Ways to Fix Projector Not Working and Related Errors
Projectors are no longer strange to study, work or entertainment,. Besides the convenience, sometimes you may encounter unexpected errors. Let's find out with TipsMake about projector errors that do not display images and some other related errors and effective solutions!
Projector no image
If you have completed the connection steps and there is still no image on the projection screen, your projector may be experiencing the following problems:
- The projector cover is not opened. In many cases, users forget to open the cover before using it.
- The plug and pins are not straight but bent or warped.
- Incompatible signal source
- Signal cable problem

How to fix:
Once the cause is determined, it is easier to fix the no image problem. Specifically:
- Replace the plug and pins if the plug is bent or warped.
- When the signal source is not compatible, press the source selection button on the projector , just select each source to see which type is compatible.
- If the signal cable is loose or broken, replace it with a new set of cables to fix it.
Projector screen does not display information
The error of the laptop displaying one image, but the projector displaying another. This may be due to a problem with the settings between the laptop and the projector, you can adjust it right on the laptop.
How to fix: You can use to fix this error as follows:
Method 1: Right-click on the computer screen, select Personalize, select Display, click Connect to a projector and finally select Duplicate
Method 2: Click on the Start icon in the left corner of the screen, select Control panel and then select Hardware and Sound, click Display, select Connect to a projector and finally select Duplicate
After completing one of the two methods above, the projector and laptop screen will be compatible with each other again.
The image displayed through the projector is pushed to one side.
The quality of the image displayed on the projector greatly affects the lessons and presentations. However, you see that the image is pushed to one side or loses some color gamut compared to the original. The reason for this situation is that you choose an inappropriate image resolution.
How to fix:
3 ways you can use to fix this:
Method 1: Right-click on the Desktop screen => Personalize => Display => Change display settings. A dialog box will appear, in the Resolution section, select the resolution 1024×768 or 800×600 => Apply => OK.
Method 2: Click the Start icon in the left corner of the screen => Select Control Panel => Hardware and Sound => Display => Change display settings. Now the dialog box appears as in method 1, in the Resolution section, select the resolution 1024×768 or 800×600 => Apply => OK.
Method 3: This method is very simple, you press the key combination Fn + F4 and the Display Resolution dialog box will appear. In this dialog box, select the resolution 1024×768 and you're done.
Trapezoidal Projector
Trapezoidal phenomenon is a common error. The projector screen will normally have a vertical square shape so that viewers can easily observe the information on it.
However, there will be times when the square will turn into a trapezoid, sometimes even a flattened trapezoid. The reason is that the projector is not arranged straight and perpendicular to the projection screen. It can also be because the projection screen surface is not flat.

How to fix:
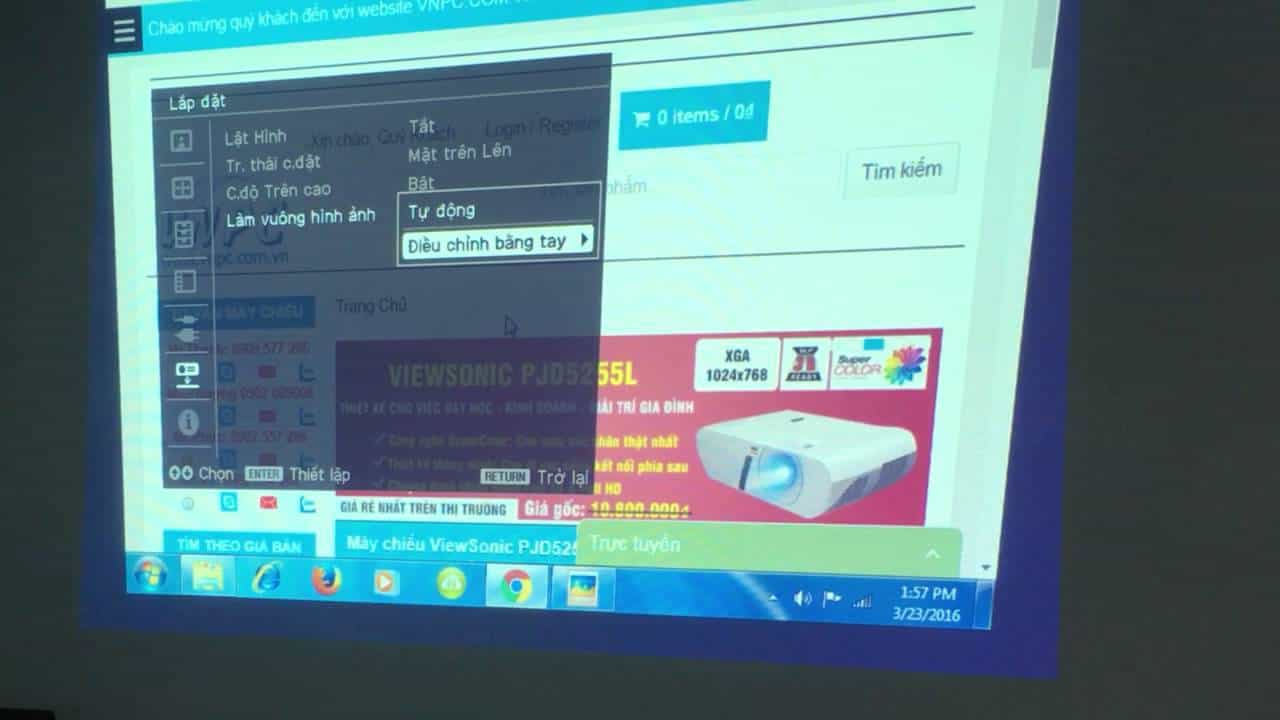
To fix the trapezoid error on the projector screen, adjust the position of the projector so that it is centered and perpendicular to the screen. In addition, many types of projectors have the auto keystone image adjustment function, you can select this function so that each time you use the projector, it will automatically adjust accordingly. In addition, go to the menu to find Keystone to adjust the angle.
The projector only displays black and white.
There are also times when your projector has a color error that returns it to black and white. There are many reasons why the projector only displays black and white: first, it is due to the way you set the color or the signal cable is damaged, and finally, it is due to a damaged color gear.
How to fix:
Depending on the cause, you will have different ways to fix it. If the color settings are incorrect, go to the menu, find the color setting and adjust the color. When you drag the color to the lowest level, it will display black and white.
Please check the signal cable when adjusting the color, a damaged cable will cause the color system to be incorrect. The cable may be loose or damaged, then replace the new cable. You can also try adjusting the NTSC/PAL compatibility mode in the settings.
The last cause is due to a damaged color gear, note that this is only for DLP machines. In this case, you cannot handle it yourself but must take it to a repair center.
Poor image quality
There are many different types of projectors on the market, with cheap projectors you will often encounter poor image quality, often blurred. This image quality error can also occur in expensive projectors. There are many causes for this error:
- The source computer resolution is not suitable.
- Focus mode not adjusted correctly
- Projector lens is dirty
- The distance from the projector to the screen is not suitable.
How to fix:
Adjust the projector and screen to a suitable distance, not too far or too close. The projector is placed vertically and perpendicular to the screen. Choose a place where the screen is flat for clearer image quality.
Next, check the lens to see if it is dirty or dusty. There are many cases where the projector has not been used for a long time, so the lens is covered with dust, causing the image quality to be much worse.
In addition, you can fix it by adjusting the focus and resolution on the source computer accordingly.
Nowadays, many projectors are equipped with the feature of automatically adjusting the resolution on the computer to be compatible with their configuration. If you can afford it, you can buy these types.
Image not showing full size
The problem of the image not displaying completely is a common problem. The reason is that the computer and projector do not have compatible resolutions.
There are also many types of computers that have a resolution that exceeds the configuration of the projector, so we cannot adjust both to be compatible. Below is a solution for this incompatibility error that has led to the image not being fully displayed.
How to fix:
If the resolution of your computer is different from the projector, you should choose to adjust the image size to match the projector resolution. Click the Auto Image or Image Sync button on the projector to automatically adjust the image. In addition, you can also readjust the computer configuration, set the resolution to match the projector. Projectors usually have 2 compatible resolutions: SVGA (800×600) or XGA (1024×768).
If the computer resolution exceeds the projector's allowed configuration, you just need to turn off the laptop screen to display on each projection screen only.
The projected image is too dark.
You are not used to the image being projected being too dark. The reason is that the projector's contrast and brightness are not set properly.

How to fix:
The solution is to go to the projector's image adjustment menu to adjust the contrast and brightness until you are satisfied.
Projected image is inverted
This mode is installed by the manufacturer. The purpose of that is to apply flexibly in many different spaces and projection positions. We usually only know that the projector is placed in front, vertically, but some people also install it fixedly on the ceiling.
How to fix:
To adjust back to the original position, go to the image section, find Front/Desk and select the desired mode. You can adjust according to the following modes:
- Front/Desk (front-desk projection)
- Front/Ceiling (front projection ceiling mounted)
- Rear/Desk
- Rear/Ceiling
Seeing black bars on the projected image
This error is due to the fact that widescreen projectors have a 16×9 LCD or DLP panel inside to create the image. The shrinkage will show up as the black bars you see.
How to fix:
If you don't want black bars appearing above or below the projected image, you should avoid 16×9, 2.35:1 or 1.85:1 projectors.
Conclude:
Through the above article, TipsMake has provided the most detailed instructions on how to fix a projector that does not display an image. If your projector is experiencing errors or is damaged, please contact TipsMake immediately via hotline 19001903 for the most specific and detailed instructions.
You should read it
- ★ Revealing how to connect your phone to a projector simply and quickly
- ★ 5 popular wireless projectors to connect to laptops, phones
- ★ How to fix the projector overturned the image during the presentation
- ★ How To Choose The Right Projector For Your Specific Needs
- ★ How to connect a Mac to a projector