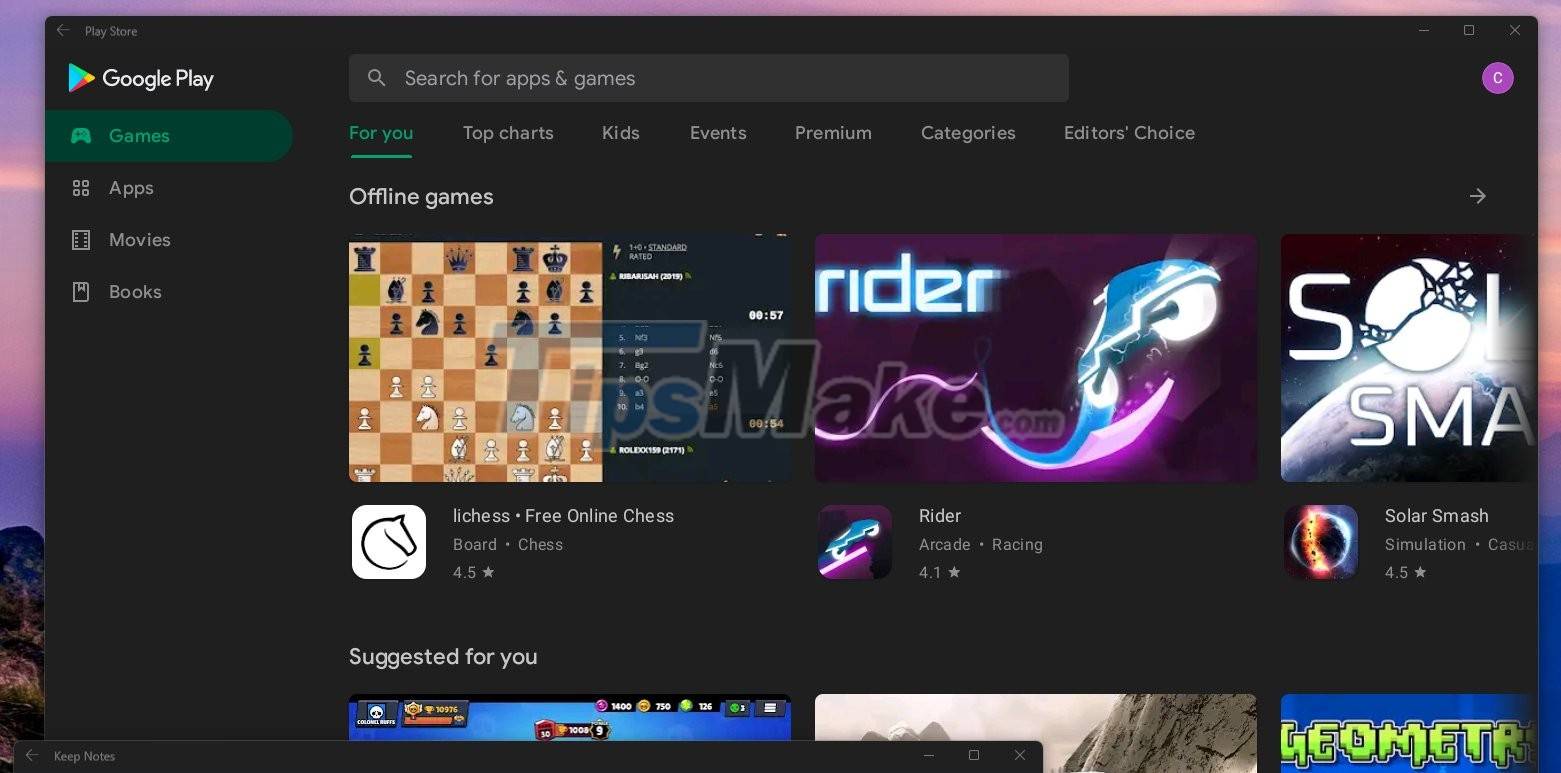
Successfully installed Google Play Store on Windows 11
Although WSA allows users to install applications using APK files, applications that use Google services will not be able to work due to the lack of Google Play Services. Naturally, WSA is also blocked from accessing the Google Play Store.
But on Windows, almost anything can be hacked. A developer with the moniker AdeltaX has found a way to install both Google Play Services and Google Play Store on Windows 11.

The files needed for the installation and instructions have been shared by AdeltaX on GitHub but it seems that only experts can read and follow.
You can access AdeltaX's instructions here.
Detailed instructions are as follows:
- Download MSIXBUNDLE (use rg-adguard store to get msixbundle, package id: 9P3395VX91NR)
- Install WSL2 (ubuntu/debian or any stable working distro)
- Install unzip lzip
- Download GAPPS PICO from OPENGAPPS (x86_64, 11, PICO)
- Extract MSIXBUNDLE, Extract MSIX (YOUR ARCH) to a folder, delete (APPXMETADATA, APPXBLOCKMAP, APPXSIGNATURE, [CONTENT_TYPES])
- Copy the IMAGES files (SYSTEM.IMG, SYSTEM_EXT.IMG, PRODUCT.IMG, VENDOR.IMG) to #IMAGES
- Copy (GAPPS PICO ZIP) to #GAPPS
- Edit (VARIABLES.sh) and install in ROOT . folder
- Enforcement:
- extract_gapps_pico.sh
- extend_and_mount_imgaes.sh
- apply.sh
- unmount_images.sh
- Copy IMAGES from (#IMAGES folder) to the folder where you extracted MSIX
- Open POWERSHELL under ADMIN, execute (Add-AppxPackage-Register PATH_TO_EXTRACTED_MSIXAppxManifest.xml)
- Running WSA with GAPPS
How to fix login problems
(ADB SHELL ROOT WITH su)
- Copy (kernel file) from (misc folder) to (Tools folder) in your extracted MSIX folder
- Now you can use su in ABD SHELL access ADB SHELL, enter su then enter setenforce 0, now you can login your account normally.
You can see that the instructions of AdeltaX are not very clear. You should not follow without other knowledge of computers and operating systems. AdeltaX promises that in the near future he will rewrite the tutorial to make it easier to understand and implement.