Table of Contents
This guide provides a clear, practical overview of steps to run Android apps on Windows 11, with useful context, important details, and straightforward takeaways for everyday readers.
Requirements to be met to be able to run Android apps on Windows 11
Before you can try to run Android apps on Windows 11, you need to make sure your computer meets the following requirements:
- Joining the Windows Insider Beta Channel for Windows 11 : Microsoft decided that Beta channel users will be able to pre-test the ability to run Android apps on Windows 11. So, if you are on other channels you need to switch to the channel. Beta. According to Microsoft, the Dev channel will soon be participating in the test.

- Running build 22000.282 or later : The next condition is that your computer must be running build 22000.282 or later. You can check by pressing Win + R then typing winver and pressing Enter.
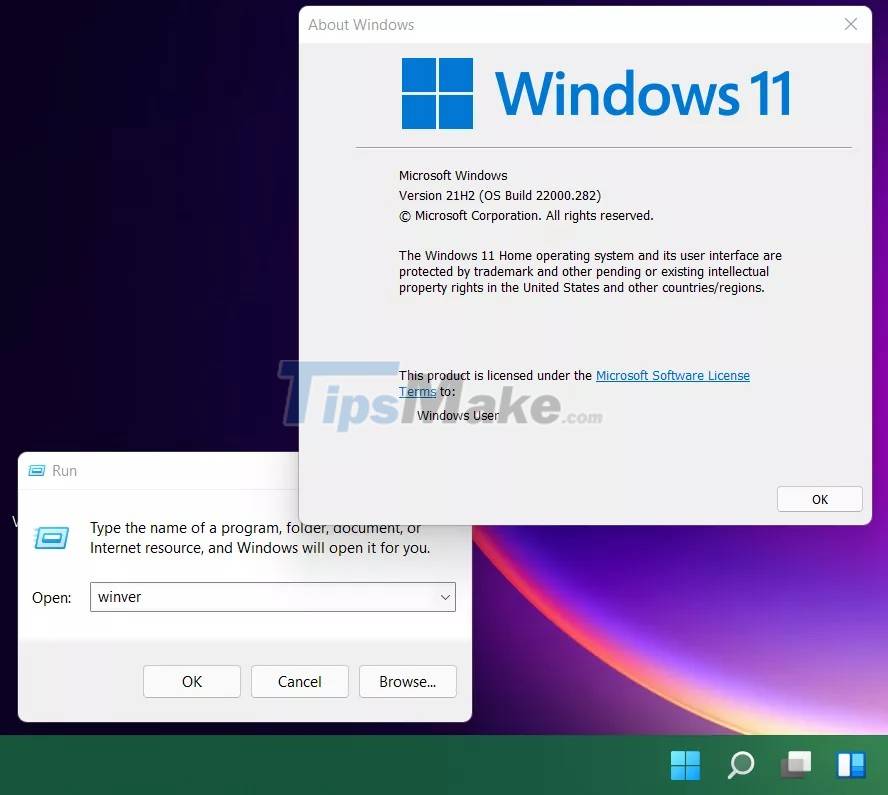
- Must enable virtualization (virtualization) : If you are not sure whether your computer has enabled virtualization or not, you can access Task Manager and then go to the Performance tab to check. If you see the words " Virtualization: Enabled " in the lower right corner, it means that virtualization is enabled. Otherwise, you have to enter the BIOS to enable it.

Other requirements
Because Microsoft currently only allows a small number of users in the US to participate in the test, they require users to meet the following additional requirements:
- The computer must set the territory as the US
- US citizen's Amazon account is required
How to install Android apps on Windows 11
After meeting the above requirements, you can start installing Android apps on Windows 11 by following these steps:
Step 1 : Access the Windows Subsystem for Android application page here.
Step 2 : Click the Get button . A menu will appear to confirm the redirect to Microsoft Store .

Step 3 : Click the Install button in the application page on Microsoft Store . A new window will appear with information about the Amazon Appstore .
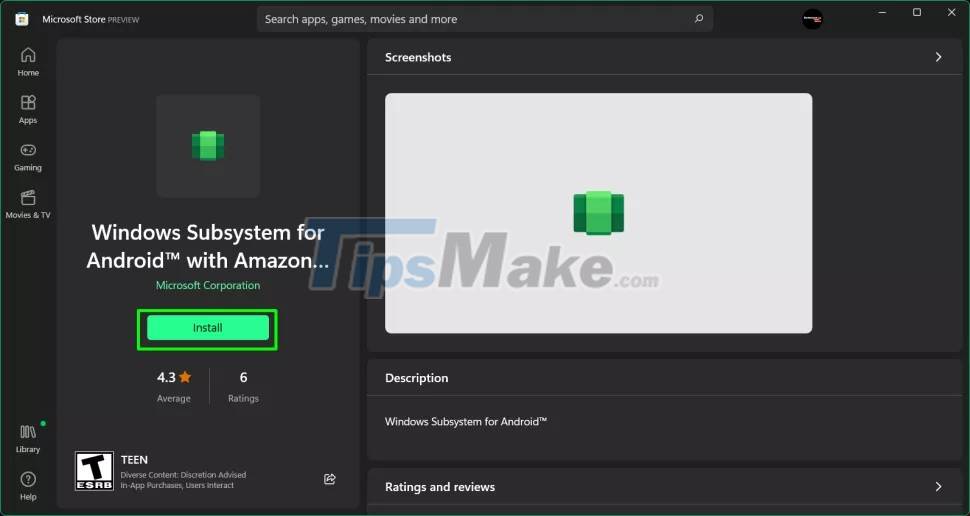
Step 4 : Click Next to continue.
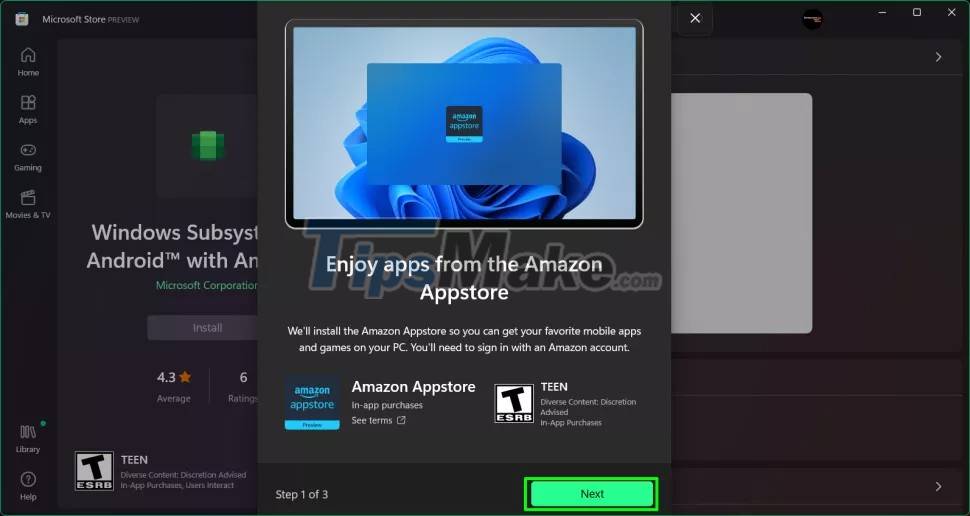
Step 5 : Click Download and wait a few minutes for the application to be downloaded and installed.
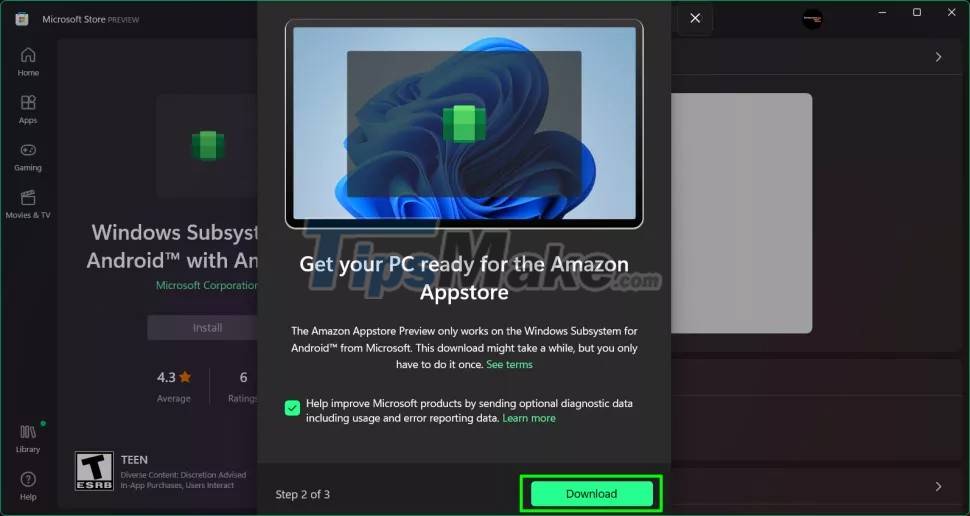
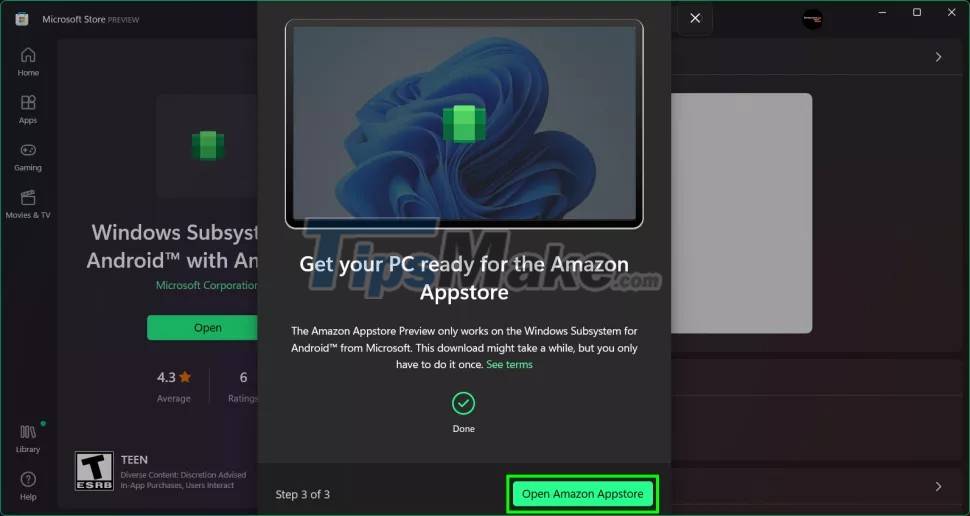
Step 6 : Click Open Amazon Appstore to open Amazon Appstore . A new screen will appear asking you to sign in to your Amazon account .
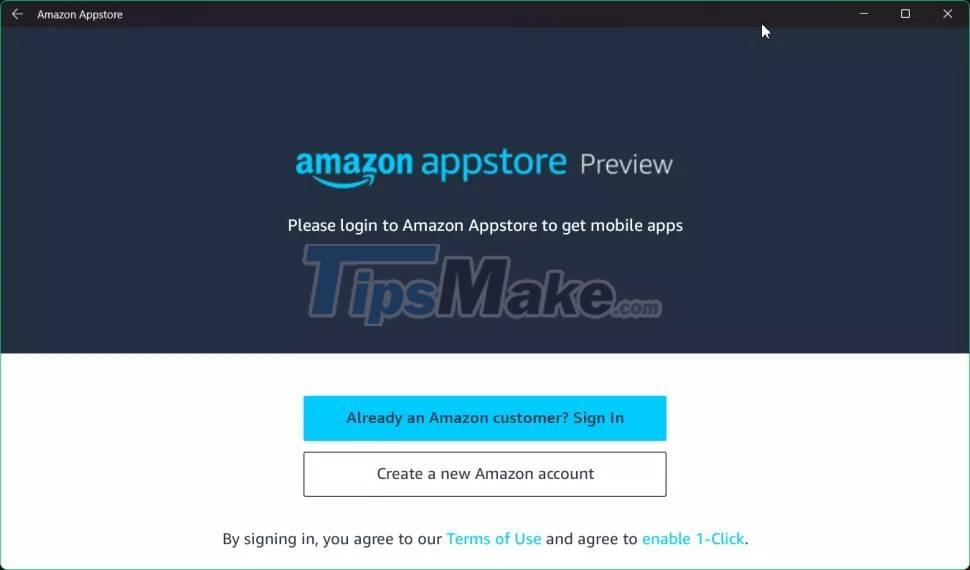
Step 7 : Click " Sign in " if you already have an account or " Create a new Amazon account " if you don't have one. After logging in, the Amazon Appstore screen will appear with a list of applications you can install on Windows 11. Currently there are only about 50 applications.
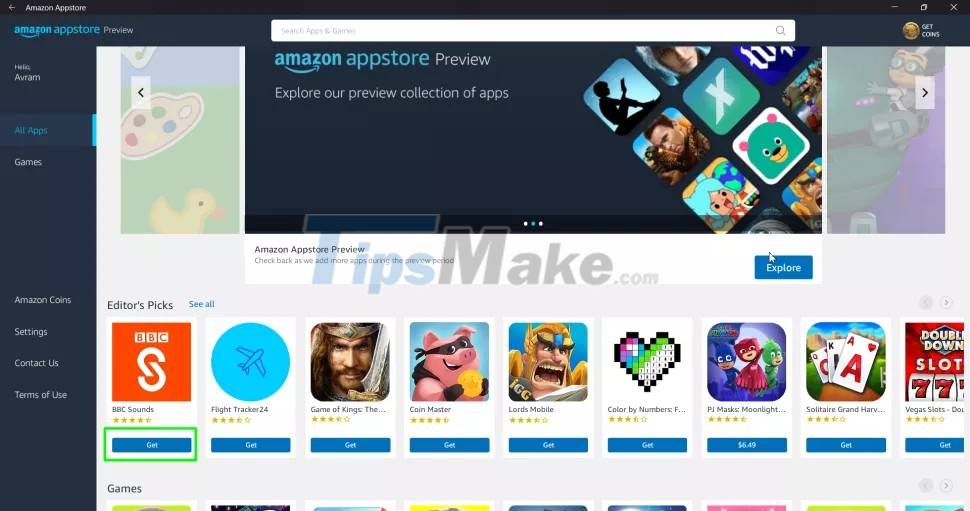
Step 8 : Click Get to get the application you want to install. You can also click on the app icon to read more about it before deciding to download and install.
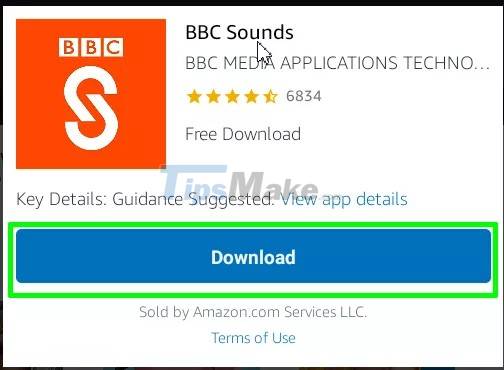
Step 9 : Click Download to confirm.
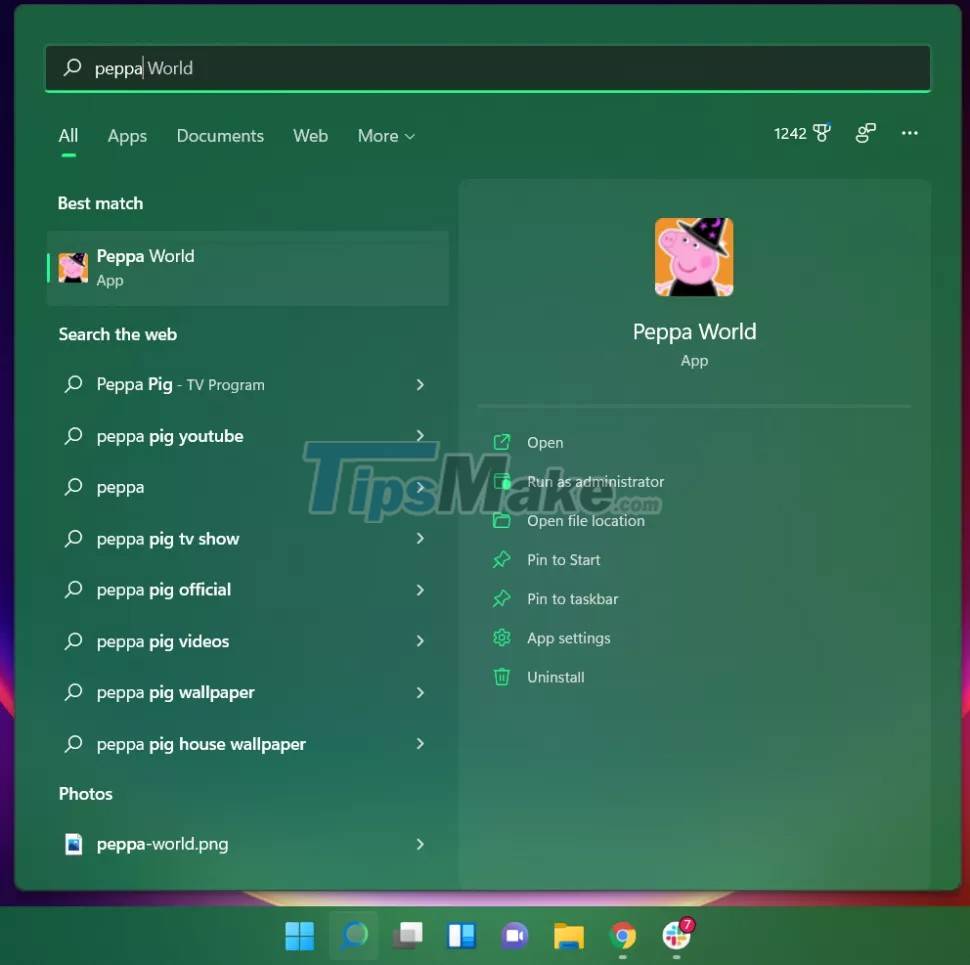
Similar to other Windows apps, any Android app you just installed is accessible via the Start Menu or Windows 11 search feature.
this guide will update as soon as new information becomes available. Good luck!
Key Takeaways
Use the information above as a practical reference for steps to run Android apps on Windows 11. Review each step carefully, confirm any requirements, and choose the option that best fits your situation.
FAQ
What does this guide explain about Steps to Run Android Apps on Windows 11?
It explains the main concepts, practical considerations, and useful steps related to steps to run Android apps on Windows 11 without requiring advanced knowledge.
Who can benefit from learning about Steps to Run Android Apps on Windows 11?
This information is useful for readers who want a clear overview, practical guidance, and reliable steps related to steps to run Android apps on Windows 11.
What should I check before applying this information?
Review the requirements, confirm that your device, software, or situation matches the instructions, and back up important data before making major changes.
Related Articles
 This Is How Android Apps Work on Windows 115 minutes read
 The Best Android Apps9 minutes read
 How to Run Android Apps on Windows 10 with Genymotion7 minutes read
 Steps to Directly Install Android Apps from APK Files on5 minutes read
 Why Are Android Tablet Apps So Bad: Key Facts7 minutes read
 Best AI Apps for Android7 minutes read
Reader Comments 0
Sign in with email or Google to join the discussion.