Steps to record audio on a Mac
This article will show you how to record audio on your Mac using the Voice Memos, QuickTime, and GarageBand tools..
How to Record on a Mac with Voice Memos
Looking for a simple, easy-to-use audio recording app on macOS? There is hardly a more suitable name than Voice Memos. Voice Memos is very simple and basic, but perfect if you just need to record your dialogue. Here's how to use it:
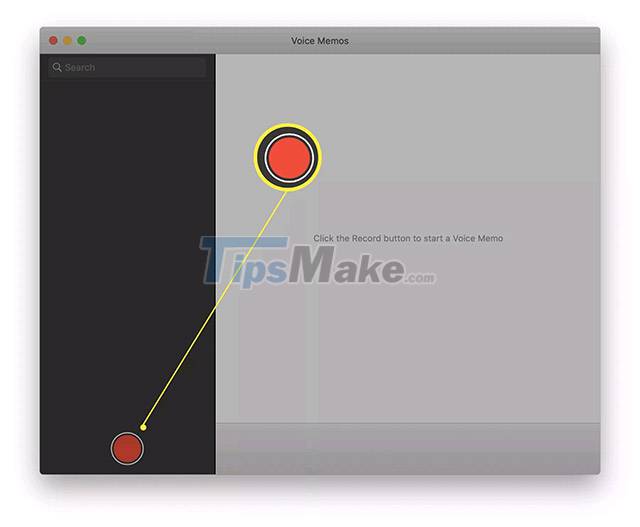
Step 1. Launch the Voice Memos app via Launchpad, Finder, or Spotlight.
Step 2. Click the red circle on the application interface to start recording your voice.
Step 3. Click Done when you are done recording.
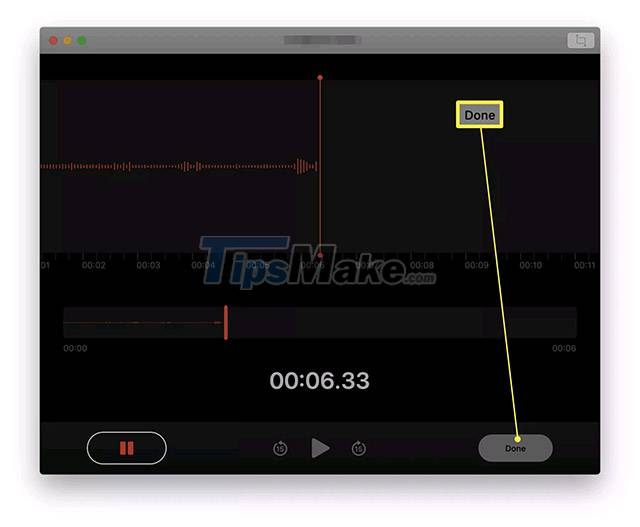
( Tip: You can click the pause icon on the left to pause the recording and start it again when needed).
Step 4. You can also double-click the newly created recording file to rename it.

Your recordings will automatically be shared via iCloud to other Apple devices with the same link. To share this recording to another location, click the Share icon in the top right corner of the screen.
How to Record on a Mac with QuickTime
If you're looking for a slightly more advanced method of recording audio with your Mac, QuickTime is the best built-in solution available. This app gives you more control over where the audio files are saved, so it will be useful for long recordings. Here's how to use it.
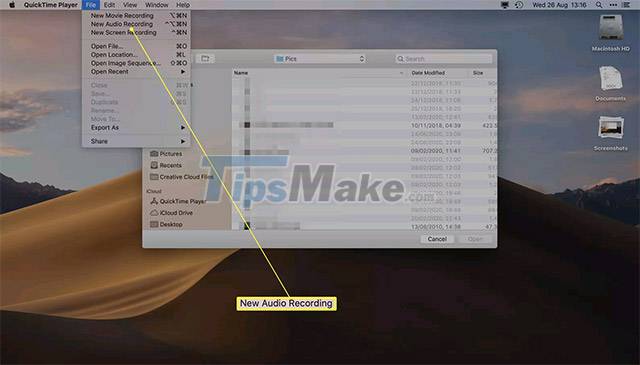
Step 1. Open the QuickTime app via Launchpad, Finder, or Spotlight.
Step 2. Click File > New Audio Recording .
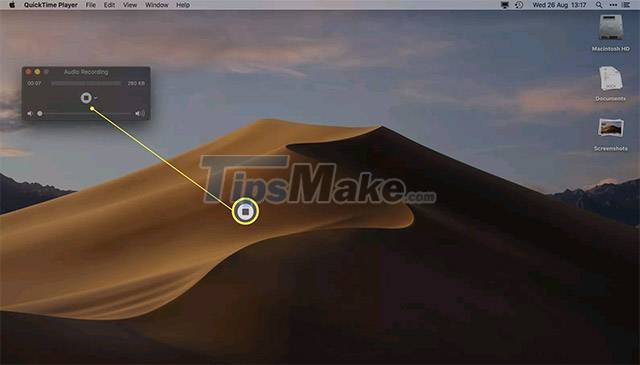
Step 3. Click the red circle in the center of the QuickTime window to start the recording process.
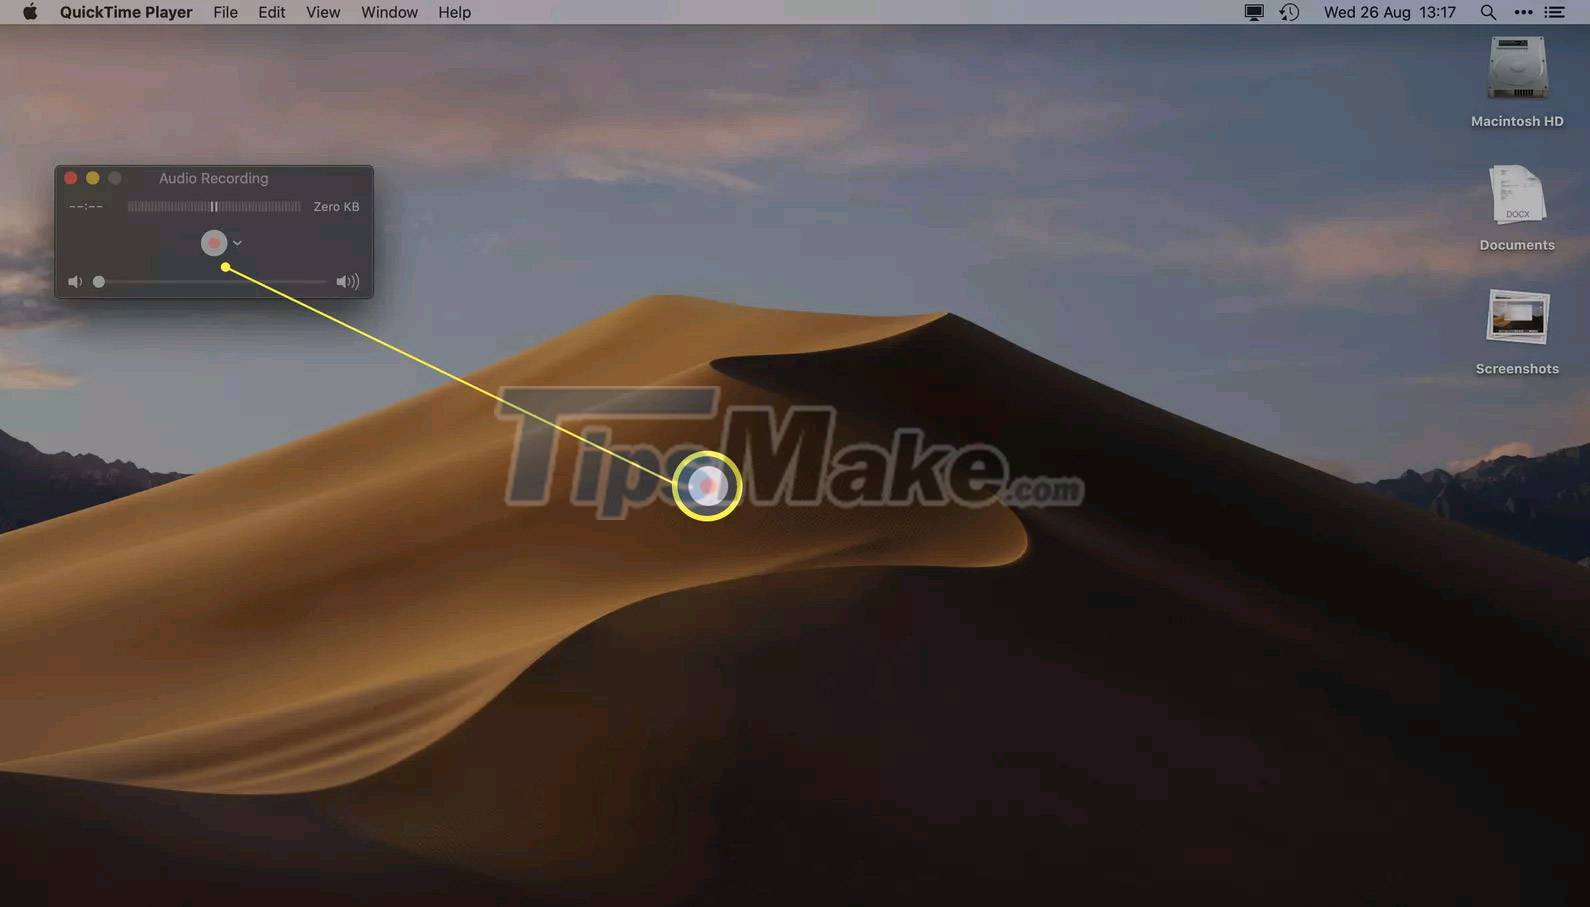
Step 4. Click the gray square to stop the recording.
Step 5. Click File > Save to choose a name for the record as well as the location you want to save.
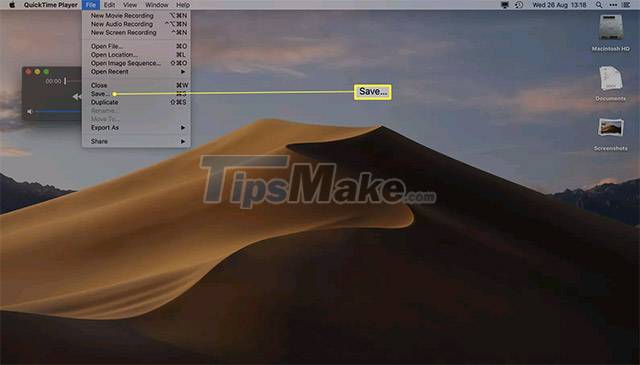
The recording is now saved to the folder of your choice, and can be shared using the usual methods.
How to Record on a Mac with GarageBand
The last available option for recording audio on Mac is to use GarageBand. This tool is usually pre-installed on all macOS systems, or you can also find it for free on the App Store. GarageBand offers more advanced features than the two names mentioned above because it is a music recording application. Here's how to record with GarageBand.
Step 1. Open the GarageBand app via Launchpad, Finder, or Spotlight.
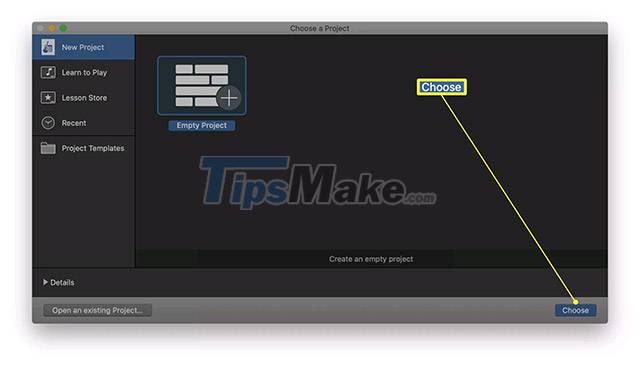
Step 2. Click Choose to open a new project.
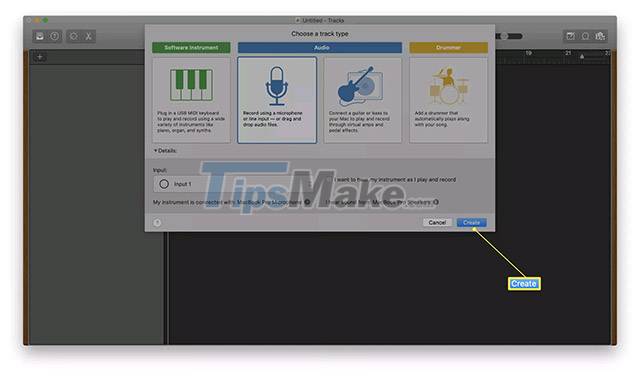
Step 3. Click Audio > Record .
Step 4. Click Create .
Step 5. Click Record .
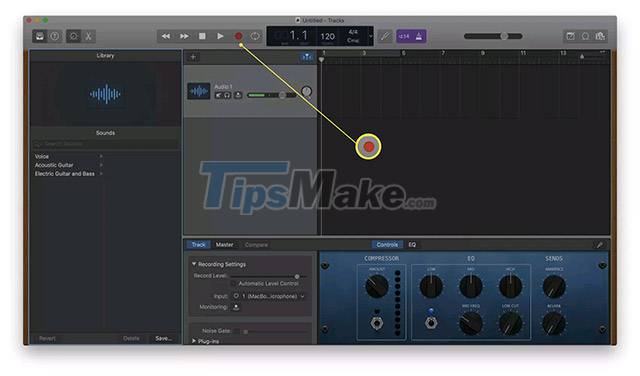
( Tip: If you want to change your input source, as is the case with multiple microphones, you can click Input at the bottom of the screen and select the appropriate device).
Step 6. Click Stop to stop the recording.
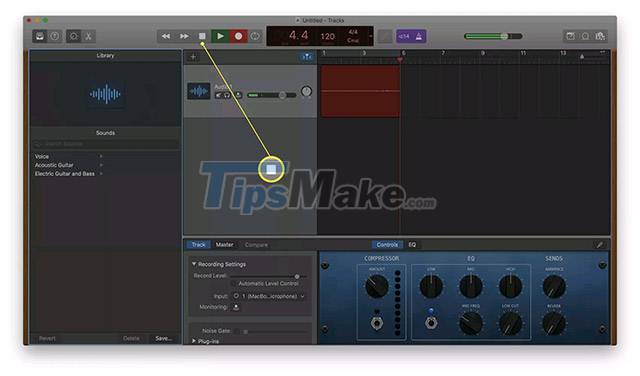
Step 7. Click File > Save to save the file, or click Share to share directly.