Recording on computers does not need software
Even on Windows computers, there is a recording tool that users do not need other software to support.
Table of Contents
Previously, Network Administrator introduced you to read computer recording software, such as Audacity, Free Sound Recorder, etc. With these software, users can record their voices and then edit with many Different features.
However, if your recording needs stop at the basic level, there are not too many editing requests, you can use the tools available on your computer right away. The following article will guide the recording with the tool available on Windows 7 onwards. Before recording, connect the Headphone to the computer.
- How to record on computer using Adobe Audition
- Instructions on how to record a voice with Bandicam
- 8 free audio editing software
1. How to record on Windows 7, 8 computers
Step 1:
Recording tools are available on computers that are Sound Recorder with Windows 7 and 8.
With Windows 7, open the Start interface and click on the search box for Sound keywords and will see Sound Recorder.

On Windows 8 users open the Charms menu by hovering over the right side of the screen. Click on the magnifying glass icon and enter the Sound Recorder keyword and will also see the result.

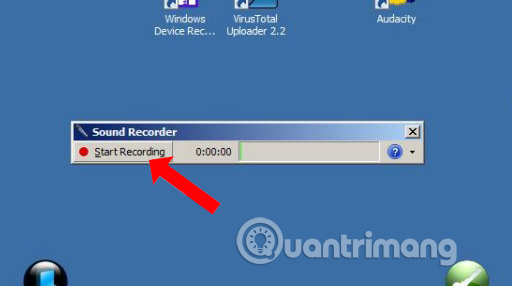
Step 2:
Then click on Start Recording to record. The recording time will appear on the recording bar so you know.
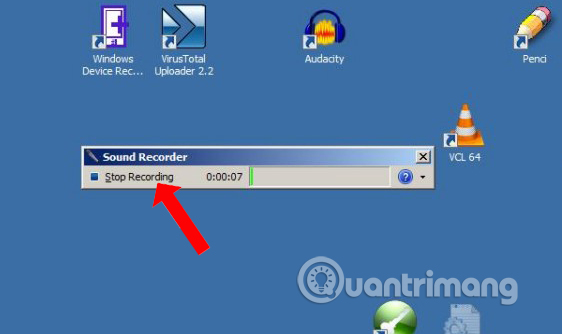
When you have finished recording, the user clicks the Stop Recording button to stop the recording.
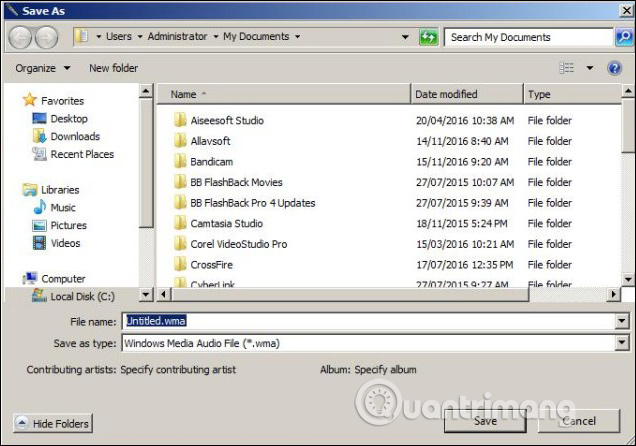
Immediately the folder where the recording file will be saved will appear. Click Save below to save the recording file on your computer. The recording file will be saved in wma audio format.
2. How to record on Windows 10
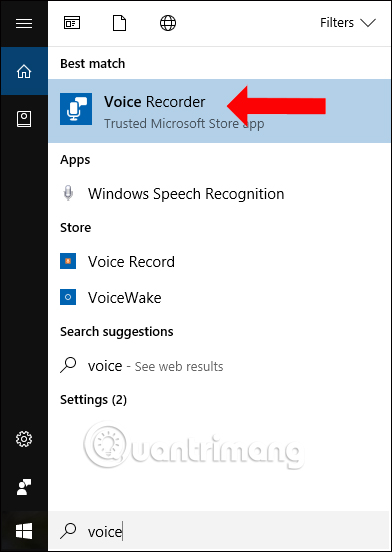
Step 1:
On Windows 10, the tool renames to Voice Recorder. In the search bar on Windows you enter the keyword Voice Recorder , then click on the search result.
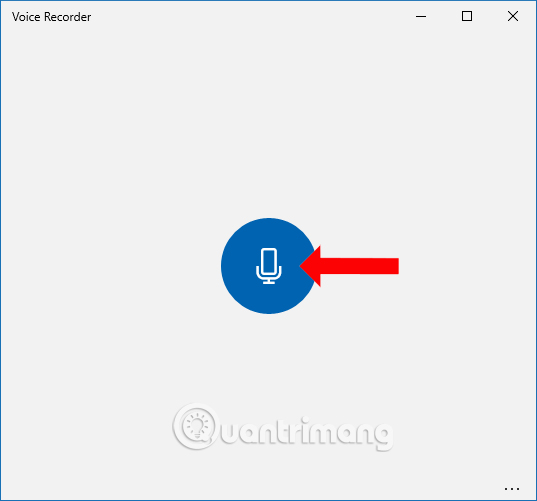
Step 2:
Appear interface tool for recording. Here, click on the microphone icon to proceed with the recording.
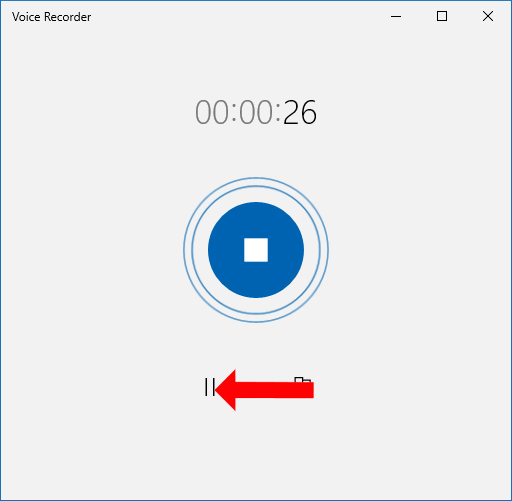
Step 3:
Recording time will also show on the interface. To pause recording click on the Pause icon below.
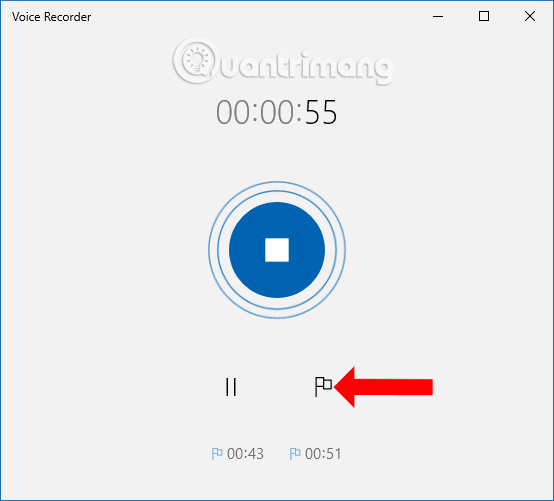
In addition, the recording tool on Windows 10 adds the ability to mark important recordings when clicking on the flag icon . Important recordings will be remembered with a specific time in the recording.
To stop recording, tap the Stop icon in the interface.
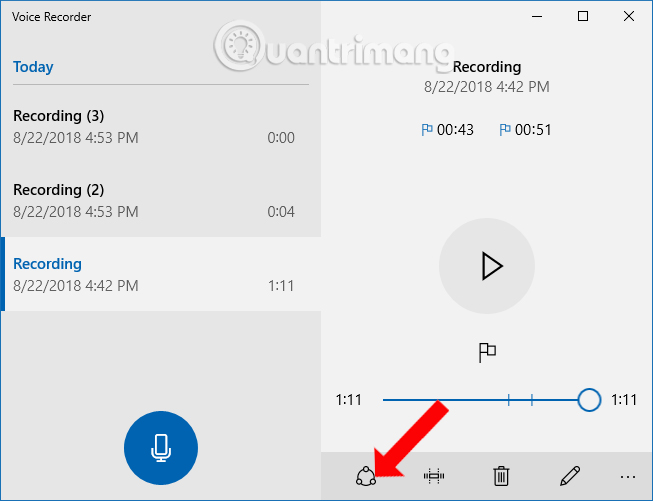
Step 4:
Immediately display the customized recording interface and the list of recording files on Windows 10. The recorded files will be numbered, with the date, time, recording time and recording minutes. .

Looking to the side will be the content of the recording. With any audio file with a paragraph mark, just click on the timeline, you will be immediately transferred to that section in the recording.
Circle icon used to share the recording if desired.
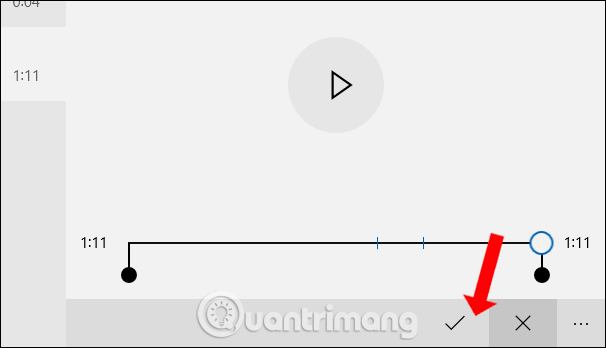
Step 5:
The next rectangle icon is used to cut the recording if desired. Adjust the recording you want to cut and press the tick to save it.
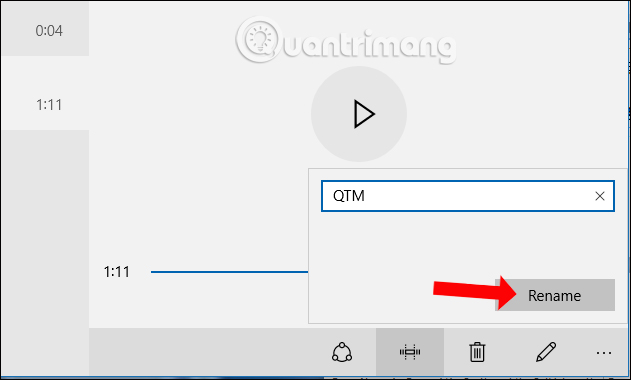
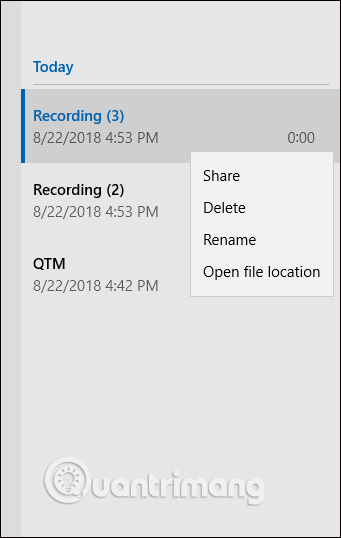
Trash icon to delete the recording file if desired. Pen icon to name the recording file. Enter a name for the recording file and click Rename to save the new name.
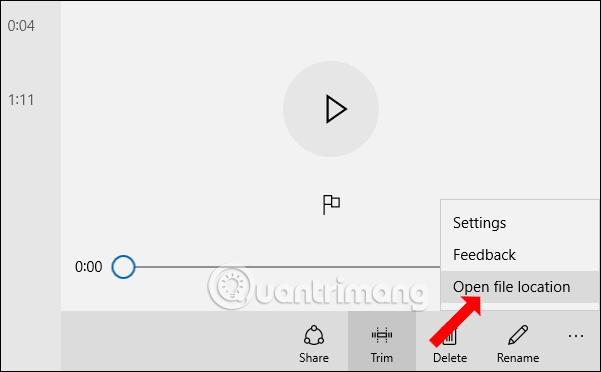
Step 6:
Click on the 3 dots icon and then click Open file location will display the folder where the recording files are stored on the computer.
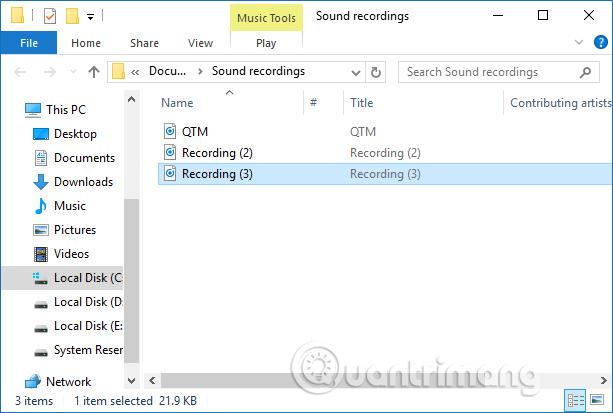
The recording file will automatically be saved on the computer and will be saved in m4a audio format.
Or you can click on the recording file name in the left column of the interface, right-click and also display the same settings for the recording file.
Without the need for complicated recording software, it is possible to use the tool available on the computer to record. With Windows 10, Voice Recoder has more options for recording files than Sound Recorder tool.
Video tutorial recording on Windows 10
See more:
- Ways to troubleshoot audio on Windows 10
- 4 steps to troubleshoot audio loss in Windows
- Headphone, earphones are shy, noisy, hard to hear and how to fix them?
I wish you all success!
Was this article helpful?
Your feedback helps us improve.
Related Articles
 Recording software on the computer5 minutes read
 The best recording app for Android4 minutes read
 These quality Windows screen recording software14 minutes read
 How to record on computer using Adobe Audition4 minutes read
 Top 4 Best Computer Recording Software 20245 minutes read
 10 best song recording apps for Android8 minutes read
Reader Comments 0
Sign in with email or Google to join the discussion.