Steps to fix Wi-Fi problems on Windows 11
Wi-Fi connection on your Windows 11 is intermittent, losing connection often? I will show you how to fix Wi-Fi problems on Windows 11 very easily...
Have you updated Windows 11 for your laptop ? Do you encounter a lot of minor errors on this latest version of Windows? One of them is the Wi-Fi connection is intermittent, or the lines no internet, unidentified network appear to make you uncomfortable. Then here, I will show you how to fix Wi-Fi problems on Windows 11 in a very easy way.
How to fix Wi-Fi problems on Windows 11
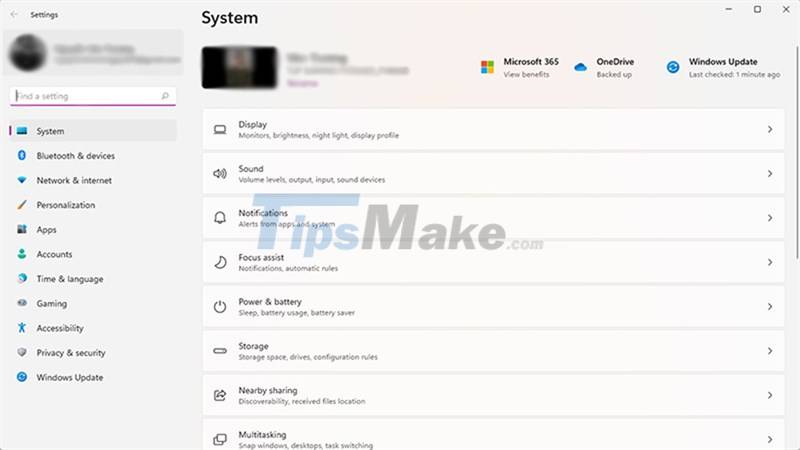
Step 1: Close all running applications on your Laptop and open the Settings section of the device.
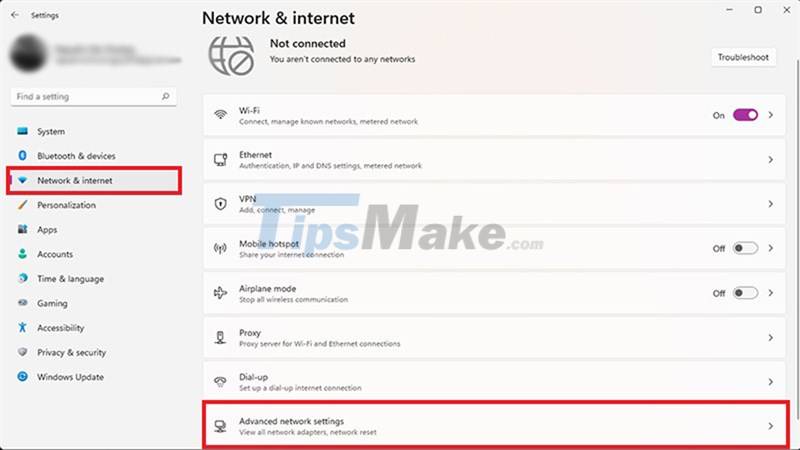
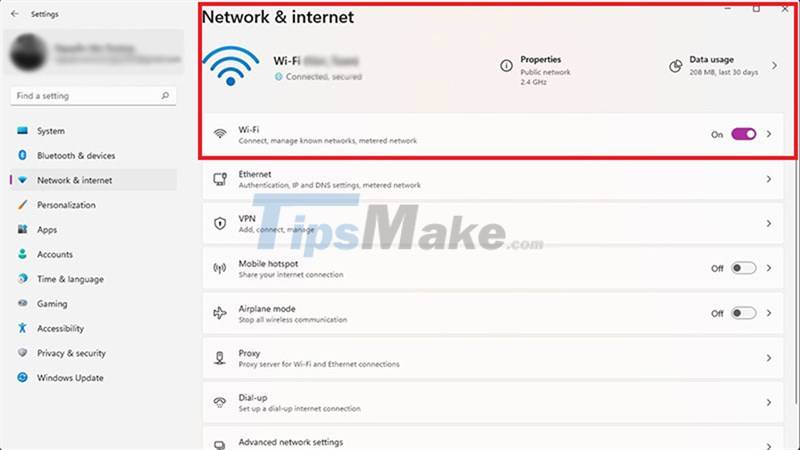
Step 2: You select Network & internet > select Advanced network settings .
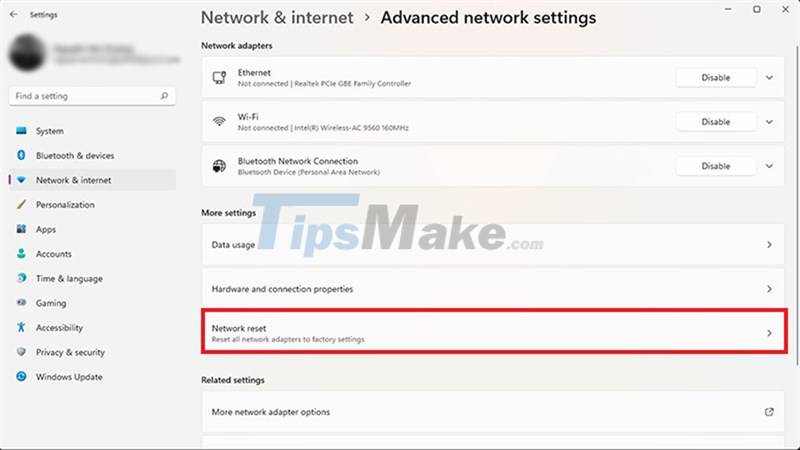
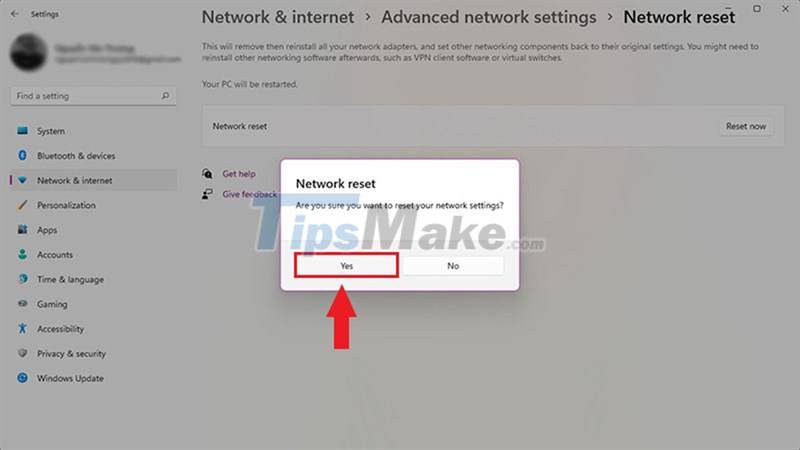
Step 3: You find the item Network reset .
Step 4: Click on Reset now .
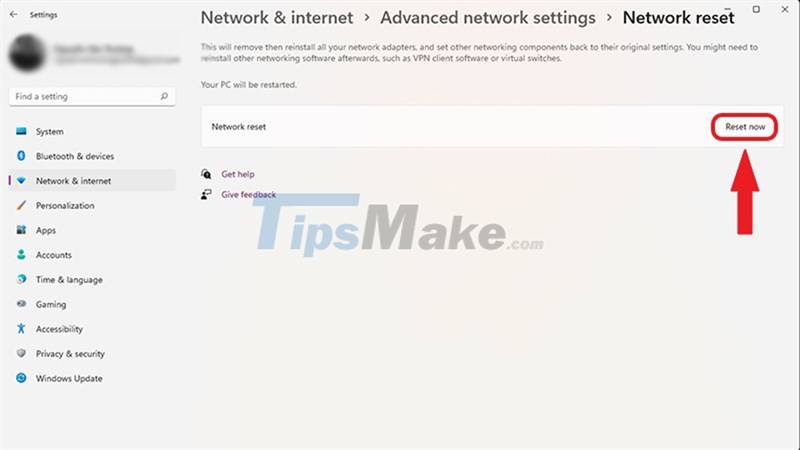
Step 5: You just need to select Yes again and you're done.
After you wait for the machine to fix the error, reconnect to your Wi-Fi network and then you can access the internet normally.
If after you have reset the Wi-Fi adapter on your Laptop but the error is still there, then check again. Because network problems can be caused by many other factors like wifi router problem, misconfiguration or access point and many more.
Hope the information in this article is useful to you. Good luck.