Note, this article will illustrate the instructions on Windows 10, if you are using a lower version, you just need to do the same.
1. Refresh the IP address
During the process of using the computer, there will be times when you encounter the situation that the computer is connected to WiFi but cannot access the Internet. Usually, this issue will be related to TCP / IP, IP address or DNS buffer.
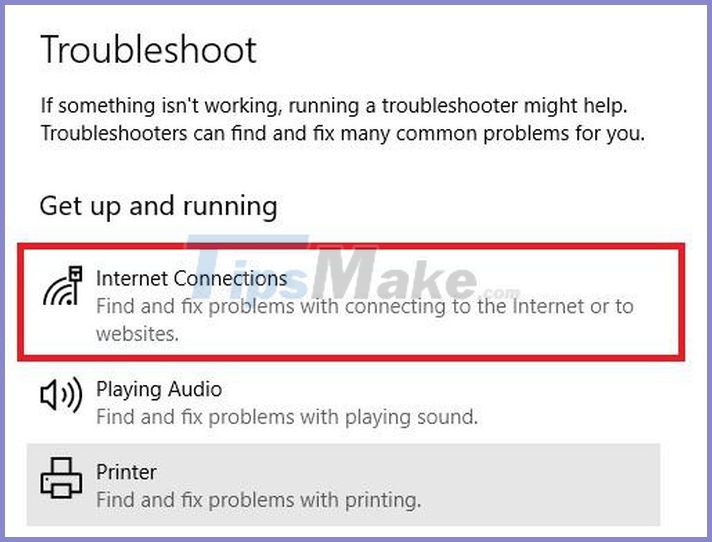
To fix it, click Settings - Update and security - Troubleshoot - Internet connections and follow the instructions until it's done.

If that doesn't work, just open the Command Prompt by pressing Windows + R, type cmd and press Enter, then enter the following commands (press Enter after each command):
- netsh winsock reset
- ipconfig / release
- netsh int ip reset
- ipconfig / renew
- ipconfig / flushdns
2. Fix Windows 10 can not connect to WiFi error
If you see the message Windows 10 cannot connect to the network, most likely the error is related to the network adapter.
[You can see full fix Windows 10 here]
To fix it, press the Windows + X key combination, select Device manager - Network adapter, then right-click on the adapter that is having problems and select Uninstall to uninstall.

Next, users just need to restart the computer for Windows to automatically install the new driver.
In addition, you should also forget the WiFi network and reconnect by going to the Start menu - Settings - Network and internet, selecting the WiFi network that is having problems and clicking Manage known networks - Forget. Finally, the user just needs to reconnect to the network and enter the corresponding password.
3. WiFi has no invalid IP configuration
If you see a message that the WiFi does not have a valid IP configuration, you should fix it by entering the command lines as in part one.
If the problem persists and your WiFi is still not working on Windows 10, users just need to change the network name and password respectively. Note that the names and locations of the options may differ slightly depending on the brand of router you are using.

4. Problematic WiFi driver
If the problem is related to the WiFi driver, press the Windows + X key combination, select Device manager - Network adapter, then right-click the problematic adapter and choose Properties - Driver - Update Driver to update to the version. new, or Roll back Driver to revert to a previous version.

5. Cannot find WiFi network
If the computer cannot find the WiFi network, try doing some basic checks (whether the router is turned on, the computer is in range or not .) before trying to fix the problem. trying.
If the answer to both questions above is yes, next step try updating or reinstalling the corresponding WiFi driver (see instructions in part two or four).
Finally, users should try to change the WiFi zone by pressing Windows + R key combination, typing devmgmt.msc and pressing Enter. Next, select Network adapters, right-click on the WiFi adapter and choose Properties - Advanced - Country and Region.

Note, not all adapters have access to the Country and Region property.