Table of Contents
Instagram can schedule posts and Reels from the publishing screen when the account is eligible, while Meta Business Suite provides a calendar and scheduling workflow for connected professional accounts. Native scheduling is preferable to giving an unrelated service access to your account.
Check whether your account can schedule content
Instagram's current help says scheduling is available to eligible public accounts. Feature availability, supported post types, daily limits, and the maximum scheduling window can change, so use the controls displayed in your app and confirm the current requirements before planning a large campaign.
If Schedule this post never appears, check whether the account is public and whether switching to an appropriate creator or business account is suitable for your needs.
Schedule a post or Reel in the Instagram app
- Open Instagram and tap the create button.
- Select Post or Reel, then choose the photo or video.
- Edit the media, write the caption, and add any permitted tags, location, collaborators, or accessibility text.
- On the final sharing screen, open Advanced settings or More options.
- Turn on Schedule this post.
- Select the date and time, then confirm the schedule.
- Return to the publishing screen and tap Schedule.
Use the time zone shown by the app. If you manage content while traveling or after a daylight-saving change, confirm the intended local publication time before scheduling.
Meta's current instructions are available in its scheduled Instagram posts and Reels guide.
Find, edit, reschedule, or delete scheduled content
Open your Instagram profile menu and look for Scheduled content. Select the queued post or Reel and use its menu to reschedule, edit supported details, publish immediately, or delete the scheduled item.
Not every element can be changed after scheduling. If the required field is locked, you may need to delete the scheduled version and create a new one. Save the caption and media before deleting so the work is not lost.
Schedule through Meta Business Suite
Meta Business Suite is useful when a professional Instagram account is connected to a Facebook Page or Meta business setup and you want a desktop calendar.
- Open Meta Business Suite and select the correct business or Page.
- Open the content planner or create-post workflow.
- Choose Instagram as the publishing destination.
- Add the media, caption, and available post settings.
- Select Schedule for later.
- Choose the date and time, review the preview, and schedule the content.
Return to Planner or the Scheduled section to confirm the post is queued. Meta's Business Suite scheduling instructions describe the current interface.
Prepare the post before scheduling
- Use the final media file. Confirm crop, aspect ratio, audio, cover frame, and resolution.
- Write useful alt text. Describe important visual information when the control is available.
- Check tags and collaborators. A pending collaborator or product setting may affect publishing.
- Review music and rights. Licensed audio or branded content may have different scheduling rules.
- Confirm the destination. Users with several profiles can schedule to the wrong account.
- Keep a content calendar. Record campaign dates outside the app as a backup.
Why a scheduled Instagram post may fail
- The account became ineligible: Review public/professional status and account restrictions.
- The media violates a requirement: Re-export the file in a supported format and size.
- Music or another feature is unsupported: Remove the unsupported element or publish manually.
- The connection expired: Reauthorize the Instagram profile in Meta Business Suite through the official Meta flow.
- The app is outdated: Update Instagram, restart it, and check Scheduled content again.
- The time zone is wrong: Edit the schedule and verify the date and local time.
Check the account after the planned time rather than assuming the notification means the post succeeded. If a business-critical post fails, publish manually only after confirming it is not already live.
About third-party scheduling tools
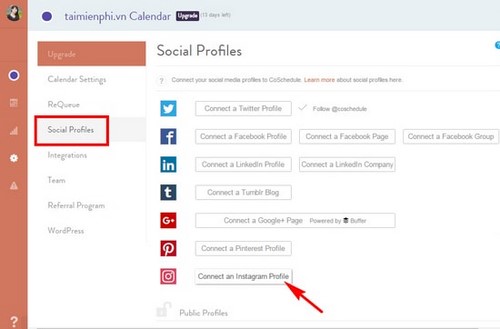
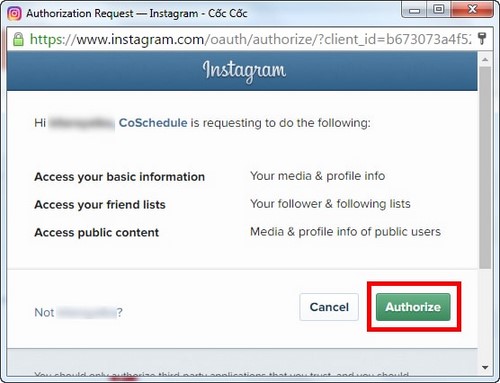
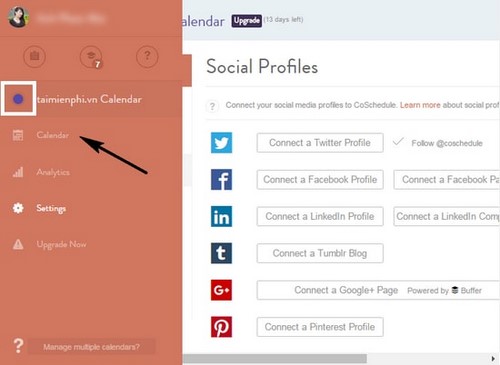
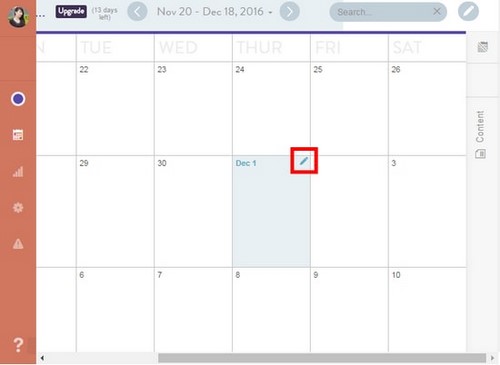
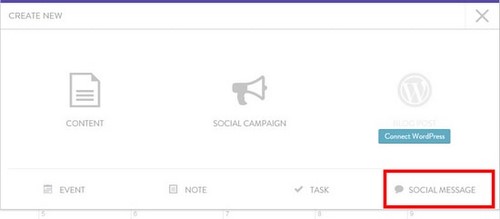
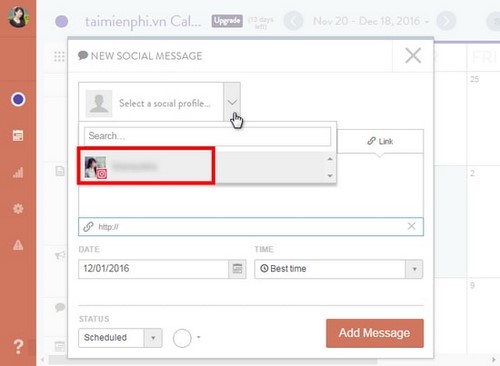
Marketing platforms such as CoSchedule can provide calendars and approvals, but their Instagram support, pricing, permissions, and publishing behavior change. Before connecting a tool, verify that it uses an official Meta authorization screen, request only the access it needs, and provide a way to revoke access.
Never give a scheduler your Instagram password directly. Use Meta's official sign-in and permission flow, enable two-factor authentication, and remove unused services from connected-app settings.
Legacy CoSchedule workflow screenshots
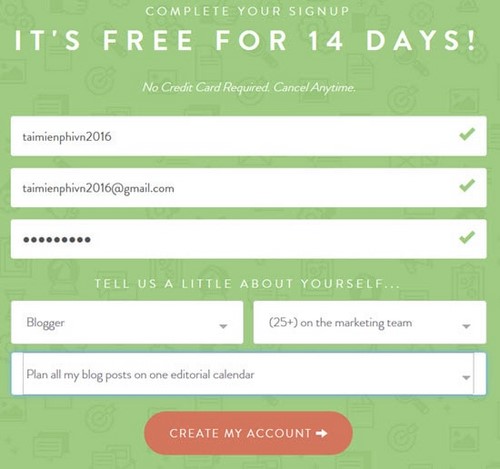
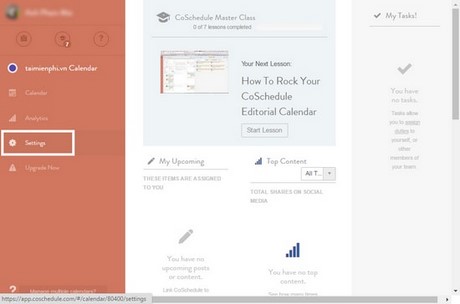
The images below show an older reminder-based CoSchedule workflow. They are retained for historical context; current screens and automation may differ.
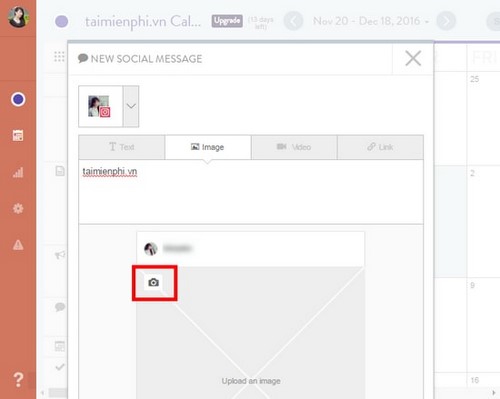
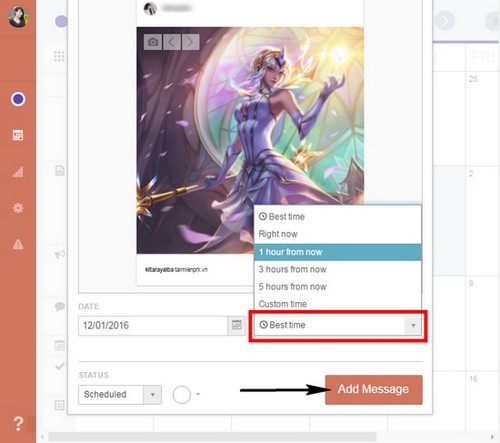
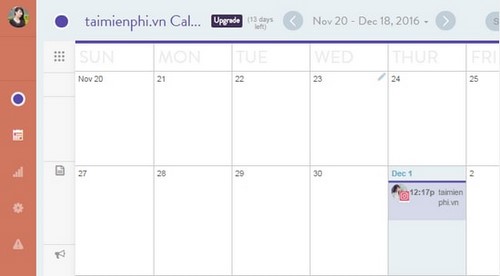
For related publishing and account instructions, browse TipsMake's social-network guides.
Related Articles
 How to Schedule Posts on Instagram3 minutes read
 How to Schedule Facebook and Instagram Posts Automatically6 minutes read
 How to Schedule Twitter Posts3 minutes read
 How to Review Your Favorite Instagram Posts3 minutes read
 How to Download Instagram Story Posts to PC9 minutes read
 How to Hide Other People's Posts on Instagram3 minutes read
Reader Comments 0
Sign in with email or Google to join the discussion.