Manage WordPress from Android device
So today we will show you how to install and use the WordPress application on your Android device.
TipsMake.com - Android is getting bigger and bigger, and it is being 'filled' by applications in the Android Market. One of the very useful apps for you is WordPress App for Android. This is a great app for all bloggers who want to update posts or comments when they can't use the computer or are away. So today we will show you how to install and use the WordPress application on your Android device.
Step 1 - Download WordPress for Android (Free!)
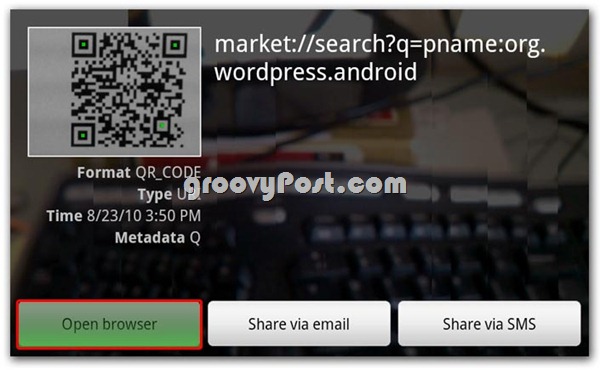
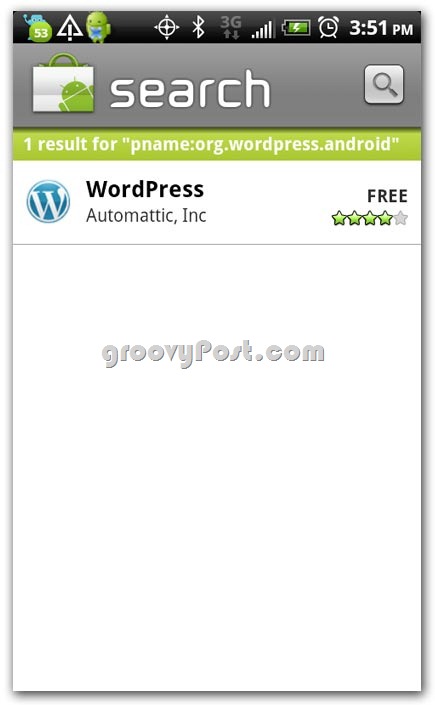
Access to Android Market from your device and search for wordpress, the search results will be WordPress by Automattic, Inc. In addition, you can use barcode scanning on your phone to scan QR codes. This way, you have direct access to the application.
Step 2 - Install the application
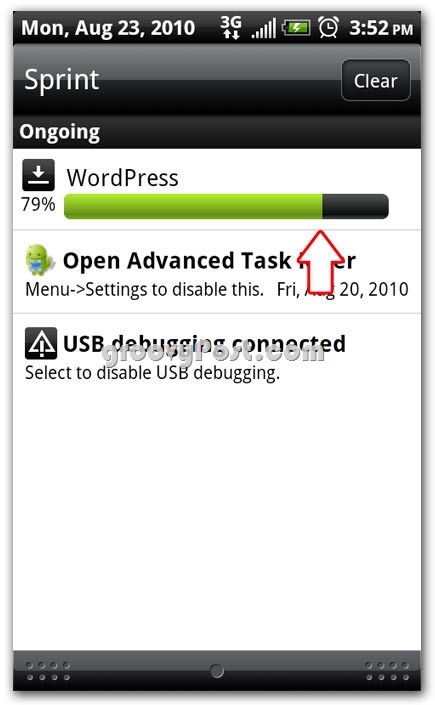
To install the application, click Install
Allows the application to access the required system by clicking OK

In this screen, you can see the installation process of the application.

Step 3 - Open the application and configure
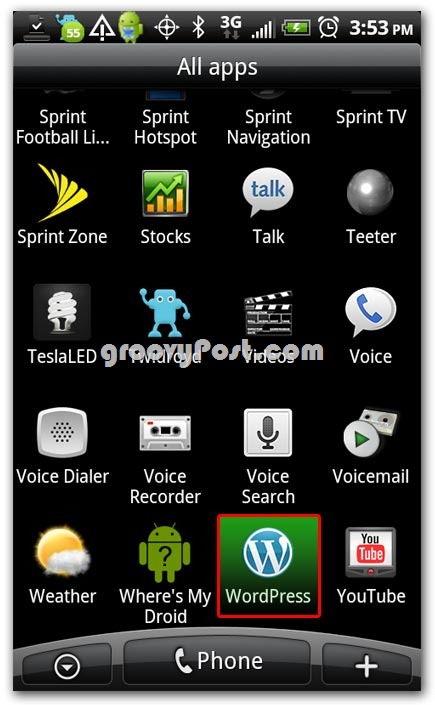
Drag down the application list screen and find the icon of WordPress, click on the application icon.
Next .
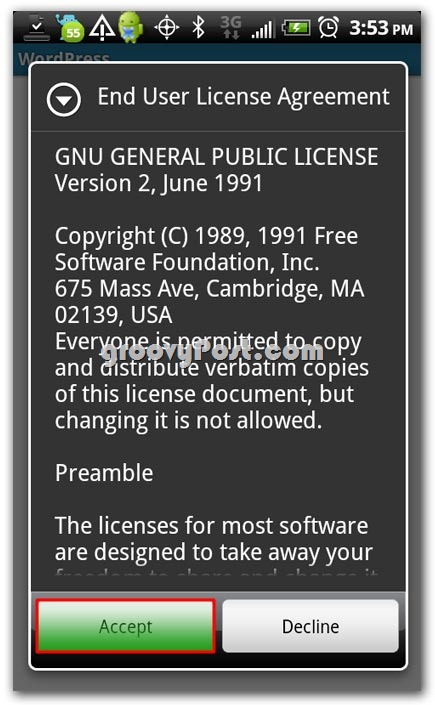
. Click Accecpt to agree to the terms of the License Agreement
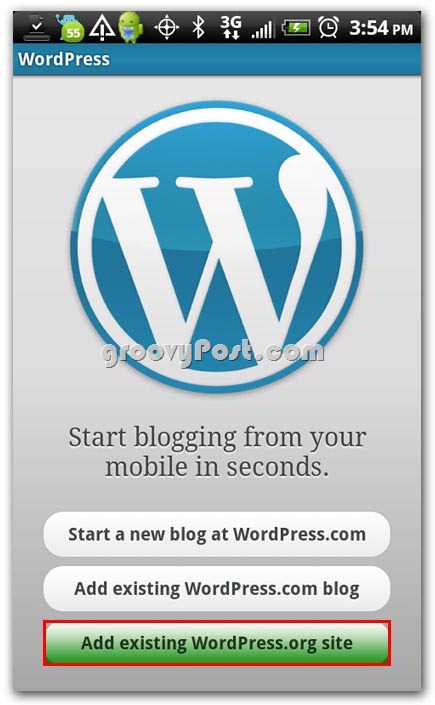
At this screen, you will have several options: you can start a new blog on WordPress.com, add an existing WordPress.com blog page or add a WordPress.org site address. These can make it a little difficult for you if you are not familiar with how WordPress works.
Basically, if you have a WordPress blog site, and log in from wordpress.com, you can use the Add existing WordPress.com blog option .
If there is already a website placed on other sites, not on WordPress.com, you can use the Add existing WordPress.org site option .
In the example, we have another account, not WordPress.com, so we will use the third option: Add existing WordPress.org blog
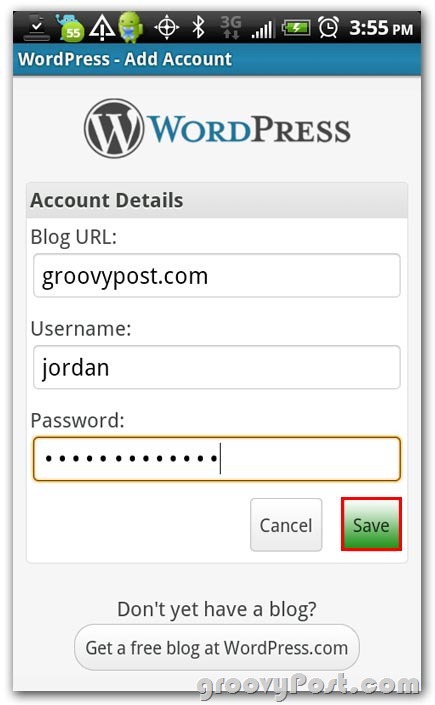
Enter your account information: Blog URL, user name, password and select Save .
And now you can use this service
Use WordPress application for Android
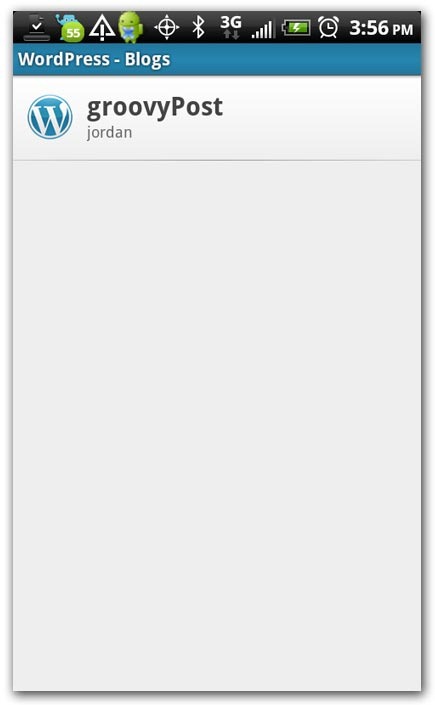
Click on the title of the blog page as you see in the previous screen, you will see a screen displayed as shown below.
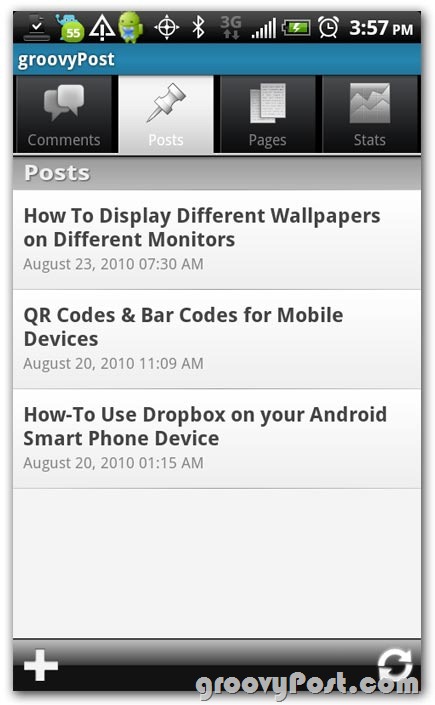
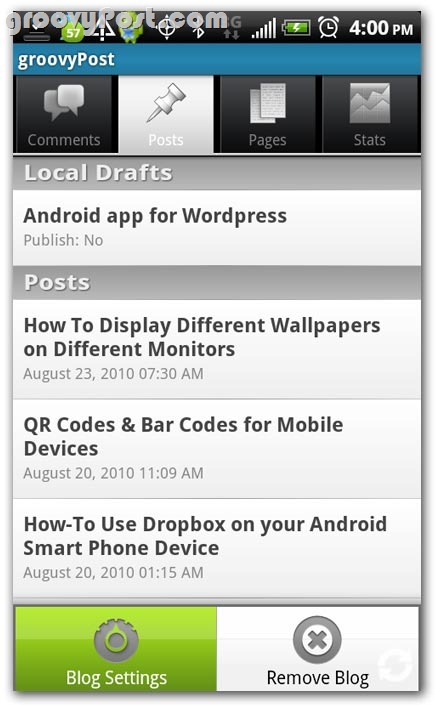
Here, you can browse to comments, posts, pages and view the status of the page - IF you have permissions. Sometimes, you will only be a contributor or a post writer, so you will not be able to use some of the features in this application. So you will receive a notification if you try to access.
Click on Post and you will see some recent posts.
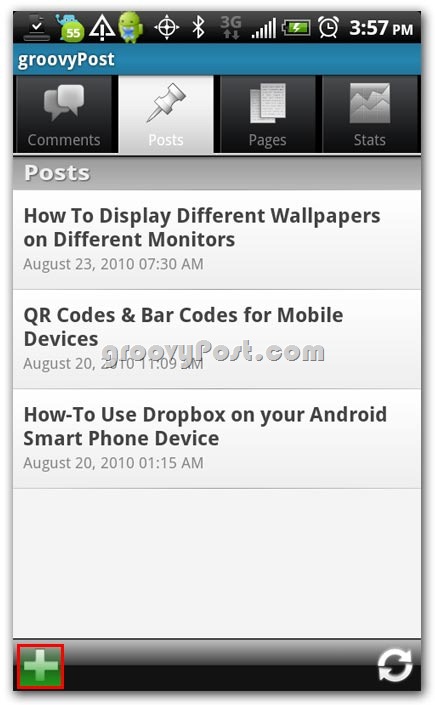
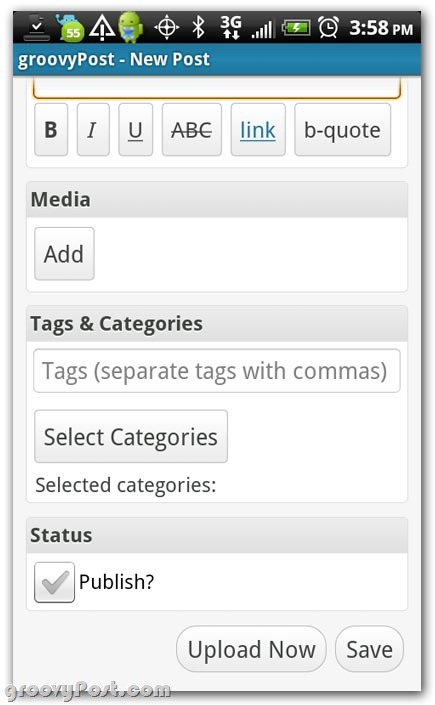
Click Plus (+) and you can start writing a new post.
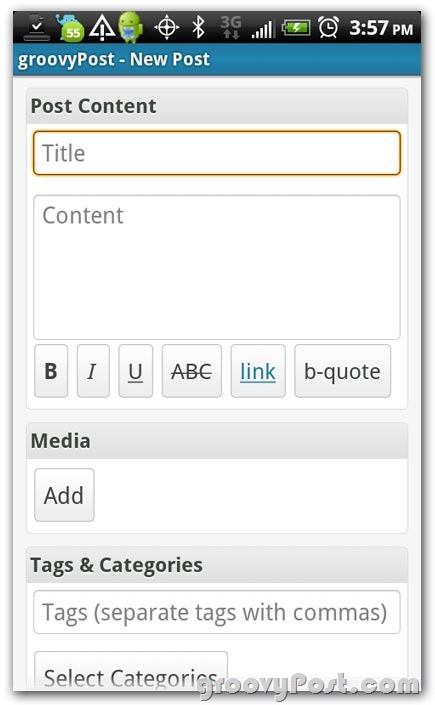
It will be a bit inconvenient when you use the application for this phone, you will have some basic functions like when using the web version. However, you will not have features like kitchen sink, code view. Therefore, this application is not really a tool for you to post articles daily.
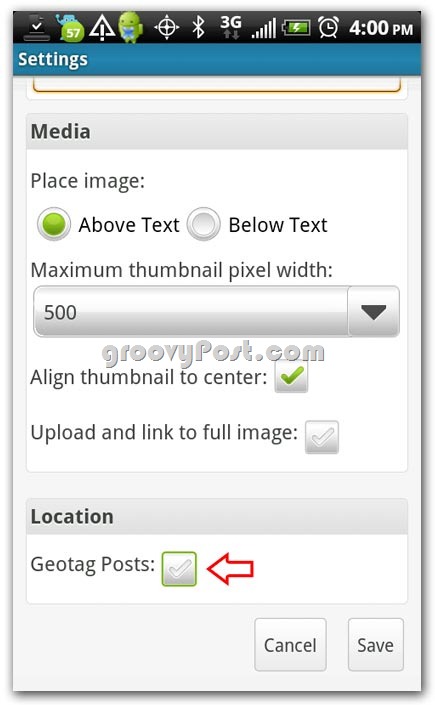
Exit the editing of post items by clicking the phone's back button. Next, click the device menu button button and click Blog Settings.
Here, you can drag the screen down and find the Location item and choose if you want your posts to be Geotagged - by default this setting is turned off.
Next, return to the main screen of the application, where the blog page is displayed. You can do this by pressing twice on the phone's back button. Then, click on the device menu button and select Preferences.
You can choose to install a comment message and create a Post Signature (signature) after each post for your own, so that everyone can know if you post your article from your Android phone.
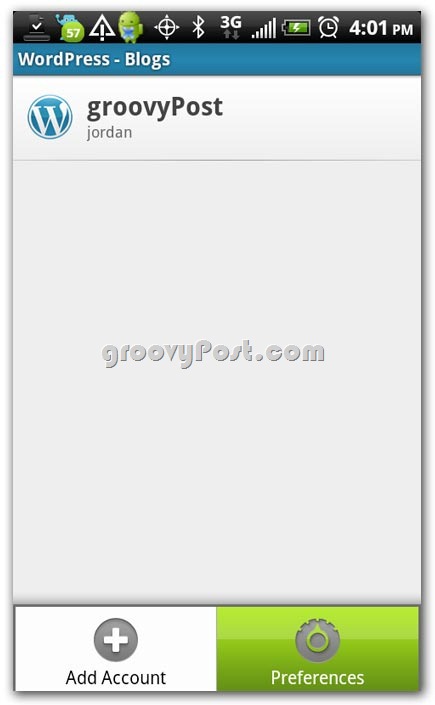
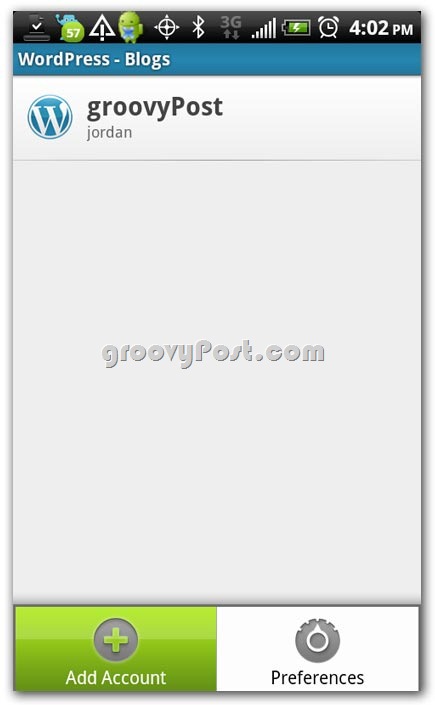
Manage multiple WordPress accounts
This is really extremely simple with the WordPress application. From the main screen of the WordPress application, click on your device menu and then click Add Account, follow some simple steps like before and you can manage multiple blog accounts from the device itself. My Android.
Finish! So we showed you how to manage WordPress from Android phones. Now you can experience your blog anywhere with your Android device. Having fun!
Was this article helpful?
Your feedback helps us improve.
Related Articles
 Which platform is better for WordPress.com and WordPress.org?14 minutes read
 Why is WordPress free?10 minutes read
 5 mistakes everyone mistakenly thinks about WordPress5 minutes read
 What's new in WordPress 5.4?4 minutes read
 How to add new posts on WordPress3 minutes read
 Squarespace and WordPress - Which one is better?13 minutes read
Reader Comments 0
Sign in with email or Google to join the discussion.