Install WordPress directly on the CPanel website
In the following tutorial, TipsMake.com will introduce the basic steps to install WordPress directly on your website. But keep in mind that manual WordPress installations like this are quite complicated, so we recommend that users use automated installation scripts if your hosting provider provides and supports them. help ...
In the following tutorial, TipsMake.com will introduce the basic steps to install WordPress directly on your website. But keep in mind that manual WordPress installations like this are quite complicated, so we recommend that users use automated installation scripts if your hosting provider provides and supports them. support. Besides, you can refer to the following article, a much simpler installation way. But for those hosting that does not support Softaculous , this will be the most suitable option.
Create a database for WordPress:
The first job is to set up a MySQL database system on the server for WordPress. Most hosting companies provide users with a simple graphical interface, making management, setup or configuration processes much easier. At this test, we will proceed to create the database system using the MySQL Wizard on cPanel. First, you log into the main admin page, navigate to the Database section and select the MySQL Database Wizard:

Name the database, note that the full name here will include the name on the left of the textbox, so there will be a general format like: yourhosting_yourdatabasename. Then click Next :

Next, initialize the name and password for the database administrator account, click Create User. In addition, you can use the Password Generator feature to create more secure passwords, and need to write down these information to use in the process of setting up WordPress later:

The next thing we need to do is download the latest version of WordPress stable installation, then upload it to the hosting website. Please visit here, download and extract the file:

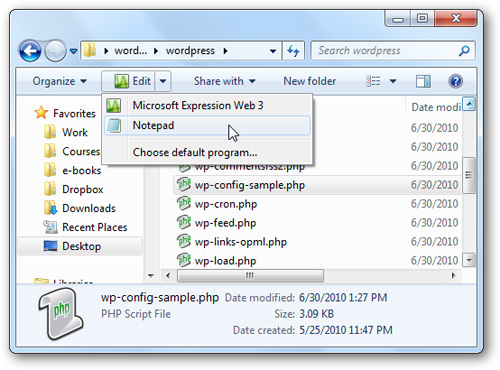
Once decompressed, we need to create a wp-config.php file with database information. To do this, find the file wp-config-sample.php and open with NotePad:
Find the code (shown below) and fill in the information just created in the previous step. As the example below, you replace the database name into database_name_here , account name with username_here . and continue. For most hosts, keep localhost , in case your website is configured and set up differently, check back with your hosting provider to ensure there are no conflicts in step this:

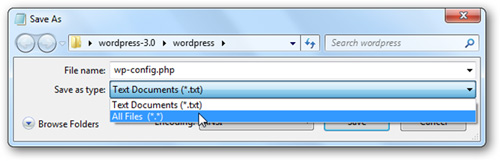
When done, save this file with the name wp-config.php , remember to select All Files if you use NotePad to edit:
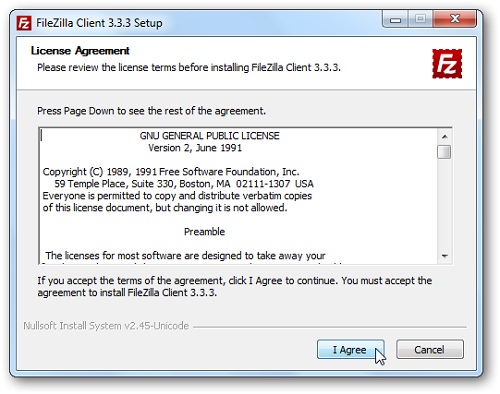
After that, we need to upload the entire WordPress installation directory to your website. You can use popular FTP protocol support software like CuteFPT, FileZilla . Here we use FileZilla:
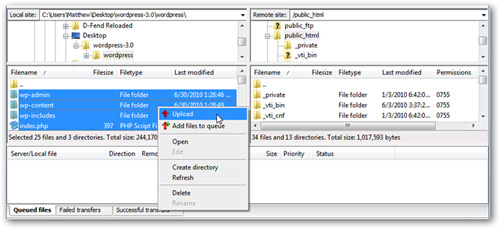
After logging in to the FTP administrator account, point to the WordPress folder on the computer in the left window, and the right is the folder you want to install directly from the host. Select the entire WordPress installation file, right-click and Upload:
Complete the WordPress configuration process:
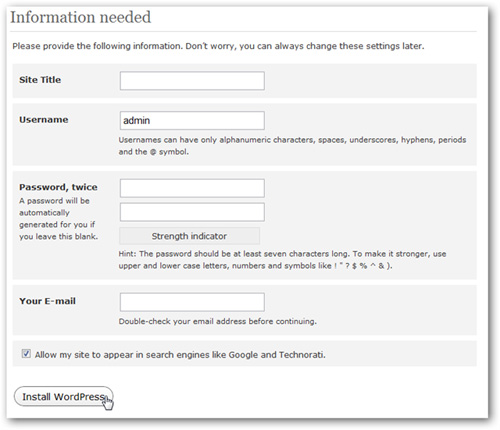
The upload process will take a few minutes, depending on the system's Internet connection speed. Then, open the browser and type the following address: http://yourdomain.com/wp-config.php , you just need to replace yourdomain.com with the domain name or subdomain accordingly. The setup page of WordPress will display, here you should fill in the information initialized in the previous step and click the Install WordPress button:
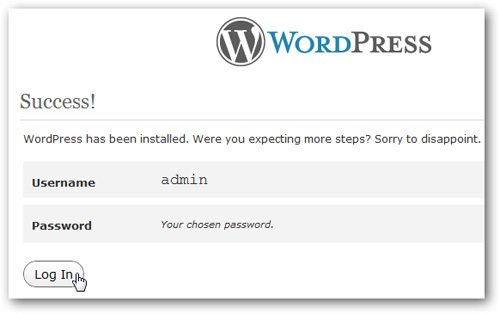
When the Success page (shown below) shows that you have successfully installed, click Log In to access the main admin page of WordPress:
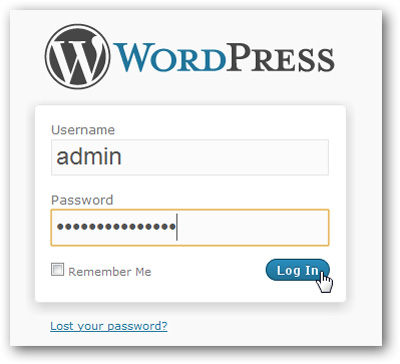
Enter the username and password, then press Log In. Later, when you want to access the admin page, you just need to use the path of the form http://yourdomain.com/wp-admin.php:
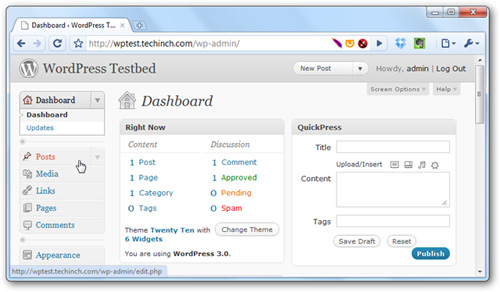
Here, you can post new articles, change the theme system, check comments .:
Although the process of doing so is a bit complicated, if you practice it a few times, it will not be the same as the original. Good luck!
Was this article helpful?
Your feedback helps us improve.
Related Articles
 Instructions for creating web pages in Wordpress from A to Z (Part 2)9 minutes read
 5 cPanel Tips and Tricks (for Beginners Through to Advanced Users)5 minutes read
 Instructions for installing WordPress on Bluehost11 minutes read
 How much does it cost to build a WordPress website?14 minutes read
 Wix and Wordpress - Which one is better?13 minutes read
 Which platform is better for WordPress.com and WordPress.org?14 minutes read
Reader Comments 0
Sign in with email or Google to join the discussion.