Table of Contents
This guide explains how to resolve Instructions to Fix the Error of Not Connecting to Wi-Fi on iPhone, starting with the most likely causes and moving through practical troubleshooting steps.
1. Check Wi-Fi connection on iPhone
Before fixing the Wi-Fi connection error, check whether the Wi-Fi connection is enabled. Then use Control Center to turn on Wi-Fi. You can also swipe up from the bottom of the screen (or down from the top right, on iPhone X, iPhone XS and iPhone XR) and click on the Wi-Fi icon to activate it. Also check if airplane mode is turned on, if so, it must be turned off to enable Wi-Fi successfully.
2. Check Wi-Fi security
To do this trick, go to Settings. Select Wi-Fi and click the letter i next to the connecting Wi-Fi. Click Forgot network is okay.
3. Restart iPhone
Sometimes this simple way is also quite helpful when removing small system errors that make it easier for Wi-Fi to connect. This is a trick many people apply.
4. Turn off Wi-Fi again
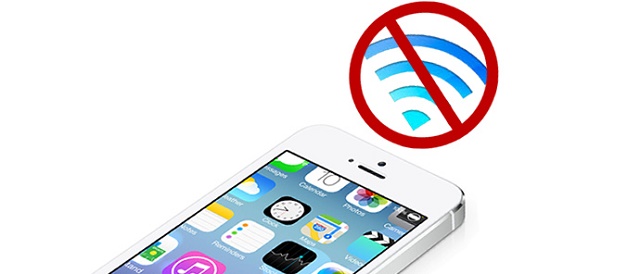
Another basic way for users to handle when the Wi-Fi is not connected is to turn off the Wi-Fi temporarily and turn it back on. Or you can turn airplane mode on and off so all iPhone connections are refreshed.
5. Delete Wi-Fi address on iPhone
Cases such as faulty Wi-Fi or password changes often lead to network connectivity loss. Users can forget the Wi-Fi address on the iPhone and then enter the password to reconnect.
6. Turn off the Wi-Fi Assist feature
Wi-Fi Assist is a feature that automatically uses 4G data when the Wi-Fi is too weak or lost connection. Users should turn off this feature to ensure uninterrupted Wi-Fi connection. To do this, go to your iPhone's settings, select Mobile. Pull down and turn off Wi-Fi Assist.
7. Restart Wi-Fi modem
Wi-Fi modem works continuously, overloading the iPhone so it cannot connect. Therefore should turn off the modem emit Wi-Fi then open again.
8. Reset Wi-Fi installer
Typically, because in the course of use, users change certain network settings, this accidentally causes incompatibility errors and causes connection problems, but does not remember their actions. worked. So a way to completely restore the original settings is extremely necessary. To reset network settings users need to go to Settings. Select General settings. Select Reset. Select Reset Network Settings.
9. Turn off location services
Location services are often enabled on iPhones to use nearby Wi-Fi networks and enhance accuracy, but this may be the reason why your iPhone can't connect to Wi-Fi networks. Turn off location services as follows: Click Install. Click on Privacy. Click Location Services. Swipe to the bottom and select System Services. Move the Wi-Fi & Bluetooth Network slider to turn off this service.
10. Contact the manufacturer
Hardware problems are best diagnosed and repaired by Apple or an authorized Apple service provider. Take your iPhone to the nearest Apple Store to check or contact Apple support online for an alternative.
FAQ
What usually causes Instructions to Fix the Error of Not Connecting to Wi-Fi on iPhone?
The cause may involve incorrect settings, outdated software, damaged files, permission problems, device compatibility, or a temporary system issue.
What should I try first to resolve Instructions to Fix the Error of Not Connecting to Wi-Fi on iPhone?
Restart the affected app or device, install pending updates, verify settings and connections, and follow the troubleshooting steps in order.
How can I prevent the issue from returning?
Keep software updated, maintain backups, avoid interrupted installations, and review system or device settings after major changes.
Related Articles
 Wi-Fi Error When Connecting to a Special Network Name That4 minutes read
 How to Delete Connected Wi-Fi Addresses on iPhone4 minutes read
 Conflict of IP Address Error When Connecting to Wi-Fi on iPhone5 minutes read
 Fix PS5 Not Connect to Wi-Fi4 minutes read
 Fix the Wi-Fi Connection of iPhone and iPad When on iOS 84 minutes read
 Instructions to Delete (Forget) Connected WiFi Address on iPhone6 minutes read
Reader Comments 0
Sign in with email or Google to join the discussion.