Table of Contents
Gmail protects messages in transit with TLS when the receiving service supports it, but standard personal Gmail does not provide end-to-end encryption for every message. If you and the recipient need OpenPGP encryption, a browser extension such as Mailvelope can encrypt the message body before it is sent.

Mailvelope requires both parties to manage encryption keys correctly. It is different from Gmail's Confidential mode, which adds access controls such as an expiration date but should not be treated as a replacement for end-to-end encryption.
What you need before sending an encrypted message
- A supported desktop browser with Mailvelope installed from an official extension store.
- Your own OpenPGP key pair: a public key that can be shared and a private key that must remain protected.
- The recipient's public key. Without it, Mailvelope cannot encrypt a message that only the recipient can decrypt.
- A secure backup of your private key and its passphrase. Losing both may make old encrypted messages impossible to recover.
Set up Mailvelope for Gmail
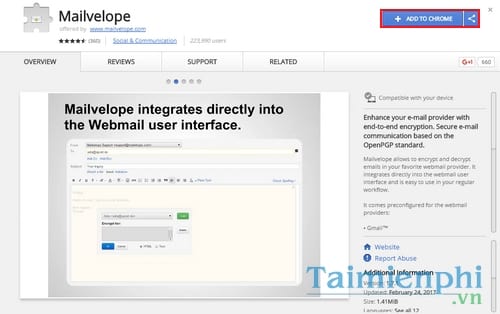
Step 1: Start with Mailvelope's official setup guide and install the extension for your browser. Review the permissions requested by the extension before accepting them.
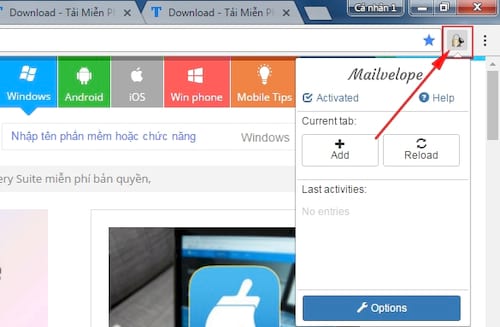
Step 2: Open Mailvelope from the browser toolbar. Its icon and menu layout may differ from the older screenshots in this article.
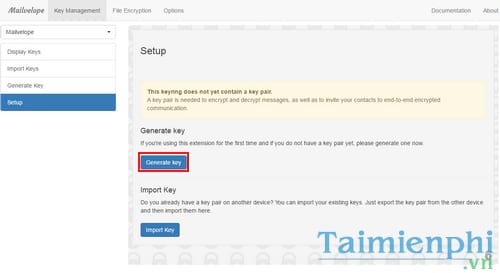
Step 3: Open Key Management. Generate a new key pair if you do not already have one, or import an existing OpenPGP key pair.
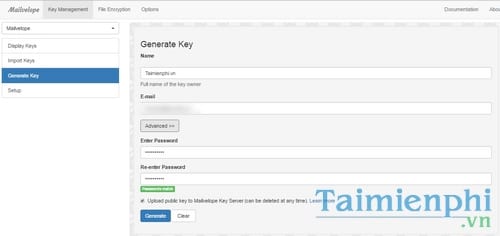
Step 4: Associate the key with your email address and protect the private key with a strong, unique passphrase. Create an encrypted backup and store it separately from the computer. Mailvelope cannot recover a forgotten key passphrase for you.
Exchange and verify public keys
Share only your public key. Import the recipient's public key into Mailvelope or retrieve it from a key server when available. Before using a key for sensitive communication, verify its fingerprint with the recipient over a separate trusted channel. A matching email address alone does not prove that a key belongs to the intended person.
Compose and send the encrypted email
Step 5: In Gmail, open the Mailvelope editor rather than typing the sensitive text directly into Gmail's normal compose body. Add the recipient, confirm that Mailvelope has the correct public key, write the message, and encrypt it before sending.
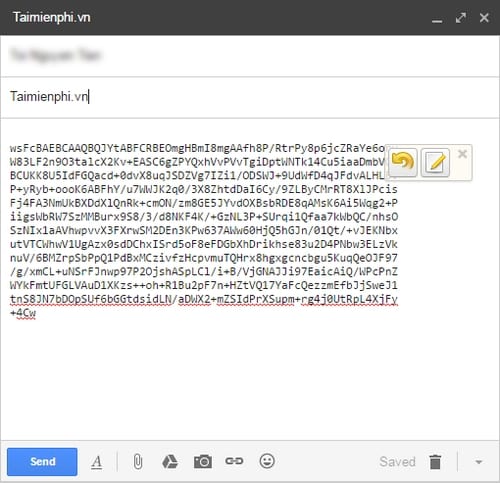
Keep confidential details out of the subject line because a standard OpenPGP workflow does not encrypt message headers such as the sender, recipient, date, and subject. The recipient will use their private key and passphrase to decrypt the body.
When Gmail Confidential mode is enough
For lower-risk situations where you mainly want an expiry date or want to restrict common actions such as forwarding, printing, or downloading, use Gmail Confidential mode. It can reduce casual sharing but cannot prevent screenshots or a recipient from recording the content another way.
Important security limits
- Encryption does not protect a message after it is decrypted on a compromised device.
- A stolen private key and passphrase can expose messages encrypted to that key.
- Verify recipients before sending; encryption to the wrong public key securely delivers the message to the wrong person.
- Keep the browser, extension, and operating system updated.
If built-in privacy is a priority, compare TipsMake's overview of secure email services. Desktop users who prefer a dedicated mail program can also review free email clients and check which encryption features each supports.
Related Articles
 3 Useful Features Gmail Will Offer for Free to Everyone6 minutes read
 Gmail Allows Sending End-to-end Encrypted Emails (E2EE) to Any4 minutes read
 How to Scheduling Sending Emails and Delaying Sending Emails in7 minutes read
 How to Send Emails with Attachments on iPhone5 minutes read
 Instructions for Snoozing Emails in Gmail: Main Insights6 minutes read
 Discover Useful Gmail Features7 minutes read
Reader Comments 0
Sign in with email or Google to join the discussion.