How to Refill Canon Printer Ink
Check to make sure the ink cartridge is empty
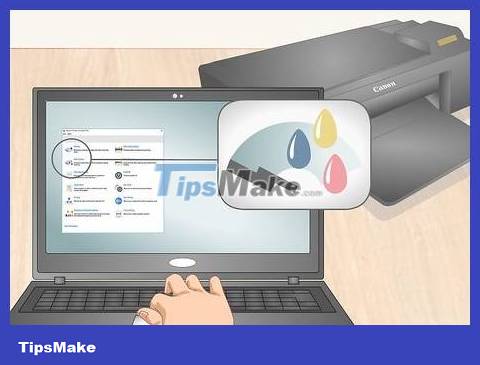
Run the print head cleaning program on your computer. Usually when stripes appear on the printed page, many people will think that the printer is about to run out of ink. However, in some cases, dirty print heads are also the cause. Try selecting the print head cleaning feature in the 'Devices and Printers' menu to see if this improves the situation.
Print another page after running the print head cleaning program. If the stripes still appear, it means the printer is about to run out of ink.

Shake the cartridge. If your computer reports an error that the printer is low on ink, it's likely because the ink in the cartridge is clogged. Take each cartridge out one at a time, turn it over and shake it gently. Then, reinstall the ink cartridges and test print to see if the problem has been resolved.
You should only shake the cartridge very gently. If shaken vigorously, the cartridge will not only be damaged, but will also risk slipping out of your hands and breaking.

Clean the sensor part of the cartridge. A dirty sensor will also lead to errors even if the ink is still there, so you just need to clean this part and you're done. Dip a little rubbing alcohol into a paper towel and gently wipe it on the sensor part of the ink cartridge, then print again to check.
Gently wipe the electronic sensors inside the printer. Dirt accumulation on any electronic sensor has the potential to cause errors.
Prepare the ink cartridges
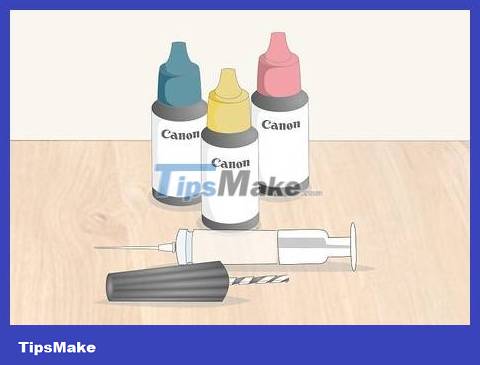
Prepare the Canon ink refill kit. These tools usually include ink for all colors in the printer, a syringe to inject the ink, and a small drill bit. You can find it at most stationery stores or on the Internet.
Contact Canon directly if you cannot find the right tool. Go to https://www.usa.canon.com/internet/portal/us/home/support/self-help-center/contact-us-by-phone to find the contact phone number.
Note: each printer model will use its own ink refill tool set. Although Canon ink products are generally quite similar, they are sometimes not interchangeable.
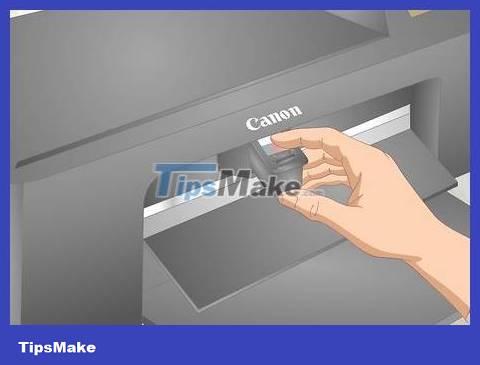
Take out the ink cartridge. Some printers have their own mechanism to remove the ink cartridge. Ink cartridges are usually located below the printer's scanning unit, so you'll need to open the cover. Usually, you just need to press the cartridge down until you hear a click indicating it has popped out of place. Then, shake gently until the cartridge slides out.
Don't forget to refer to the user's manual if you don't know how to remove the ink cartridge.
Do not pull the cartridges if they do not pop out easily. This can damage both the ink cartridge and the printer.
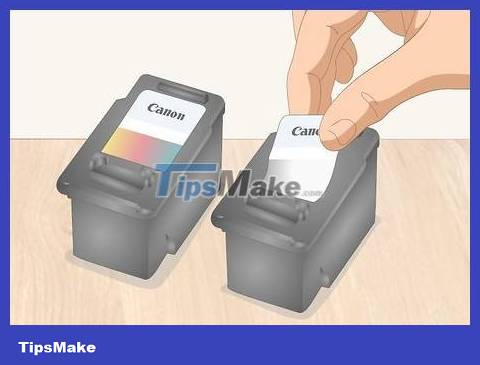
Use a utility knife to peel off the sticker on each cartridge. If you have never refilled ink before, the sticker covering the ink pump hole is still intact. Carefully slide the blade under the sticker and peel it off. After inking, we will tape this hole with tape so you can peel off all the labels.
For color cartridges, there will be 3 holes below the sticker. Each hole will lead to a separate ink compartment.
Wear gloves to be safe when using knives.
Gloves will also protect you from getting ink.
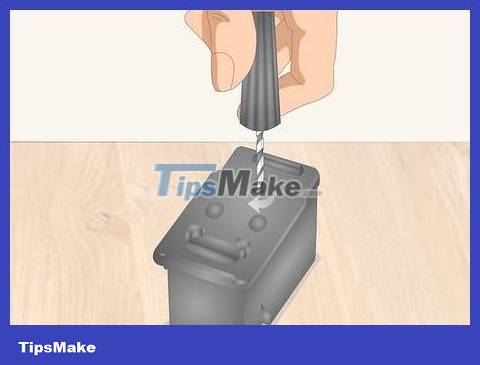
Use a hand drill to drill into the hole above the cartridge. At the top of the ink cartridge there is a small circle that marks the drill position to inject ink. One hand holds the cartridge, the other holds the drill. Start drilling in a circle until the drill bit penetrates the plastic. Then, rotate the drill bit to widen the hole to make it bigger.
Check the hole size by inserting the syringe. If the syringe goes through easily, the hole is large enough.
To save effort, you can use a drill. Note: choose a small drill bit that fits the hole on the cartridge, and stop as soon as the drill penetrates the plastic layer.
With the color cartridge, drill the 3 marked holes.
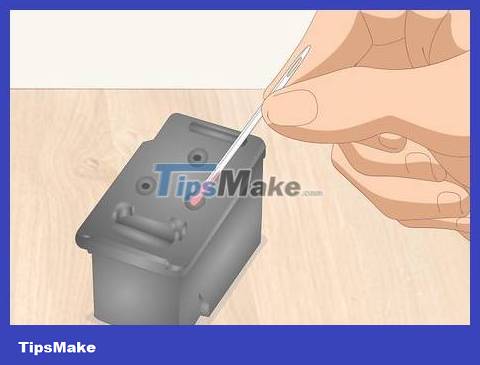
Insert the needle into each hole to determine the color to be loaded. With color cartridges, you need to determine the color to inject into each compartment. Use a long needle to poke deep into the bottom of the ink compartment until the tip of the needle touches the bottom. Then, rotate the needle back and forth and pull it out to see what color the ink is.
You can use a paper towel to wipe the tip of the needle to accurately identify the color in the ink compartment.
Refill and reinsert the ink cartridge
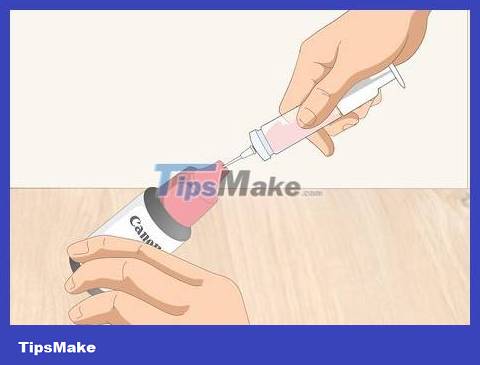
Fill in the correct ink color. Dip the tip of the syringe into the ink tank of the appropriate color. If the syringe has a squeezer attached, squeeze to fill the cylinder. If the syringe uses a plunger, pull the handle to draw ink.
Black Canon ink cartridges usually have a capacity of 7 ml, while color ink cartridges have a capacity of 3 ml per chamber. However, the exact amount of ink to refill depends on the type of cartridge. Find out the cartridge capacity in the manual and draw the correct amount of ink into the syringe.
Do this on top of a rag or in an easy-to-clean area to prevent ink spills.
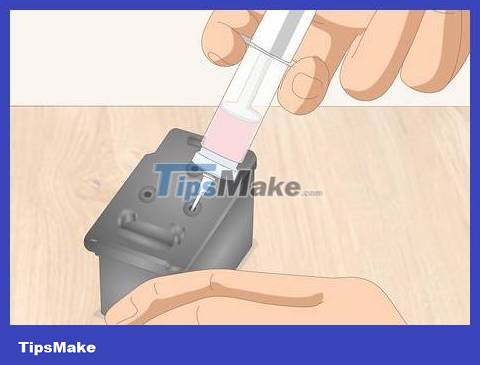
Inject ink through the hole on the ink cartridge. Insert the syringe into the cartridge and slowly inject the ink. Avoid pumping too quickly, or the cartridge may overflow. Stop pumping as soon as ink begins to flow out through the hole.
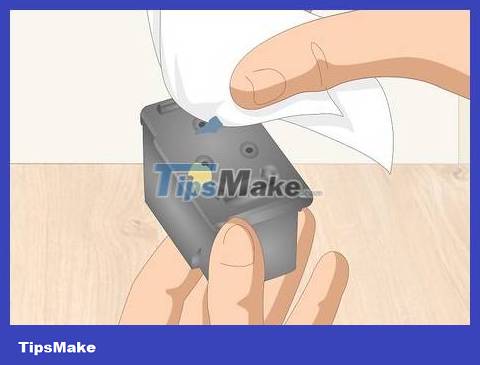
Clean the ink cartridge. Use a rag or paper towel to clean the ink cartridge. You can also apply a little rubbing alcohol to a cloth to clean the sensor of each cartridge. If the sensor is stained with ink, the printer will not be able to read it.
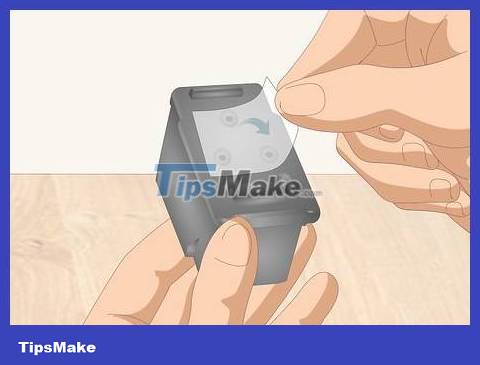
Apply tape over the hole you drilled and puncture. Tape the entire ink cartridge cover to prevent ink from leaking out. Press the tape down to limit air bubbles that affect the printer's functionality. Then, use a needle or toothpick to poke a small hole through the tape, right above the hole you drilled. This will be the vent for the cartridge.
You should use adhesive tape that can be easily removed to facilitate future ink refills. Paper tape or electrical tape is suitable. Do not use silver aluminum tape because of its high stickiness.
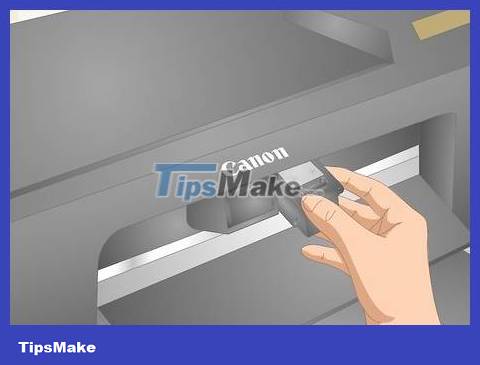
Install the ink cartridges back into the printer. Insert each cartridge into the same tray you removed it from. Depending on your printer, you may need to press down on the cartridge until you hear a 'click' sound. This sound indicates that the cartridge has popped into place.
Check again to see if you have installed the ink cartridge in the correct tray.
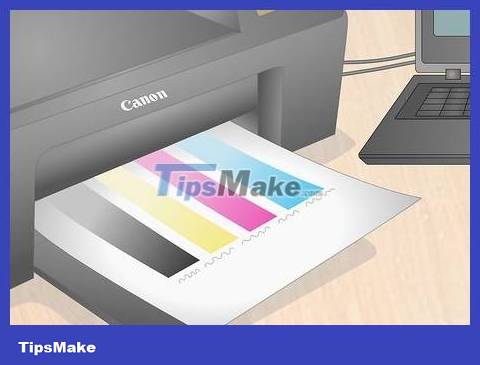
Proceed with test printing. Check the results to ensure that the printer operates normally after reinserting the ink cartridge. You can print anything, but a dedicated proof page tests all colors on the same side of the paper.