Instructions for installing Windows Server 2016 on Windows 10
New features in Windows Server 2016
The new version of Windows Server will bring us closer to the cloud, integrating with Azure services, especially on SQL / DB and on the identity management system and access permissions (deployed on the cloud). requires AD services, enabling effective management in a hybrid environment with on-premises and cloud applications. How new features include:
- For the first time in history, Microsoft has improved time accuracy thanks to the development of Win32 Time and Hyper-V Time Sync services.
- Hyper-V has a completely new restructuring, with better hardware management, simpler network management, Windows Containers support for Windows 10 virtual machines, etc.
- Nano Serve now has a new model to create Server images, with support for other Windows Server Edition versions.
- Access management and identity management system: This is where Microsoft has made tremendous progress, enabling efficient integration of on-premises applications and the cloud requiring secure Active Directory access .
- Management and automation: PowerShell 5.0 adds great new features, greatly helps developers and the ability to run PowerShell on the Nano Server.
- Networking: Microsoft added the new Software-Defined Networking structure and improved TCP performance.
- Security: The new 'Just enough Administration' feature allows users to authorize work for PowerShell to manage and the new Credential Guard feature to use virtualization-based security to separate areas to specific software only New access to them.
- Storage: Storage Spaces Direct allows building high availability storage using local storage servers with the new Failorver Clustering technology.
See also: What does Windows Server 2016 bring to small and medium businesses?
How to install Windows Server 2016 on Windows 10.
To install Windows Server 2016, the following software and system requirements are required:
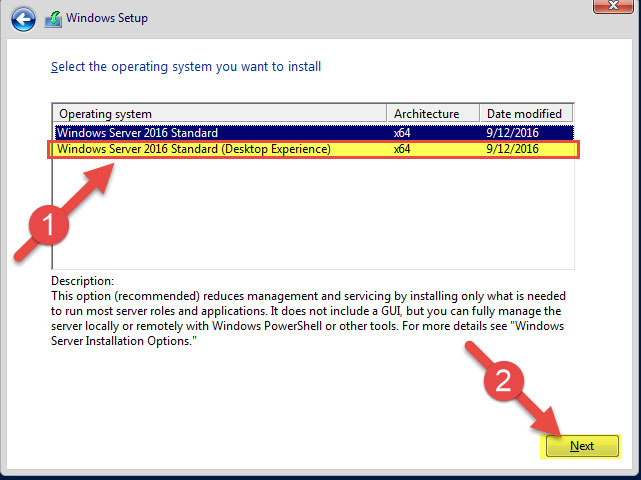
- Windows Server 2016 Standard ( Desktop Experience - GUI)
- 2 processors
- 8GB DDR4
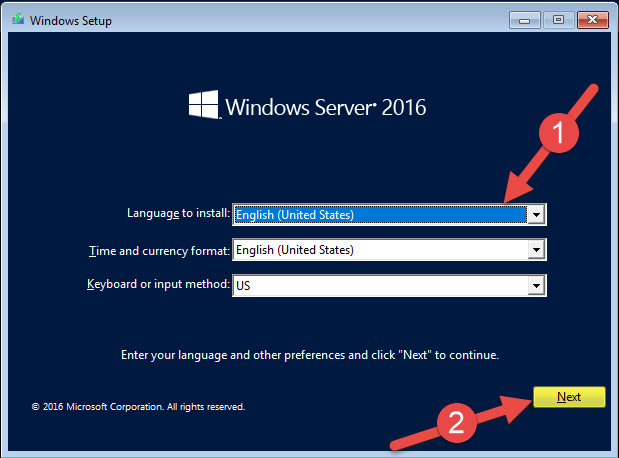
Step 1. Select the language setting and keyboard input method.
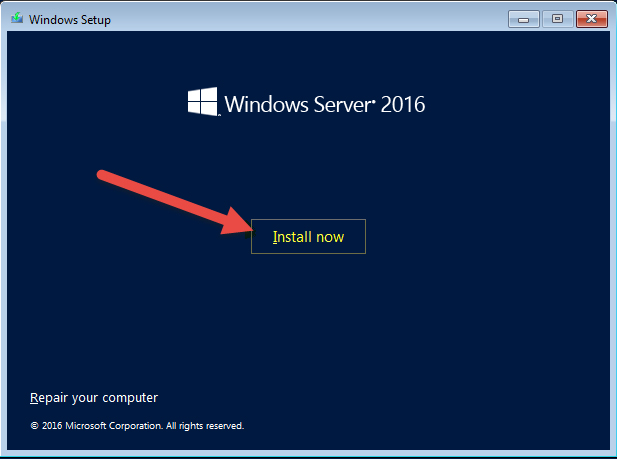
Step 2. Enter software key :

Step 3. Select the version you want to install. Here use GUI .
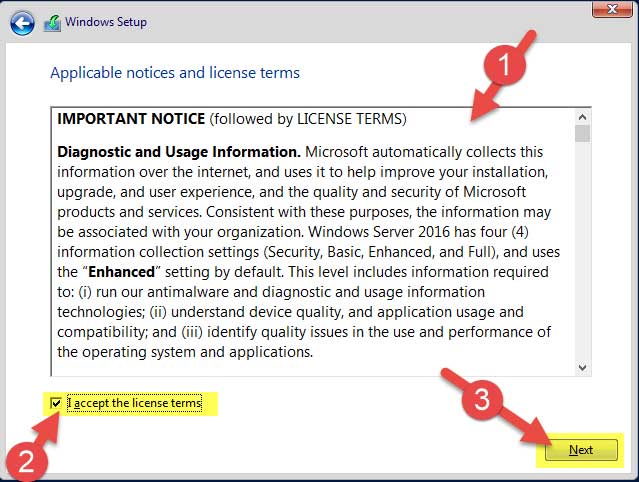

Step 4. Select the drive / HDD / SAN (external storage) you want to install on it.
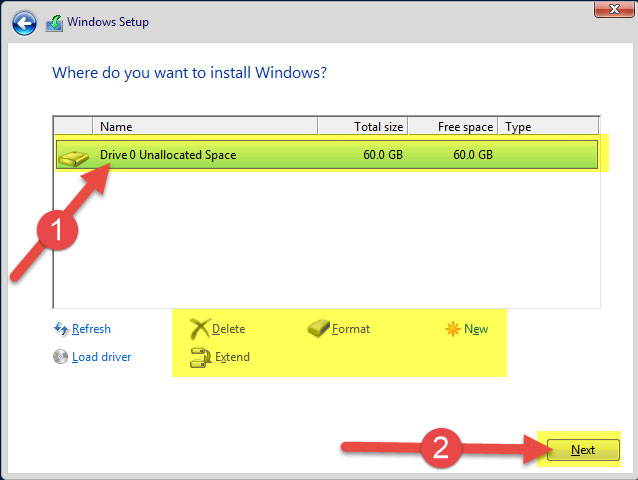
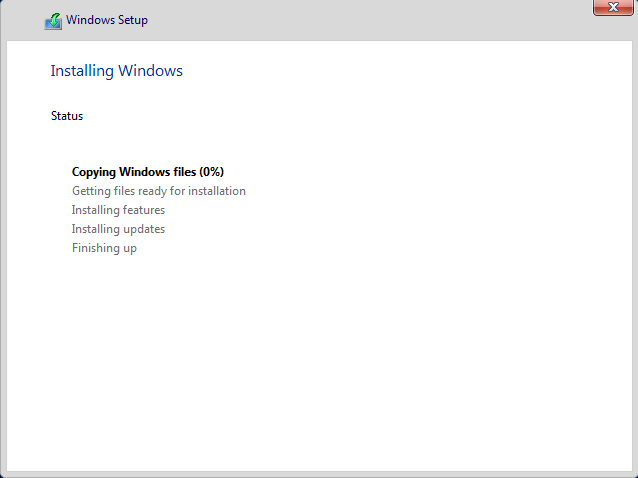
Step 5. Select the administrator's password (the password should be strong). Read the article How to check the password strength to check your password strength.
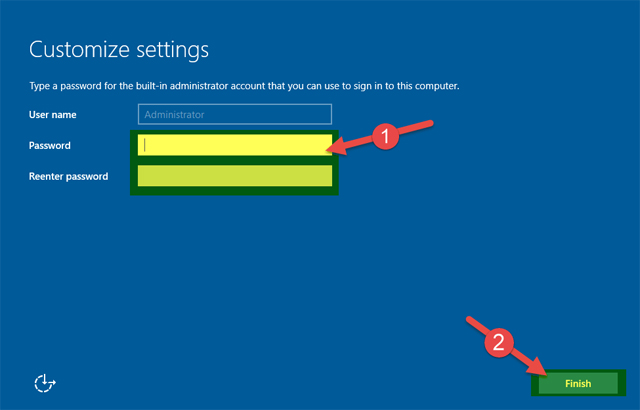


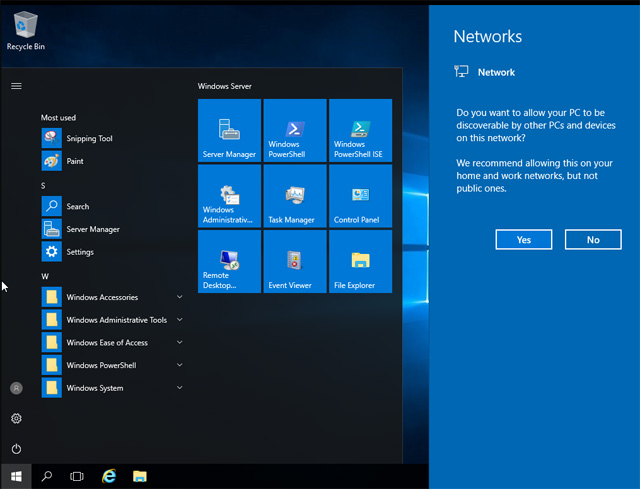
Step 6. So the installation process is complete and ready for use.

I wish you all success!
See more:
- Install and configure Windows Server 2008 DHCP Server
- Instructions for installing Windows Server 2012 step by step
- 4 basic difference between Windows Server and Windows Desktop
You should read it
- ★ Instructions for installing and configuring DNS Server on Windows Server 2016
- ★ Install SQL server 2016 from the Installation Wizard (Setup)
- ★ Install DNS server and Domain Controller in Windows Server 2003
- ★ How to set up DFS Namespaces in Windows Server 2016
- ★ How to set up Windows Deployment Services on Windows Server 2016