Instructions for inserting stickers into photos on iPhone
If you have a personal photo that you want to cover some information or even a certain image, you can insert stickers into the photo on iPhone..
If you have a personal photo that you want to cover some information or even a certain image, you can insert stickers into the photo on iPhone. We choose the stickers available on iPhone, or use stickers created from images. Below are instructions for inserting stickers into photos on iPhone.
How to insert stickers into photos on iPhone
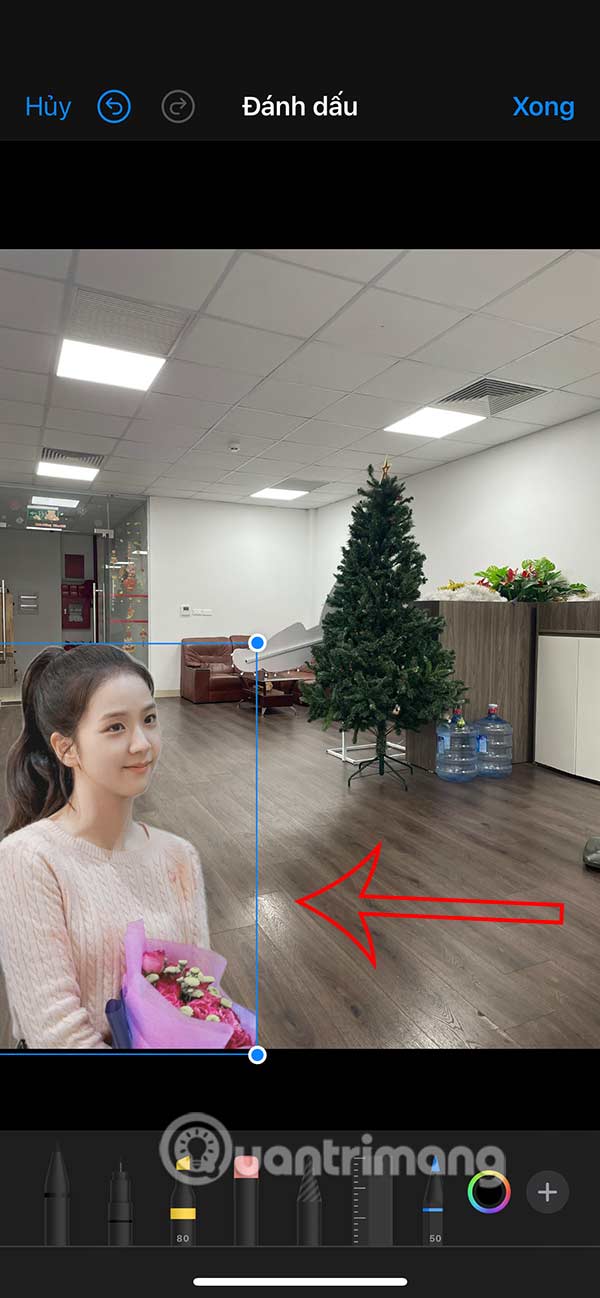
Step 1:
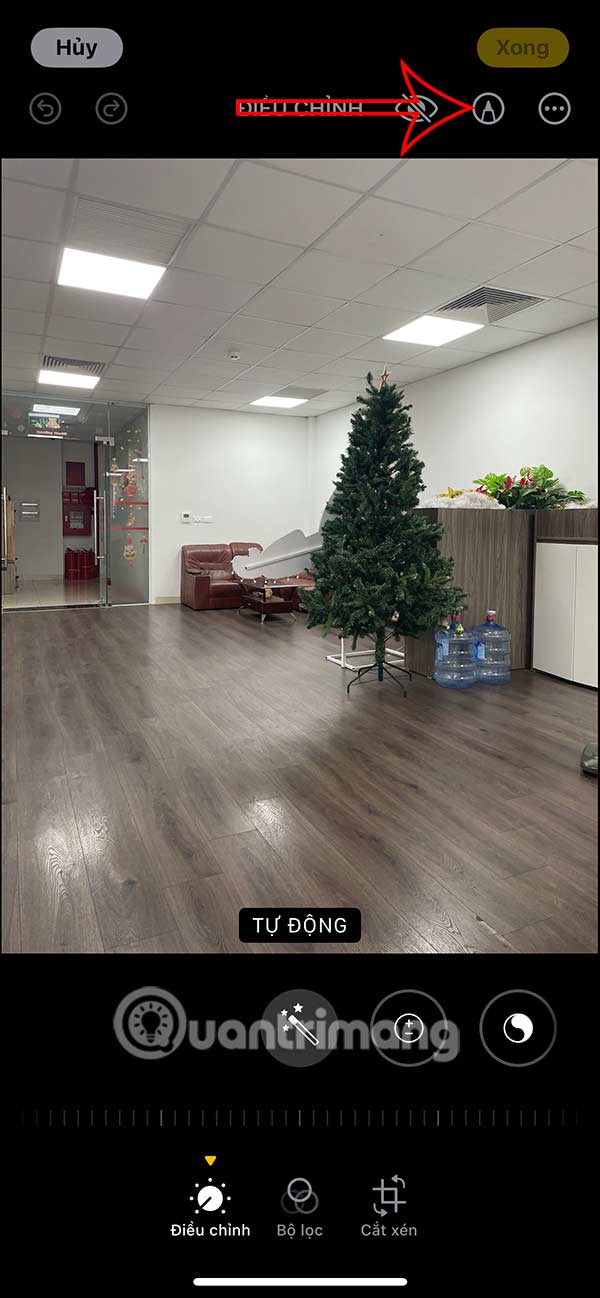
You open the Photos app and select the photo you want to edit. Next, you click on the edit icon below to edit the image. You click on the pen icon at the top of the interface.

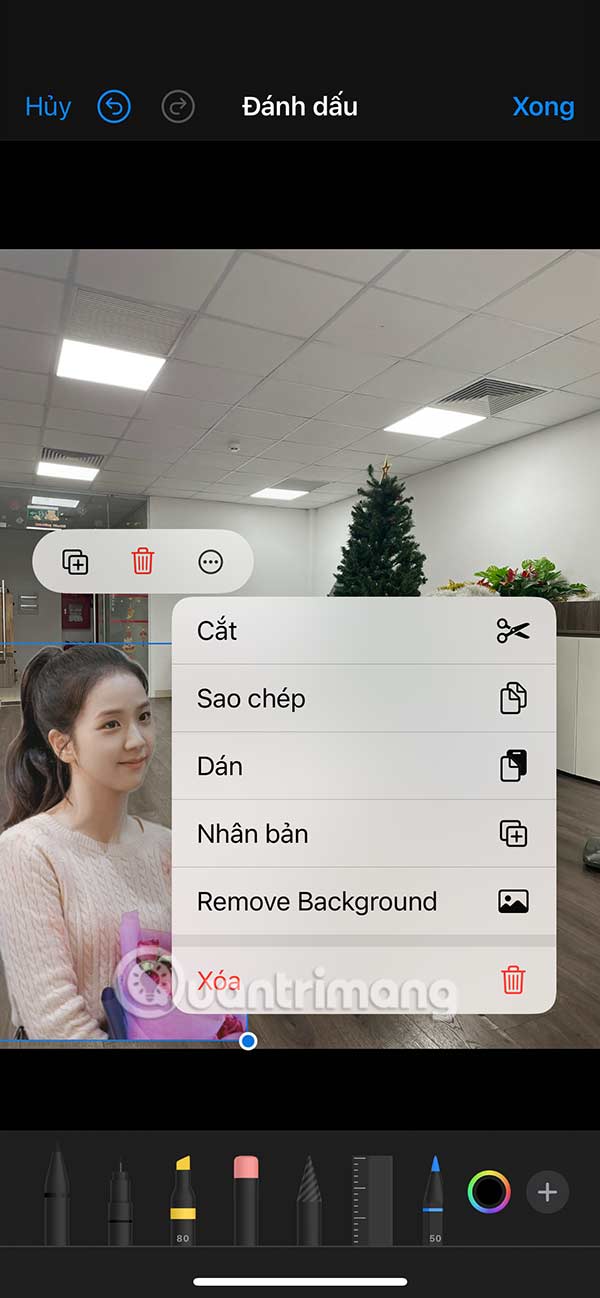
Step 2:
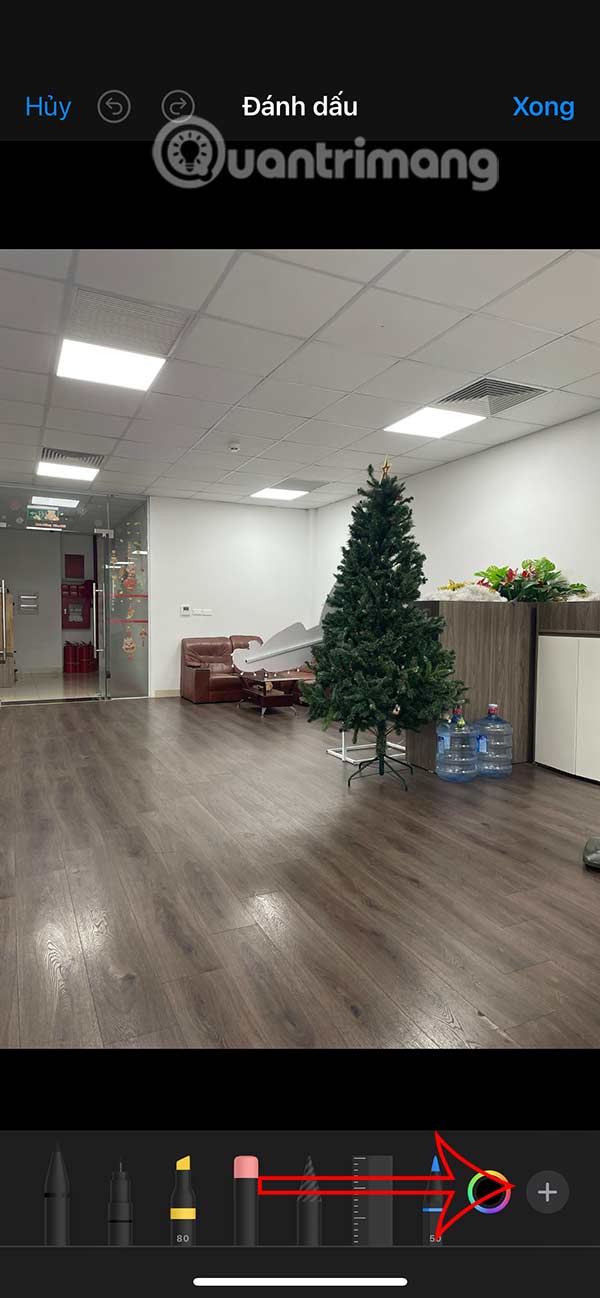
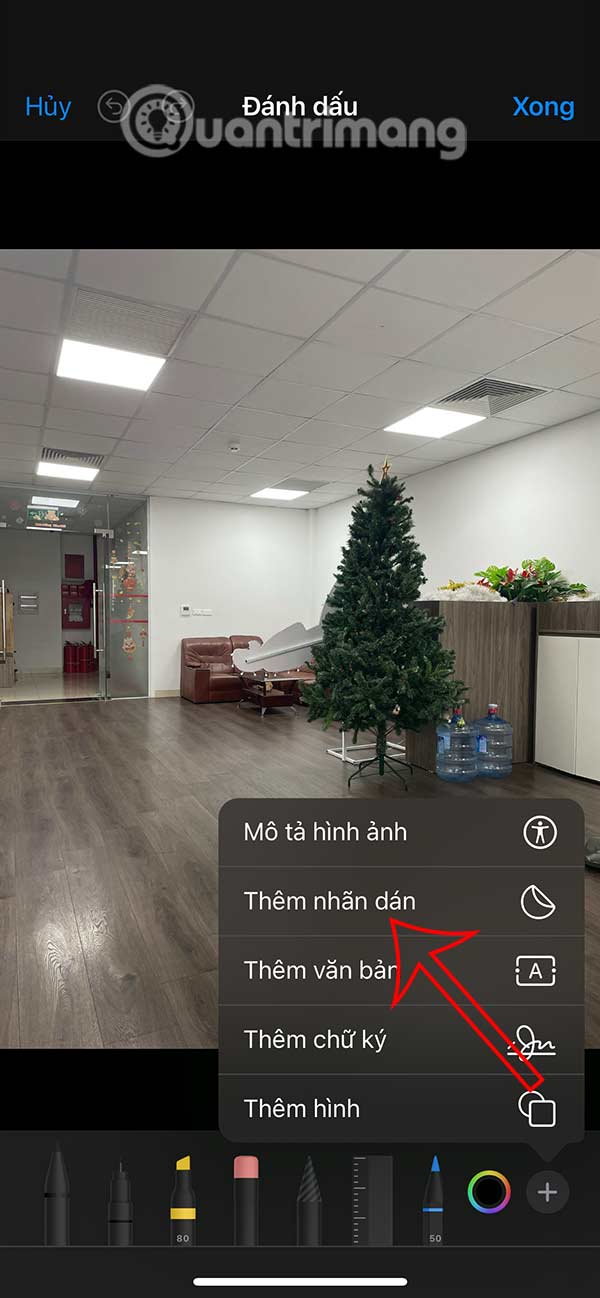
Below the screen displaying the image marking tools, we click on the plus icon to expand more options. Now you choose Add sticker to perform.
Step 3:
Display the existing stickers on the iPhone for us to choose to insert into the image on the iPhone. You swipe to the icons to choose the sticker you want to insert into the image.


Or you can use stickers created on iPhone through images.

Step 4:
Click on the sticker to display it in the image. First, adjust the size and position of the sticker in the image to fit.
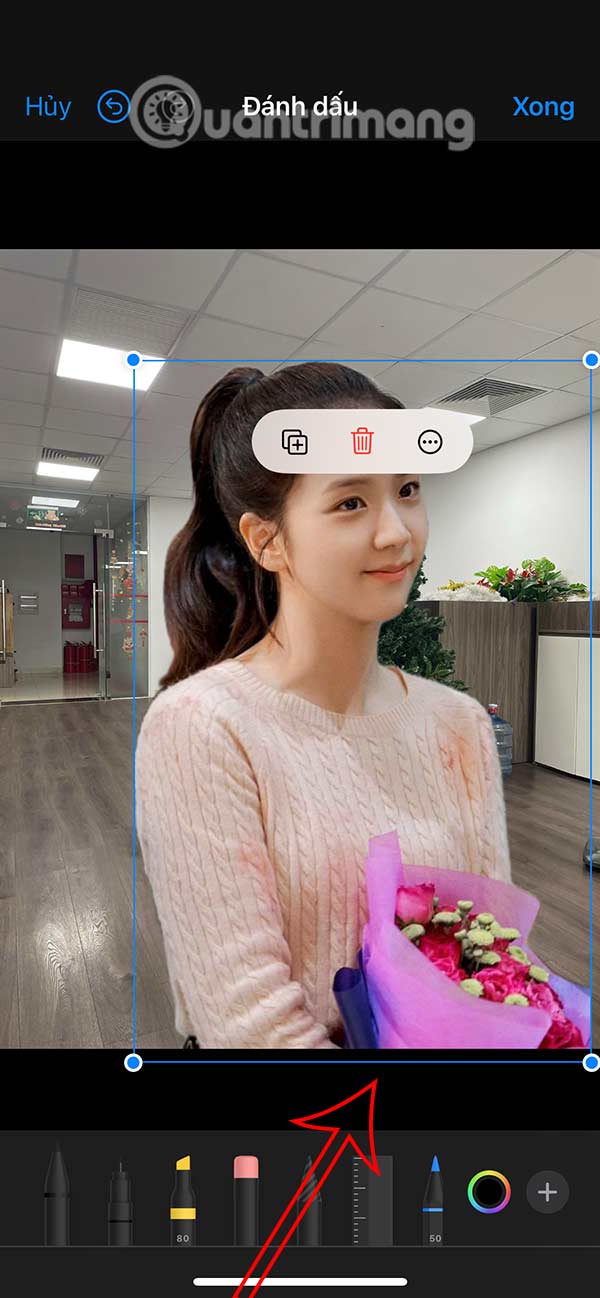
Next, click on the sticker and then click on the 3 dots icon to customize the sticker. Finally, click Done to save.

Step 5:
In case you want to return to the original photo , we click on the photo and select Restore . Now we select Restore to original .