Guide to creating parallel subtitles in CapCut
CapCut now offers speech-to-text conversion capabilities, especially for adding parallel subtitles to videos. You won't need to manually enter original subtitles and bilingual subtitles for your videos anymore..
CapCut has the ability to convert speech to text, especially for adding parallel subtitles to videos. You won't need to manually enter the original subtitles and bilingual subtitles for your videos; CapCut will do that for you. Your only task is to adjust the font and color. Below is a guide on creating parallel subtitles in CapCut.
How to create parallel subtitles in CapCut
Please note that to download videos with subtitles simultaneously, you need a CapCut Pro account , so please pay attention.
Step 1:
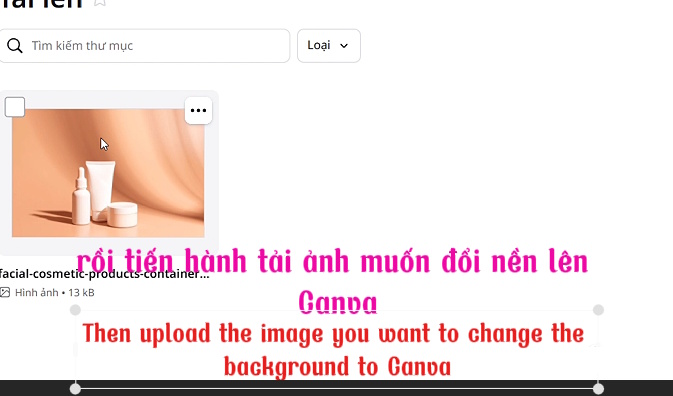
Upload the video you want to add bilingual subtitles to to CapCut, then select the Captions option .
Step 2:
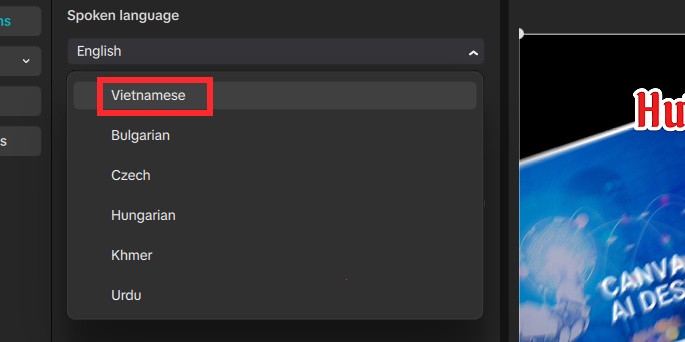
Next, we will select the "Speaked languages" option to choose the original language in the video's voiceover, which in this case is Vietnamese.
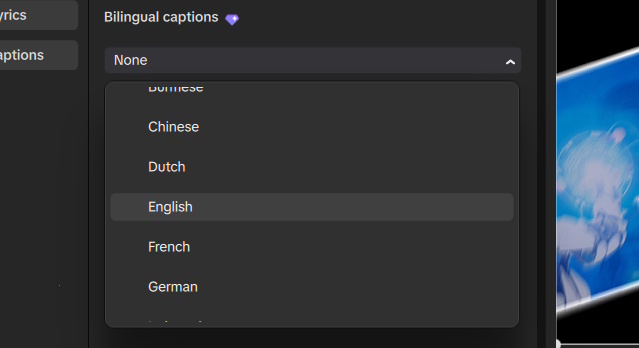
Next, select the language of the parallel subtitles you want to display in the video.
Step 3:
After selecting the language, the user clicks "Generate" to convert the voice in the video into subtitles and then translates those subtitles into the second language to display simultaneously with the video. Immediately afterwards, you will see the parallel subtitles displayed in the video editing bar on CapCut.
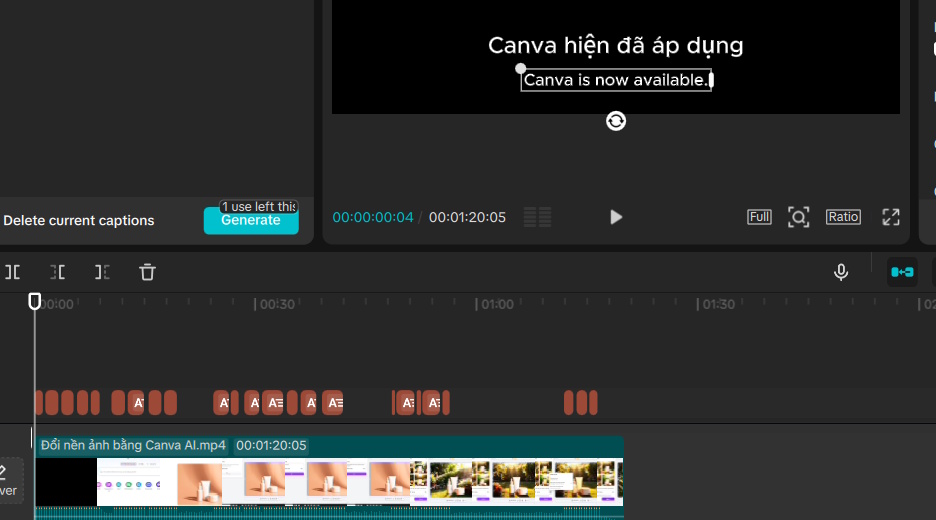
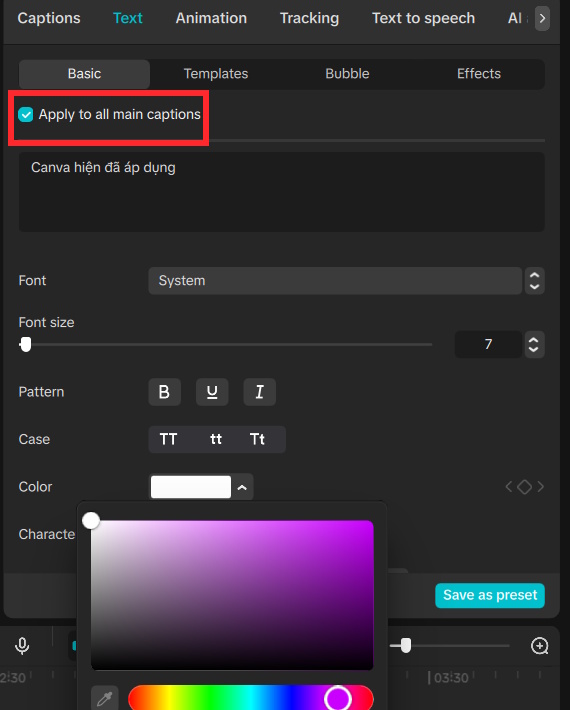
Look to the side to adjust the subtitles. Click on each subtitle line to adjust the size, font, color, and effects as desired.
Each subtitle language line will have its own separate editing section. To edit a specific language's subtitles, click "Apply to all main captions" to apply the changes to that language.
The result is a parallel subtitled video created in CapCut, as shown below.