Table of Contents
This guide provides a clear overview of capcut, including Instructions for Using Capcut on the Computer. Use it to understand the topic, compare the available options, and make a more informed decision.
Instructions for Using Capcut on the Computer
Step 1:
First of all, we click on the link below to download the Capcut version for the computer.
Step 2:
Then the user proceeds with the installation as usual. You can click More to change the software installation directory again. Finally click Install Now to proceed with the installation of CapCut software.

Step 3:
After installing the software, click Start now to use the software.
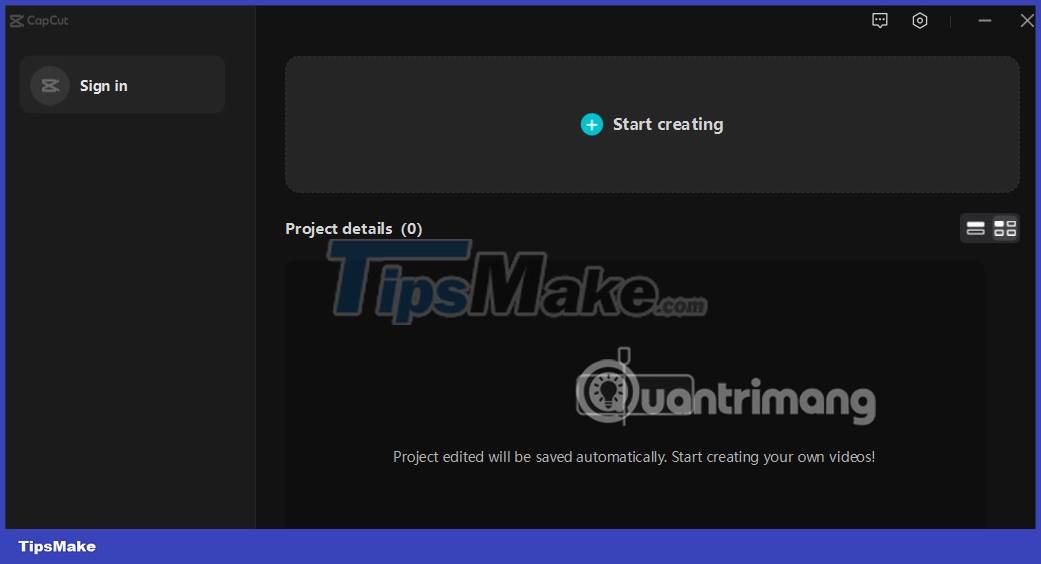
This is the first interface of CapCut on English computers. You can click Sign in to log into your CapCut account. Or you can click Start creating to edit.
Step 4:
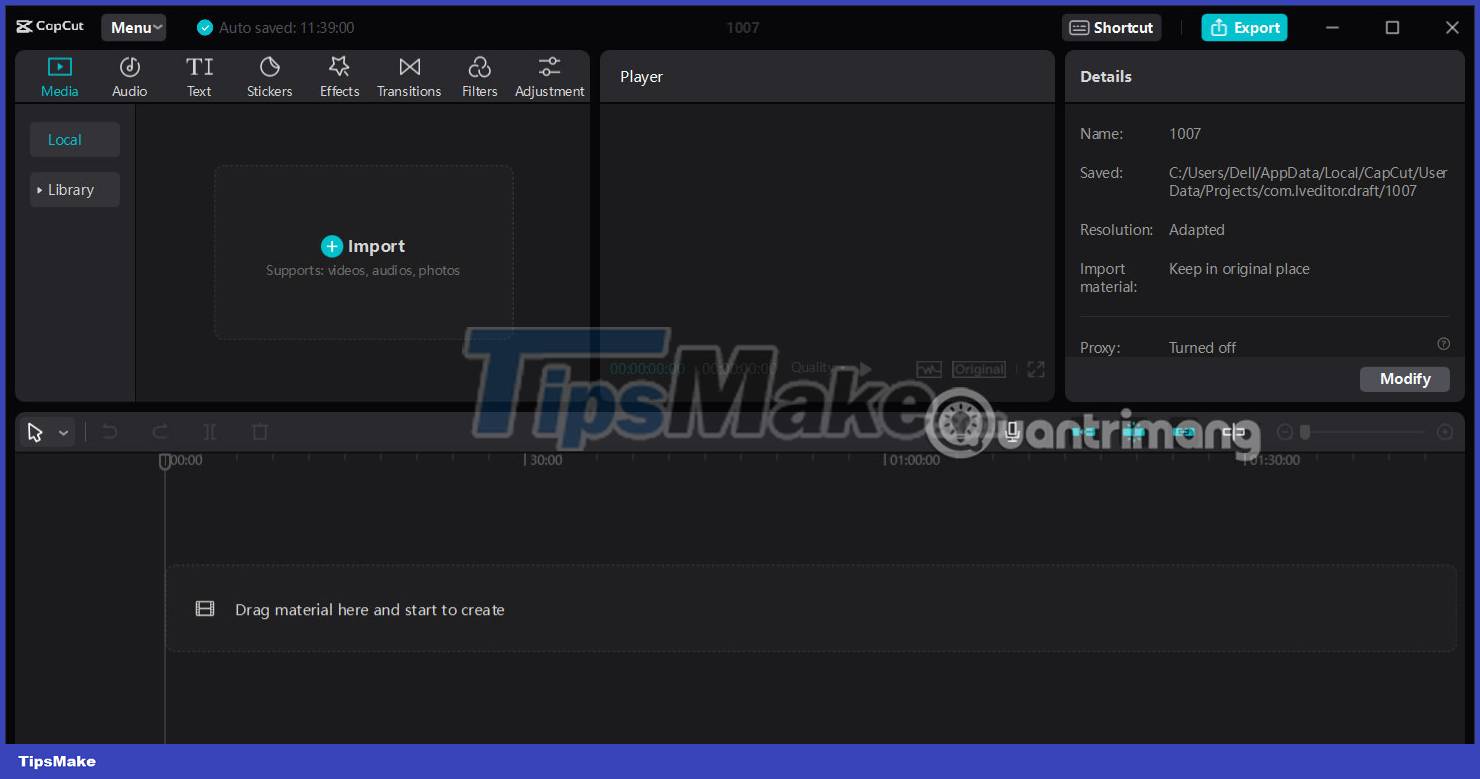
This is the video editing interface on computer Capcut . The top left corner is the video editing tools. Below is the adjustable Timeline bar. The Detail section is the location to save the video as well as other information.
To start editing, click the Import button to import the video into the software.
Step 5:
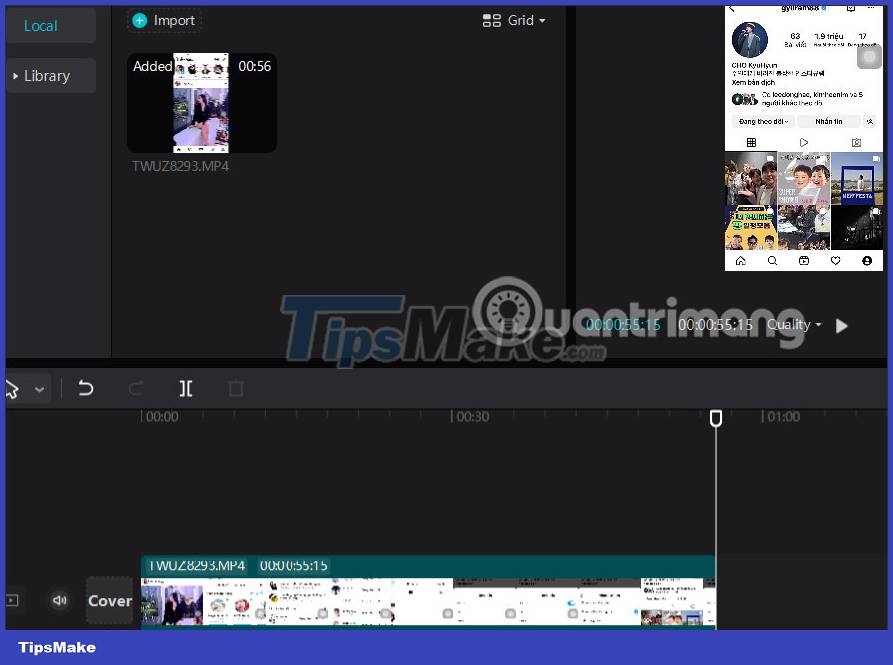
You import the video into CapCut software and then drag the video down to the Timeline bar to adjust.
Step 6:
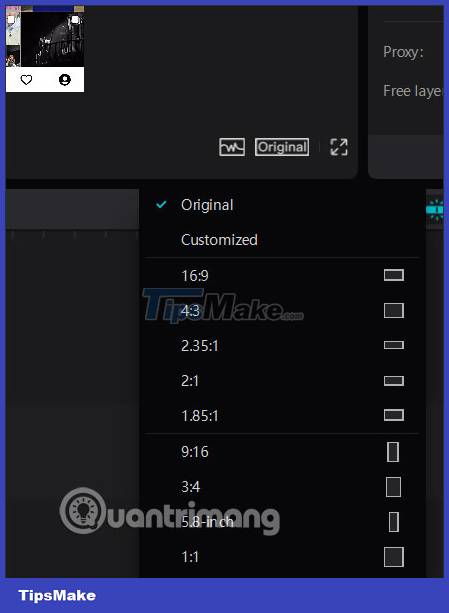
First you can reframe the video , click on the word Original and then select the frame we want to use for the video.
Step 7:
Now you proceed to edit videos on Capcut software. Basically, all editing components are quite similar to the Capcut version on the phone. What content you want to use for the video, scroll down to the Timeline bar below.
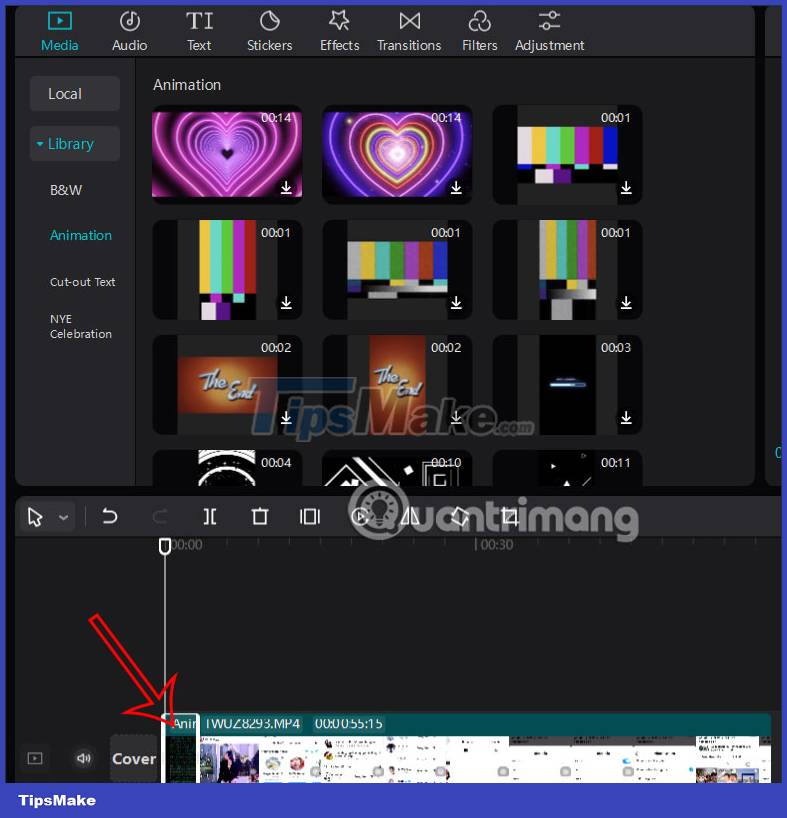
For example, if you want to add an intro or an end to the video, click Library, select the video and then drag down the Timeline bar, before the video or after it as you like.
Step 8:
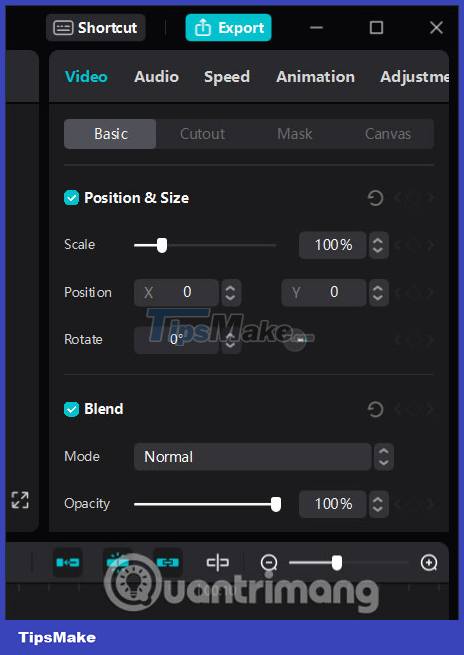
Click on the video and look to the right you will see tools to edit the video as shown below.
Step 9:
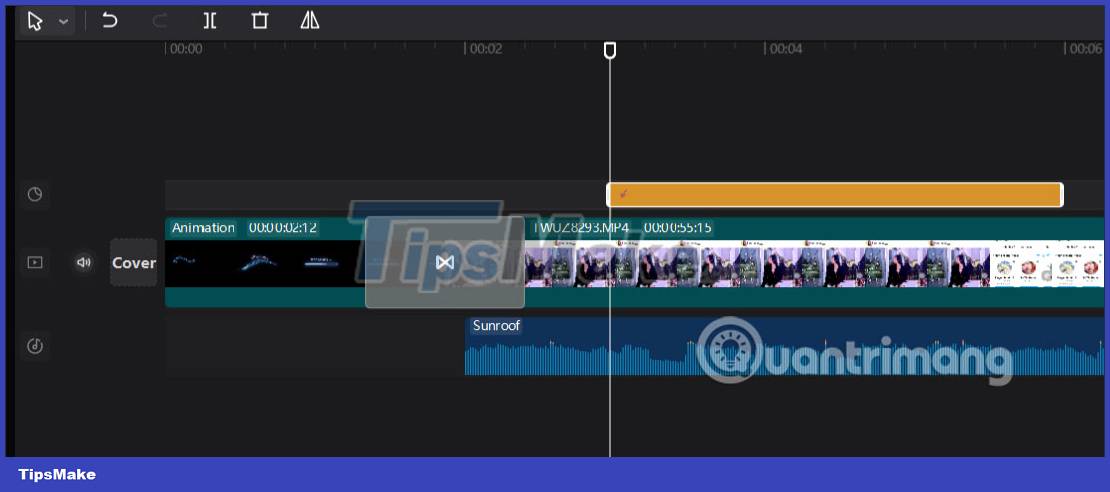
Each element you insert into the video will be displayed in the Timeline so we can change it, display position, adjust the time. You click on the element to be adjusted to change the position, edit the time.
Above will be a preview video so we can adjust it before exporting the video on Capcut.
Step 10:
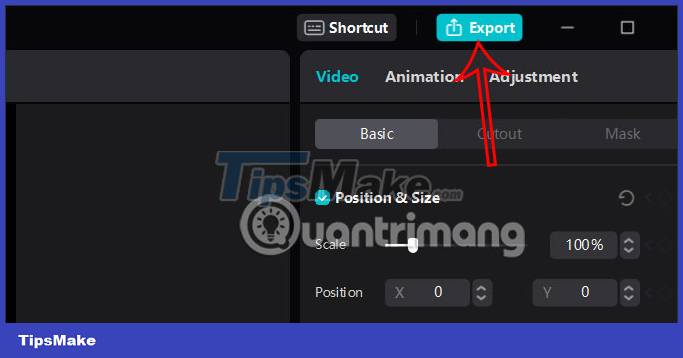
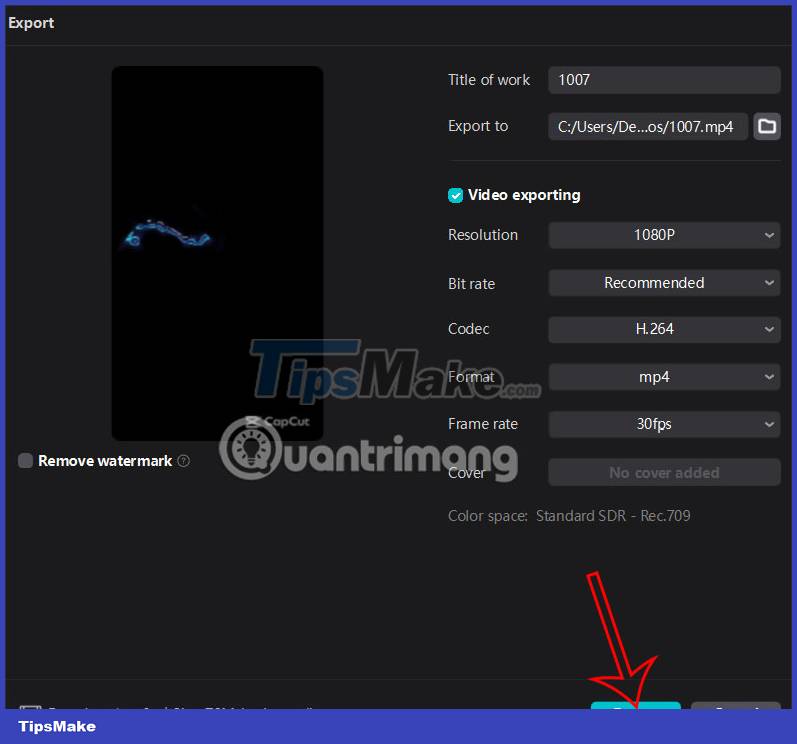
After you have finished editing the video on Capcut, click Export in the top right corner of the screen to export the video.
Now you can enter a name for the video, adjust the video quality, save the video location and then click Export below to proceed with exporting the video.
Conclusion
Understanding Capcut makes it easier to compare options, avoid common mistakes, and apply the information in this guide more effectively. Review the relevant requirements before making changes or choosing a solution.
FAQ
What is Capcut?
This is the first interface of CapCut on English computers.
Why is Capcut important?
Understanding Capcut helps you evaluate features, compatibility, performance, and potential limitations before you choose a product or follow a procedure.
What should you consider when using or choosing Capcut?
Consider your specific goal, compatibility requirements, available features, cost, security, and the practical recommendations described in this guide.
Related Articles
 How to Create AI Manga Videos on Capcut3 minutes read
 Instructions for Inserting Text into Videos Using Capcut: Main Insights4 minutes read
 Capcut - All-in-one Video Editing Tool: Capcut App11 minutes read
 CapCut Free vs. CapCut Pro: Key Differences8 minutes read
 How to Convert YouTube Music to Capcut MP3 Is Extremely4 minutes read
 Instructions for Cutting, Flipping, and Rotating Videos Using CapCut Explained6 minutes read
Reader Comments 0
Sign in with email or Google to join the discussion.