How to install and run Arduino IDE on Raspberry Pi
If you are familiar with the Arduino IDE programming environment, you may also want to use it on Raspberry Pi. Here's how to install and run Arduino IDE on Raspberry Pi..
If you are familiar with the Arduino IDE programming environment , you may also want to use it on Raspberry Pi. Here's how to install and run Arduino IDE on Raspberry Pi .
With the Raspberry Pi single-board computer , you can run a variety of applications, including the popular Arduino IDE (integrated development environment). This means you can use it to easily program microcontrollers with a Raspberry Pi computer via USB to create interactive electronics projects.
Now let's learn how to install and run Arduino IDE on Raspberry Pi.
Request:
To run Arduino IDE on Raspberry Pi, you need the following components:
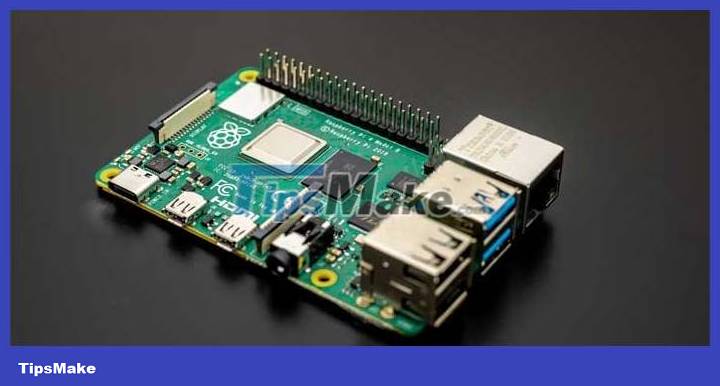
- Raspberry Pi 3 or 4 board with suitable power supply.
- HDMI monitor or TV.
- microSD card (minimum 8GB for official Raspberry Pi OS).
Set up Raspberry Pi
Raspberry Pi 4, thanks to its advanced processing power and abundant RAM, is the preferred choice for installing Arduino IDE. However, Pi3 can also complete this task well. If you haven't done so already, install the Raspberry Pi operating system onto the microSD card using the Raspberry Pi Imager tool.
After completing the installation, insert the microSD card into the Raspberry Pi and connect it to the display. If you don't have a display, you can still access your Raspberry Pi remotely on another computer via VNC.
Download Arduino IDE
Arduino IDE 2.2.1 is exclusive to x86-64 systems, while Raspberry Pi operates on ARM architecture. However, the older IDE version 1.8.19 has comparable capabilities and provides support for the ARM architecture. First, start the terminal by clicking its icon at the top of the desktop environment or simply pressing Ctrl + Alt + T . Then, proceed to download the Arduino IDE with the following command:
wget https://downloads.arduino.cc/arduino-1.8.19-linuxarm.tar.xzInstall Arduino IDE
Once the download is complete, use the command below to retrieve the required file in the current terminal session:
tar -xf arduino-1.8.19-linuxarm.tar.xzThen navigate into the arduino-1.8.19 folder :
cd arduino-1.8.19To complete the installation, simply run the install.sh command :
sudo ./install.shRun the IDE

To find and open the Arduino IDE, click the Raspberry logo in the upper left corner of the Raspberry Pi desktop, then select Programming > Arduino IDE . This application will open and you can start programming with it. As usual, you need to connect the microcontroller board via USB to flash programs to it.
Explore, test and innovate
You have successfully set up Arduino IDE on Raspberry Pi. You can now upload Arduino programs to the connected microcontroller, just like you would with a regular computer.
In the Arduino IDE, you will find a wealth of comprehensive libraries and a rich range of tools. The IDE simplifies the microcontroller programming process, making it fun and accessible.