To make your PowerPoint slides more beautiful and professional, you can create borders for your slides. If you do not know how to create borders, you can refer to the guidelines for creating borders in Powerpoint that the article shares below.

Here are two ways to create borders in Powerpoint, please find out.
Create simple borders using Shapes
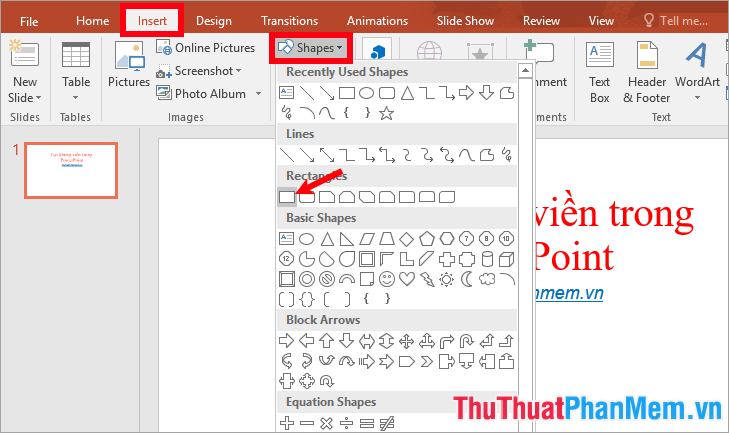
Step 1: Open Powerpoint, on the Slide you want to create the borders, select Insert -> Shapes -> select the shapes in the Rectangles section .
Step 2 : Place the mouse cursor in the upper left corner of the slide, hold the left mouse button and drag the mouse pointer to the lower right and release the mouse pointer to draw the border.

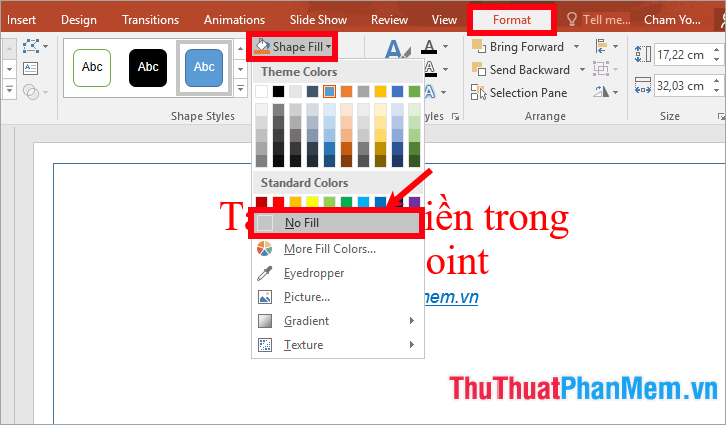
Step 3 : To remove the background color of the image you have just drawn, select the image and choose Format -> Shape Fill -> No Fill.
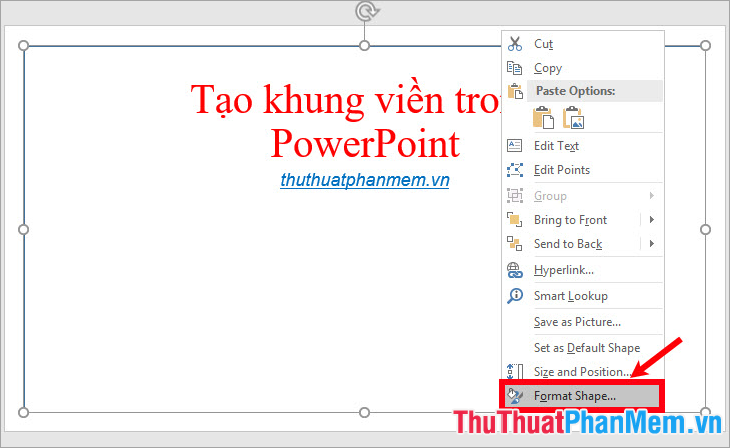
Step 4: In addition to setting many other customizations on the Format tab, you can right-click on the drawing and select Format Shape.
Step 5 : Appear the Format Shape on the right side of the slide in Shape Options, you customize the borders in the Fill & Line section (color, border thickness, transparency, dashed style, .).
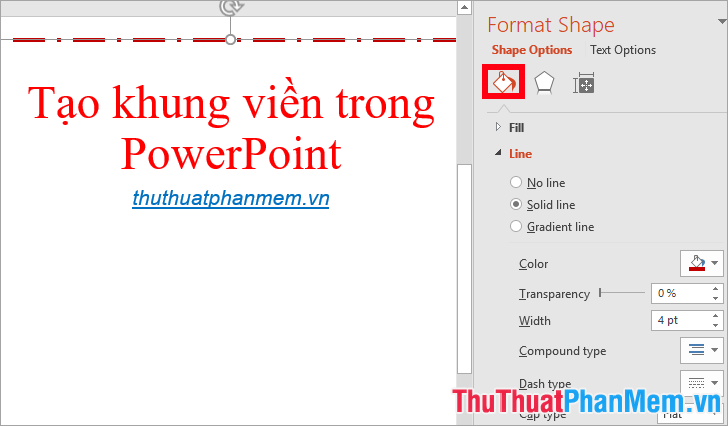
In Effects section you can customize shadow shading and many other options.

So you have created borders in Powerpoint.

Use Bing image search to insert borders
If your computer is connected to Internet you can search for border images and insert them into Powerpoint as follows:
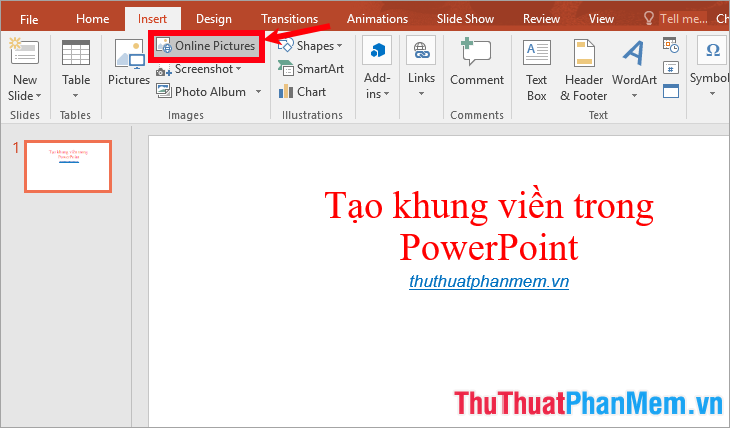
Step 1: On the Slide you want to add a border, select the Insert tab -> Online Pictures.
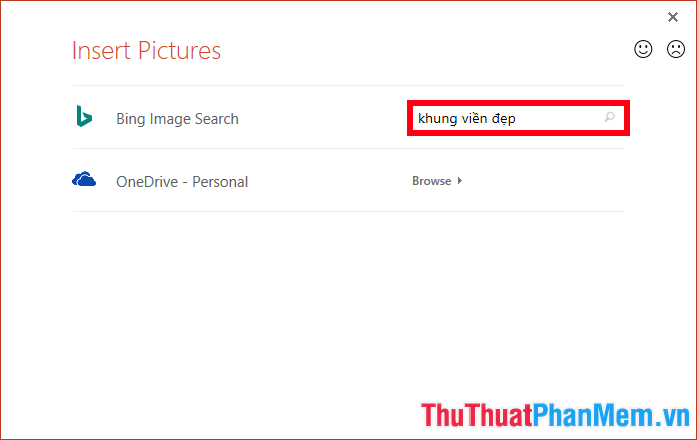
Step 2 : On Bing search, enter the search term for border frames, such as 'beautiful borders', 'beautiful borders' and press Enter to search.
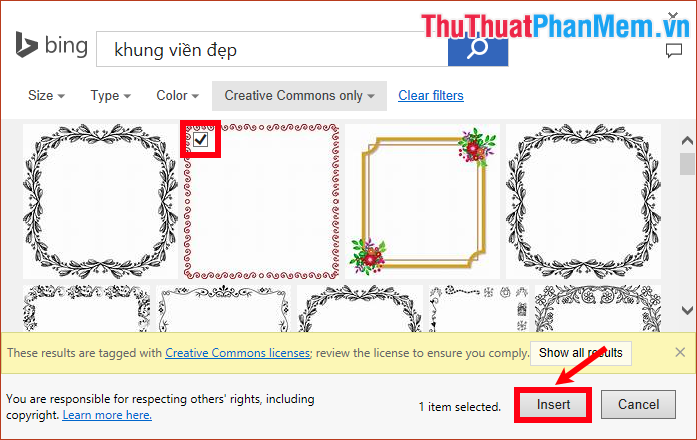
Step 3 : Appears beautiful borders, select the border you want and select Insert to insert.
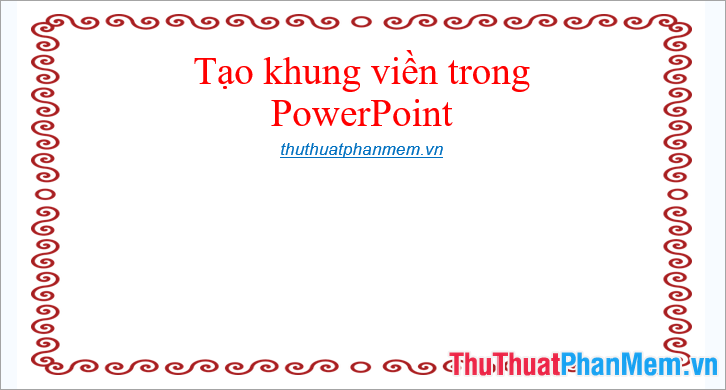
So you've inserted the beautiful border in Powerpoint, all you need to do is hold down the mouse button to hold the border around the border and drag the border to match the slide.
Above are ways to help you create borders in Powerpoint, hopefully with the detailed instructions in the article on you will be able to easily create borders for slides in Powerpoint. Good luck!


 The quickest and most effective way to create borders in Google Docs.
 How to quickly create borders in Word documents.
 Formatting borders in Google Sheets
 How to create a border for photos in Photoshop
 Summary of the most beautiful decorative borders
 How to delete table borders in Word