Table of Contents
Teachers can divide a class quickly with either a small browser tool created in Gemini Canvas or a ready-made Online Stopwatch group generator. Random assignment reduces deliberate favoritism, but it does not automatically create pedagogically balanced teams. Review the result before displaying it.
Open the original TipsMake random-group demo. The earlier embedded frame was removed; the tool now opens as a normal internal link.
Before entering a class list
- Follow your school's policy for student data and third-party websites.
- Use first names only, initials, seat numbers, or temporary labels when possible.
- Do not include grades, disability information, behavior notes, or other sensitive attributes.
- Decide whether the groups should be purely random or adjusted for language, accessibility, support, and safety needs.
- Keep an offline copy of the list so a browser problem does not interrupt the lesson.
Method 1: Build a reusable local tool with Gemini Canvas
Gemini Canvas can create and edit simple apps and code. Availability varies by account, device, and administrator policy; use the current Canvas option rather than assuming a particular “Pro” model is required.
1. Ask for a focused app
Open Gemini, start Canvas, and use this prompt:
Create a single self-contained HTML file for teachers to divide students into random groups.

Requirements:
- a large text area with one student label per line;
- two exclusive modes: number of groups OR maximum students per group;
- trim blank lines and show duplicate labels before grouping;
- use a Fisher–Yates shuffle based on browser cryptographic random values when available;
- place every label exactly once and keep group sizes within one student of each other when possible;
- buttons for Create groups, Shuffle again, Copy results, and Clear;
- large readable text, keyboard-accessible controls, visible focus, and no automatic sound;
- process all data only in the browser;
- no external libraries, fonts, analytics, network requests, storage, cookies, or trackers;
- do not save the student list after the page closes;
- explain the privacy limits in the interface.

Return the complete HTML, CSS, and JavaScript in one code block.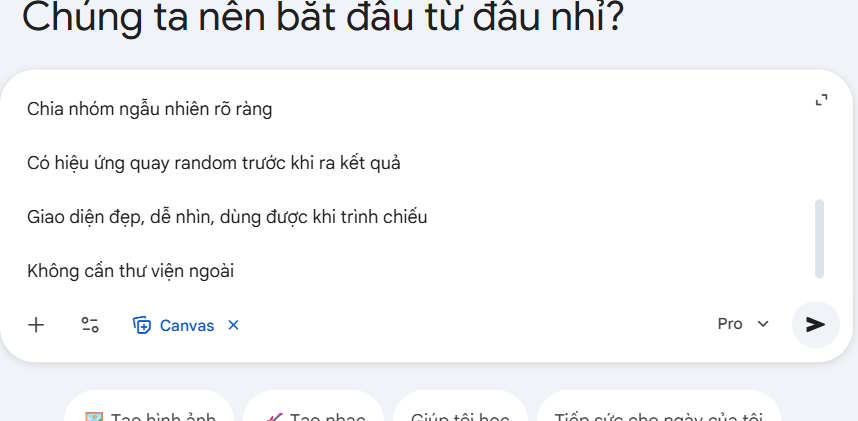
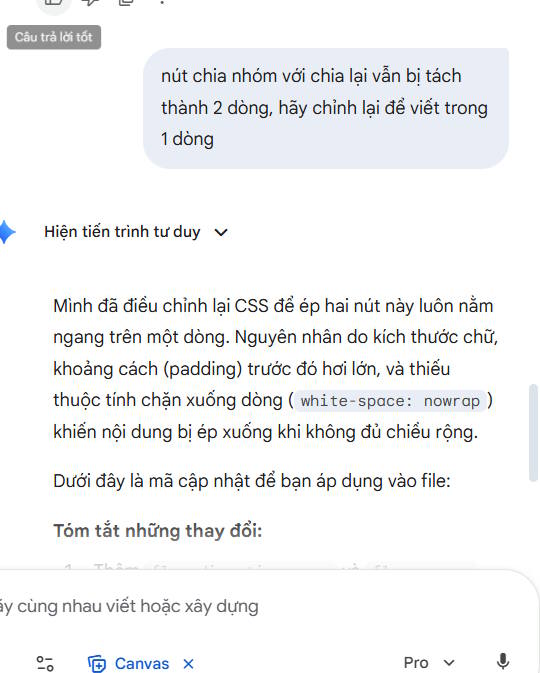
Preview the result and ask for one change at a time. Do not assume generated code follows the request perfectly.
2. Inspect and save the code
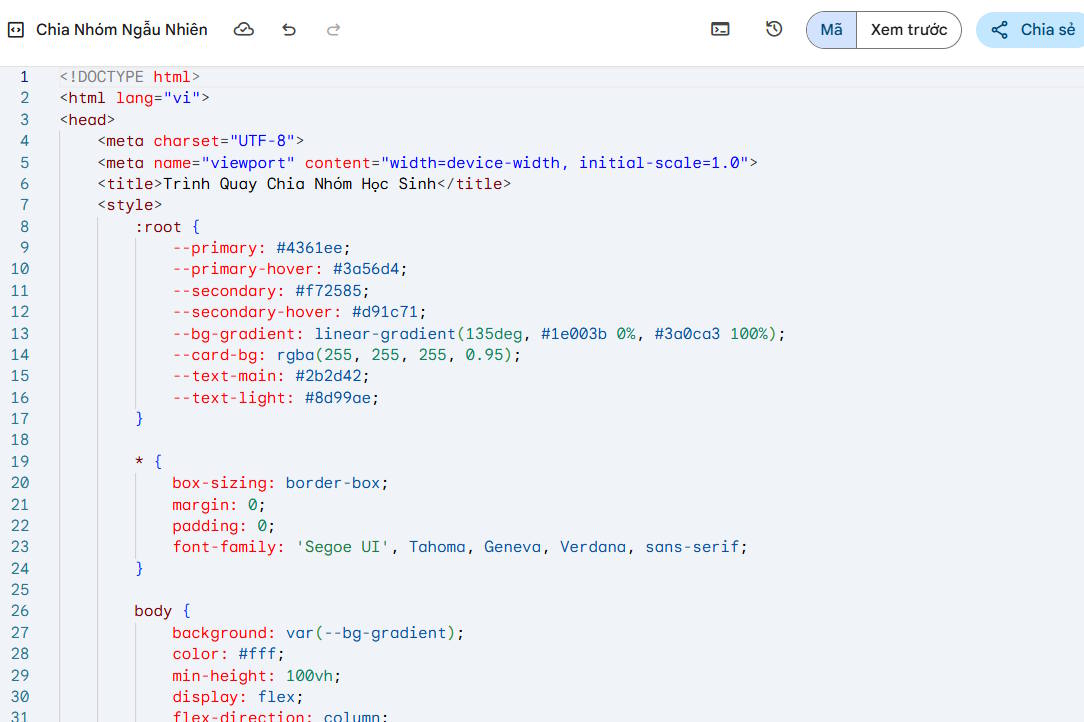
Open the generated code and check for external URLs, network calls such as fetch, analytics scripts, cloud storage, and third-party libraries. If you cannot review code, ask a qualified colleague before using real student labels.
Copy the complete code into a plain-text editor and save it with an .html extension, such as class-group-maker.html. Open the saved file in a browser and confirm that it still works without an internet connection. Offline operation is useful evidence that the file does not need a remote service, though code review is still the stronger check.
3. Test the grouping rules
Enter temporary labels—not student names—then choose either the number of groups or the maximum group size.
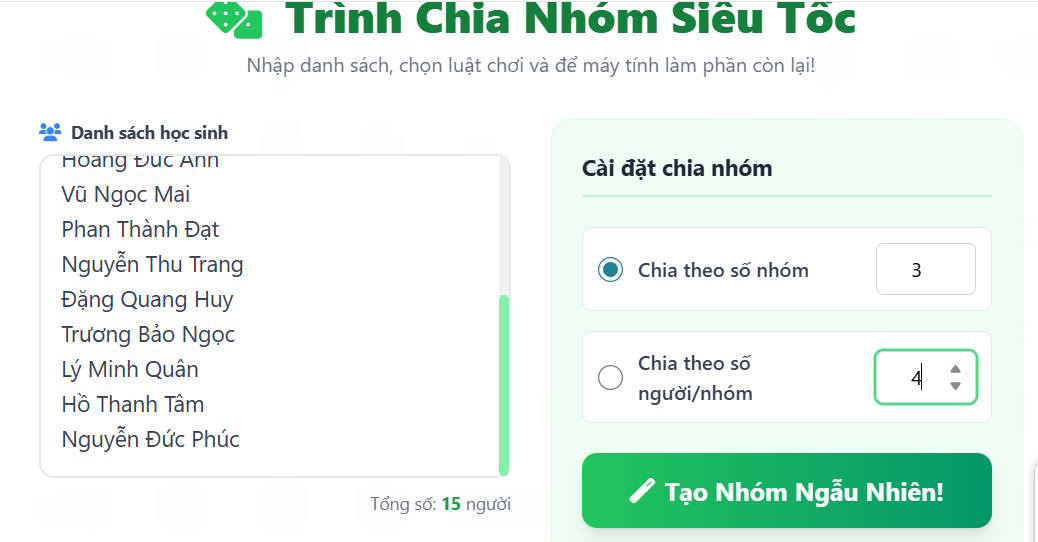
Select Create Random Group or the equivalent button.
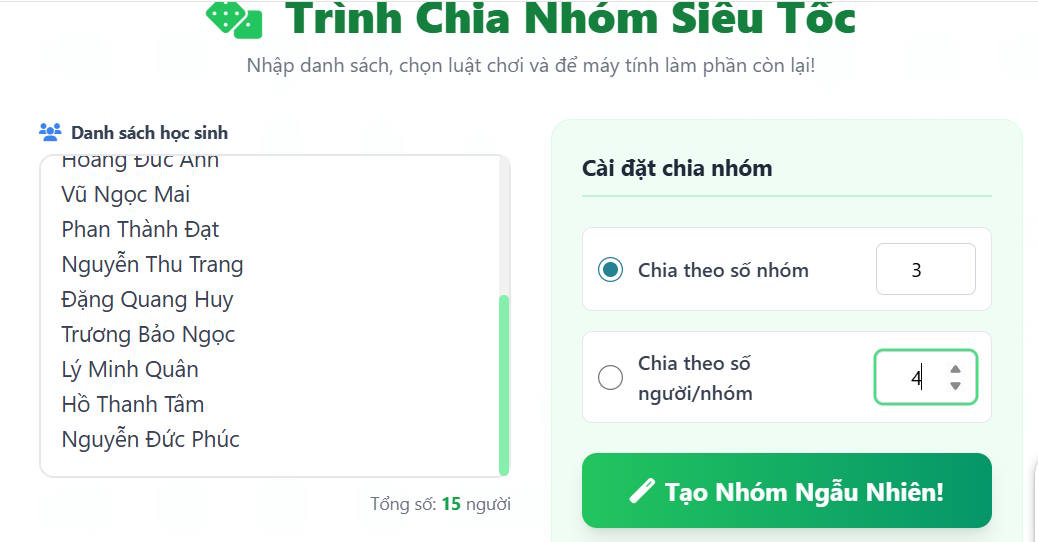
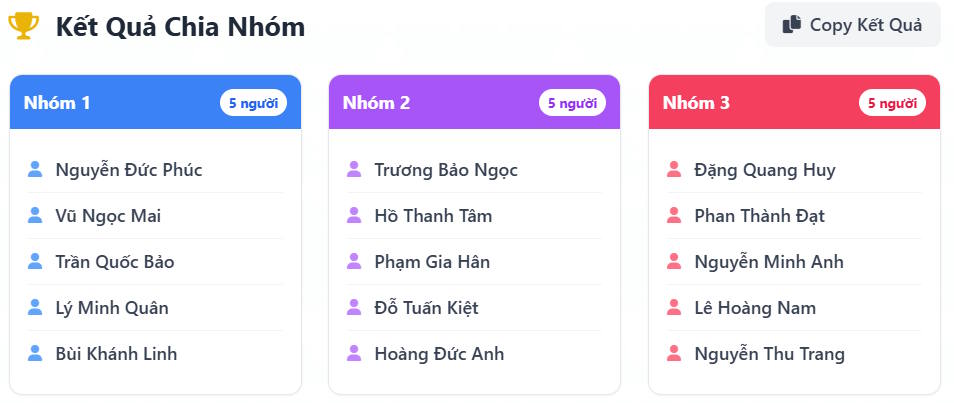
Count the output. Every label should appear exactly once, no group should be empty, and group sizes should match the selected rule. Test odd totals, duplicate labels, blank lines, and a group count larger than the class size.
Method 2: Use Online Stopwatch
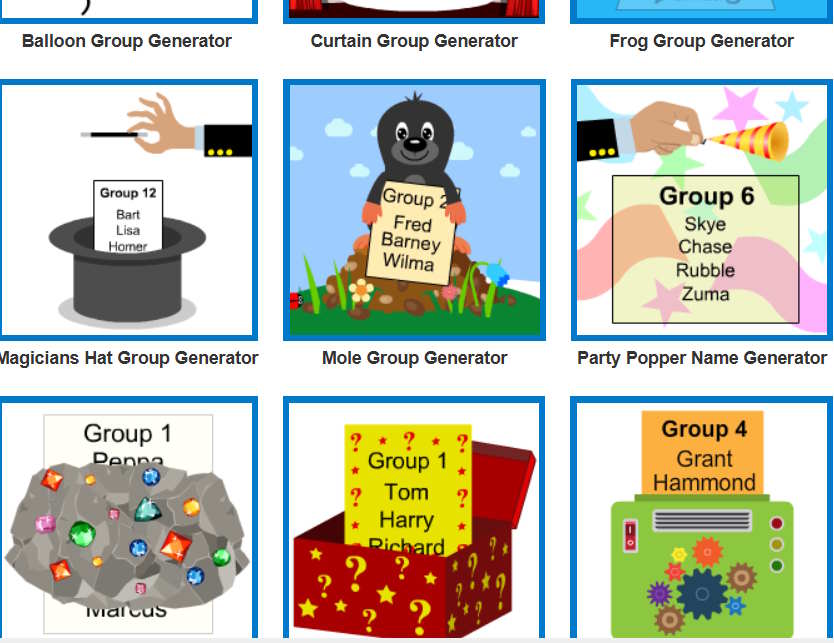
For a tool that requires no code, open the official Online Stopwatch group generators. The site offers multiple animated reveal styles and group makers.
1. Choose a generator
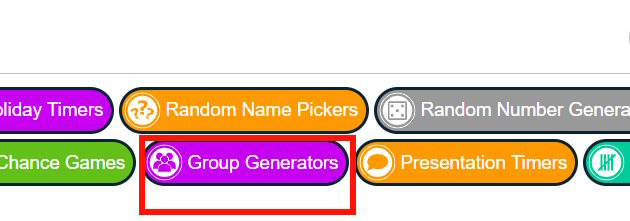
From Online Stopwatch, open Group Generators and choose a style that is readable and appropriate for your classroom. Animation should not delay the lesson or create sensory discomfort; use a simpler group maker when necessary.
2. Enter labels and select group settings
Open the settings with the gear icon.
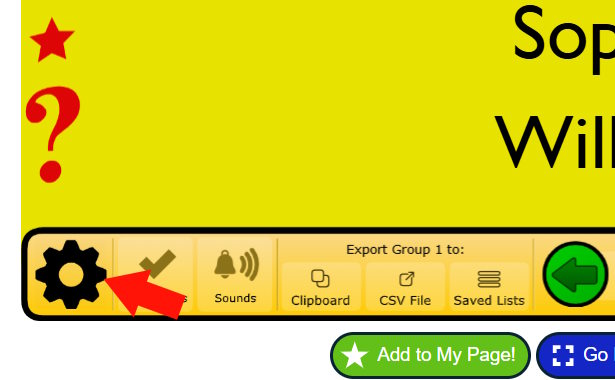
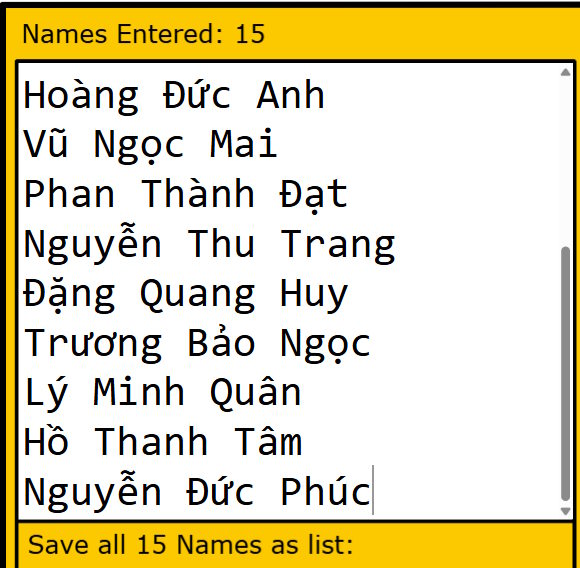
Delete the sample list and paste your prepared labels. Avoid sensitive information because the tool is a third-party website.
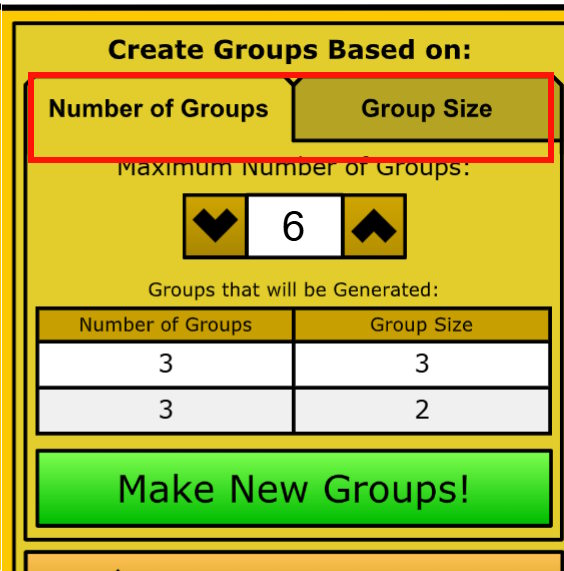
Choose the number of groups or group-size setting offered by that generator, then select Make New Group.
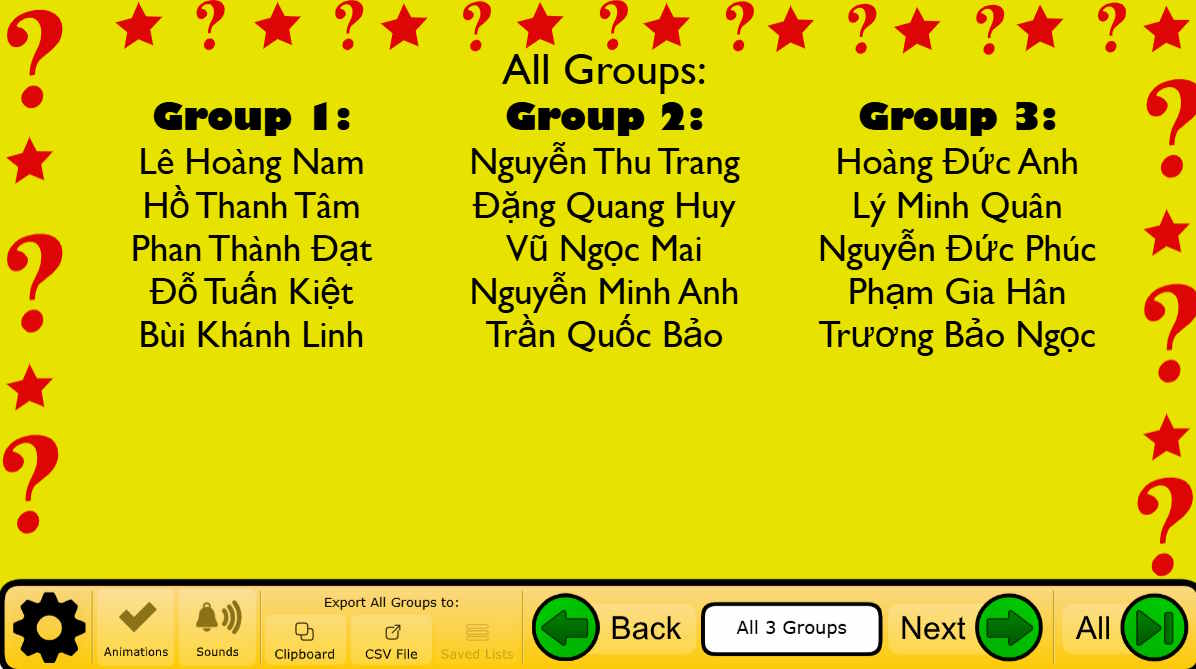
Review the displayed groups before projecting them.
Make randomness fair and useful
- Explain whether regrouping is allowed. Repeating a random draw only because the result is inconvenient undermines trust.
- Use a teacher-reviewed random result, then make the smallest necessary changes for access, safeguarding, or learning support.
- Avoid public rankings, “best” and “worst” teams, or labels that reveal ability levels.
- For repeated projects, rotate membership over time instead of relying on one draw.
- Provide an alternative for students who may be harmed by a particular pairing and handle changes privately.
Random grouping is a starting mechanism, not a substitute for teacher judgment. The best method is the one that protects student data, produces clear results quickly, and still lets the teacher meet the lesson's learning and inclusion needs.
Related Articles
 How to Dividing Groups in Google Meet8 minutes read
 Instructions for Creating Chat Groups on Skype4 minutes read
 How to Enable Smart Select on Galaxy S8 / S8 Plus4 minutes read
 How to Create Quizzes on ChatGPT5 minutes read
 7 Notes for Students When Choosing a Laptop9 minutes read
 Steps to Fix Windows Computer That Randomly Wakes up to8 minutes read
Reader Comments 0
Sign in with email or Google to join the discussion.