Table of Contents
Google Flow can use several uploaded images as references for a newly generated composite. For example, one image can supply a person, another an outfit, and a third the setting. This is generative editing—not a lossless layer merge—so Flow may reinterpret faces, products, colors, text, and small details.
The current Flow experience uses Google’s Nano Banana image models for image generation and editing. Button names can change as Flow develops, but the practical sequence is to create a project, upload reference assets, add them to the prompt, describe each asset’s role, generate, and refine the selected result.
Before you combine images
Prepare clear source files and decide what each one contributes. Results are easier to control when the references do not conflict.
- Use a sharp, well-lit main subject with an unobstructed face or product.
- Use a separate reference for clothing, style, pose, background, or another object.
- Crop irrelevant material that could confuse the model.
- Keep the original files; a generated composite is not a faithful archival edit.
- Only upload people, brands, artwork, and products you are allowed to use.
Do not assume image creation is unlimited. Google has changed Flow’s credit and generation policies over time, and the current Flow product page says costs and access vary by model, subscription, platform, and region. Check the model selector and usage meter before generating a large batch.
How to combine reference images in Google Flow
1. Start a project and upload the source images
Open Google Flow, sign in, and create a new project or open an existing one. Upload the images you want to reference. The number accepted can depend on the selected model and workflow, so use the slots shown in the current interface rather than assuming there is no limit.
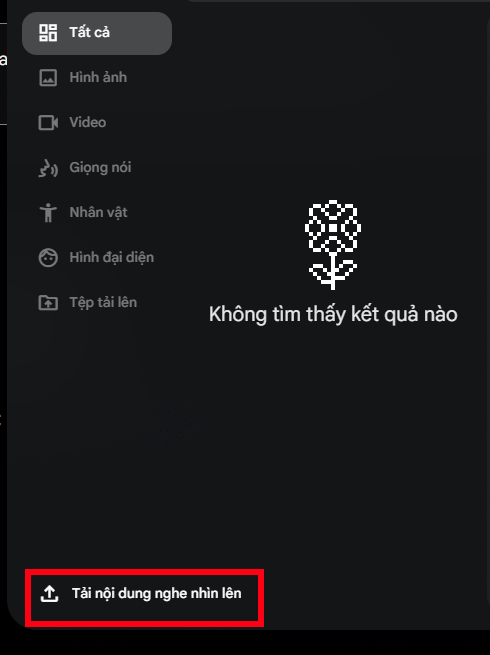
Give each asset a clear purpose. If two photos show the same person with different hair, clothing, or lighting, tell Flow which version should control each detail.
2. Add the references to the prompt
Select an uploaded asset and choose Add to prompt or the equivalent reference control. The older interface in the screenshot labels this action Add to statement. Repeat for the other source images you need.
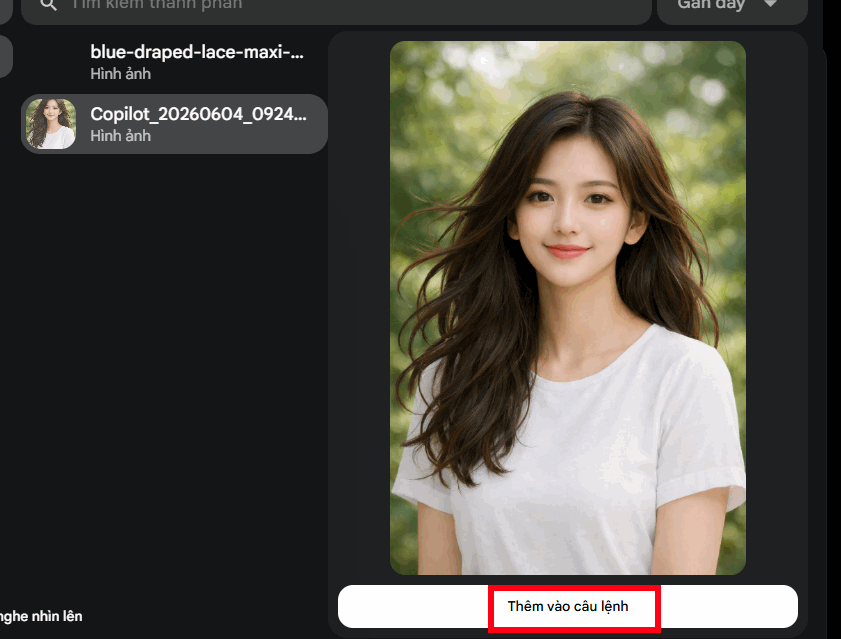
Select an image generation or editing model, the aspect ratio, and the number of variations when those controls are available. Use the intended final format: portrait for a vertical social post, square for a product tile, or landscape for a presentation or video frame.
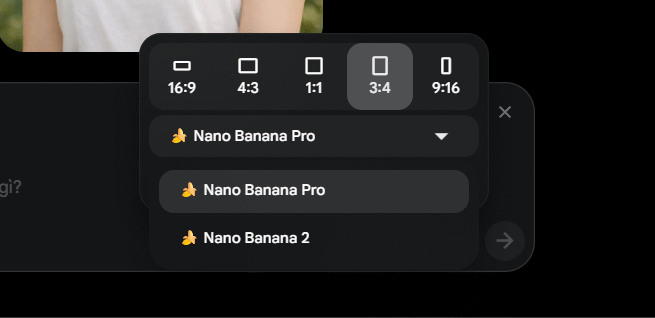
3. Describe the role of every image
Write a prompt that identifies each reference and states what must remain unchanged. A useful structure is:
Use the person from the first image as the subject. Dress the subject in the jacket and trousers from the second image. Place the subject in the studio setting from the third image. Preserve the person’s facial features and natural proportions, keep the exact clothing colors and visible design details, use soft front lighting, and create a full-length editorial photograph in a vertical composition.
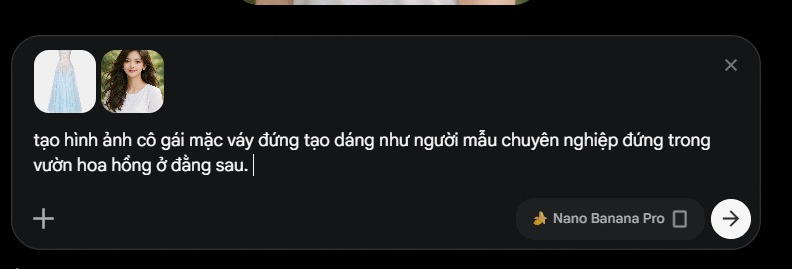
Avoid vague commands such as “merge these perfectly.” Name the subject, clothing, object, setting, composition, camera angle, lighting, and details that matter. If text or a logo must be exact, plan to verify or replace it in a conventional image editor.
4. Compare the generated variations
Inspect each result at full size. In the example below, Flow combines a model reference with a clothing reference to generate a new scene.
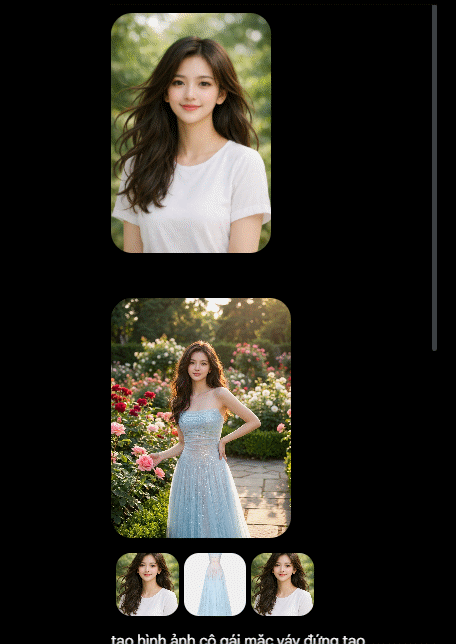
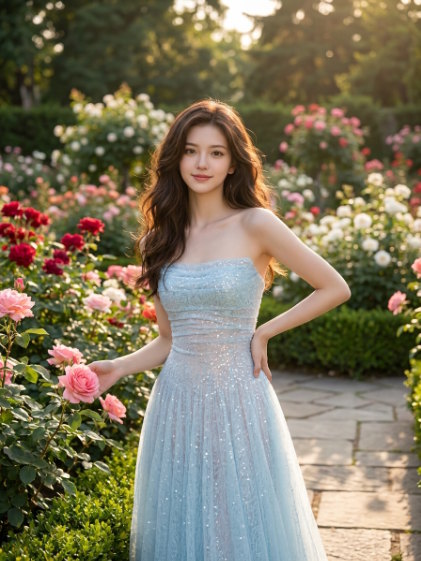
Check identity, hands, garment construction, logos, patterns, reflections, shadows, object scale, and contact points. A convincing thumbnail can hide errors that become obvious in a full-resolution export.
5. Refine one problem at a time
Open the strongest variation and enter a focused edit request. Change one or two issues per generation, such as “keep the face unchanged and correct the jacket sleeves” or “retain the subject and clothing; replace only the background with a neutral gray studio.”
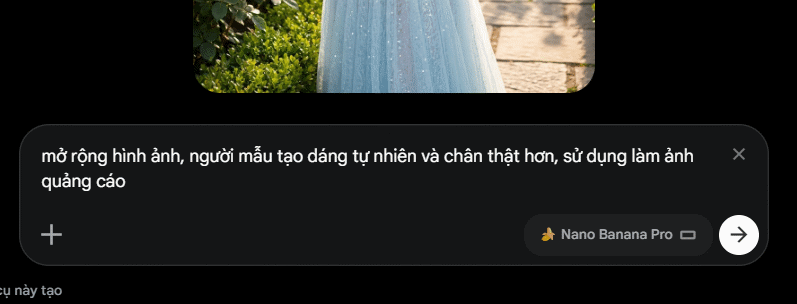
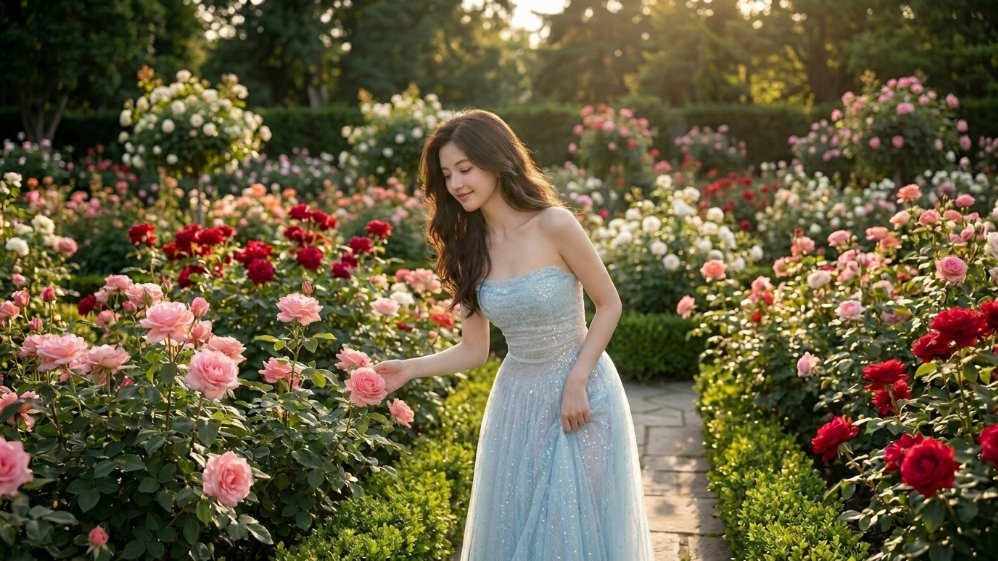
Follow-up editing can also change the pose or expand the frame, but those operations may alter the face, clothing, or background. Compare every revision with the chosen previous version rather than assuming later means better.
6. Add a third reference when it has a clear job
A third asset can introduce a product, prop, setting, or style. More references do not automatically improve the result; each additional source gives the model more constraints to reconcile.
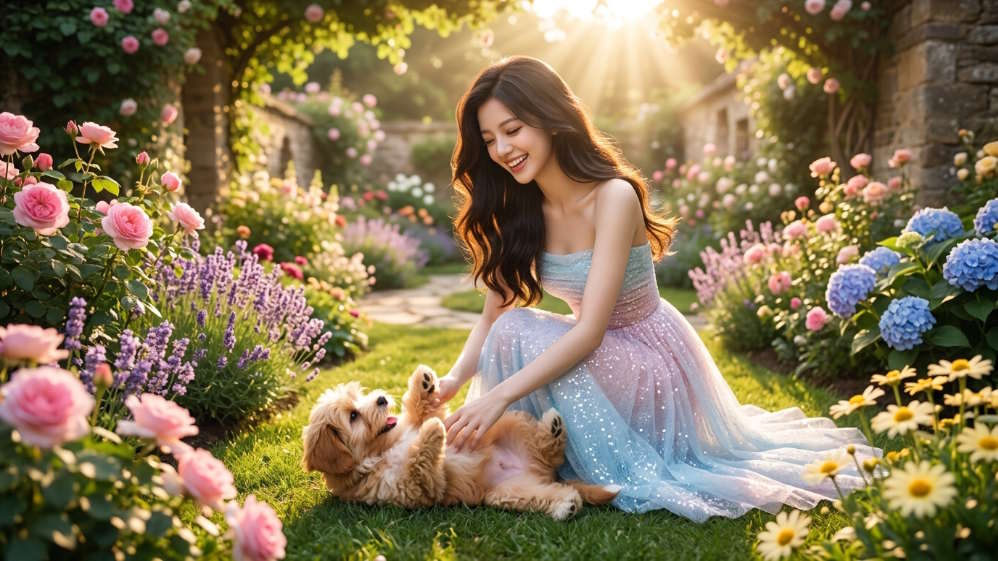
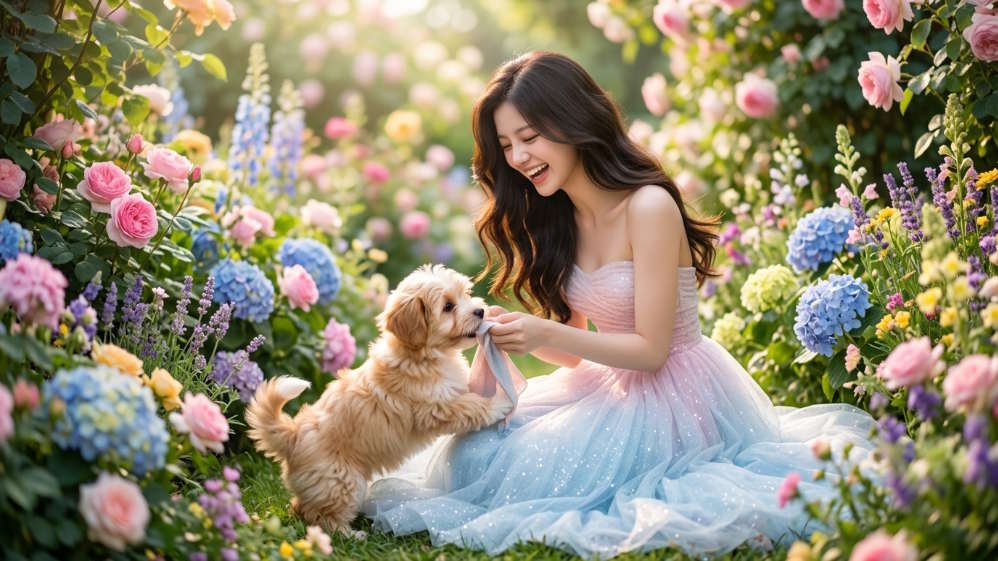
If the output drops an object or blends two references incorrectly, simplify the prompt, use fewer sources, or create the scene in stages.
How to get more consistent results
- Match the camera angle: a front-facing portrait and a rear-view clothing image give the model conflicting geometry.
- Match lighting: references with opposite light directions make shadows harder to reconcile.
- Prioritize explicitly: say which image controls identity, which controls clothing, and which controls environment.
- Protect critical details: list exact colors, materials, accessories, and object counts.
- Use staged edits: combine the subject and outfit first, then add the background.
- Keep a version trail: download successful results before making further changes.
- Finish manually when necessary: use a layer-based editor for exact logos, typography, masks, and pixel-level placement.
For other workflows, compare TipsMake’s AI photo editing tools. If the source is small or compressed, read the guide to AI image enhancement—but remember that upscaling predicts detail rather than recovering facts missing from the original.
Turn the composite into a video
After selecting an image, Flow can use it as a frame or visual reference for a video generation. Google’s current workflow includes Gemini Omni and Veo models, and the available reference, audio, duration, and credit options vary by model.
Describe motion rather than repeating the entire image: specify subject movement, camera movement, environmental motion, pacing, and audio. Keep the first animation restrained to reduce identity and clothing drift. TipsMake’s overview of AI video creation tools provides alternatives if you need a different editing or export workflow.
Privacy, consent, and authenticity
Do not place a recognizable person into a new outfit, location, advertisement, or sensitive situation without permission. Avoid using private photographs of children or other vulnerable people. For commercial work, verify the rights to every input and the generated output under the current service terms.
Disclose that an image is generated or materially altered when viewers could reasonably mistake it for an authentic photograph, product configuration, news event, or endorsement. Google Flow also warns that outputs can be inaccurate; keep the original sources and review the composite before publishing.
Related Articles
 How to Create a Video from Photos Using a Storyboard on Flow4 minutes read
 How to Create a Video from a Single Image Using Google Flow3 minutes read
 How to Combine Videos on Flow into a Single-Page Video3 minutes read
 How to Create a Dialogue Video from Just Two Images Using Google Flow6 minutes read
 Google Is Significantly Enhancing Its Flow AI Tool: Explained3 minutes read
 Instructions for Using Google Photos on Windows 105 minutes read
Reader Comments 0
Sign in with email or Google to join the discussion.