Add or remove user accounts for Windows Home Server 2011
After installing Windows Home Server 2011 you need to start configuring it. Part of the configuration work is adding users on the network. This article will show you how to implement and manage their access.
TipsMake.com - After installing Windows Home Server 2011 you need to start configuring it. Part of the configuration work is adding users on the network. This article will show you how to implement and manage their access.
Launch WHS 2011 Dashboard on any client. Click on the Users tab.
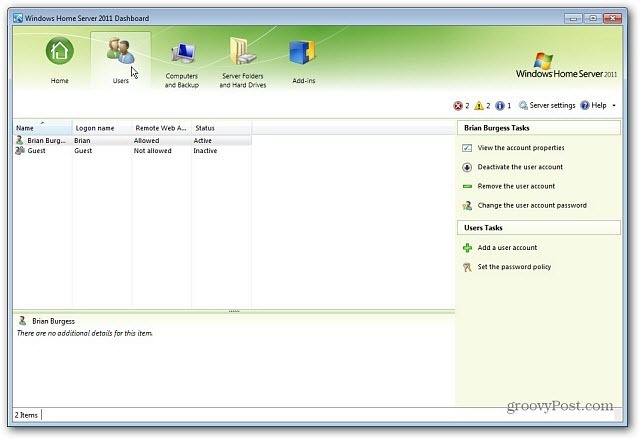
Right-click an empty area under the list of existing users and select Add a User Account.

The Add User window appears. Type your username, username, password and click Next .

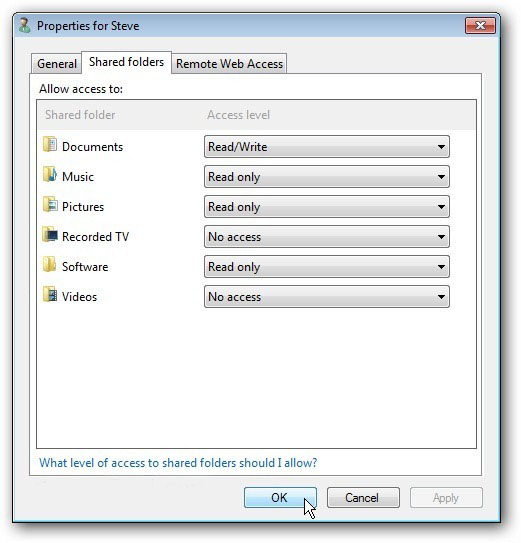
Next, select the access level for users in Shared Folders . There are 3 options.
- Read / write : Allows users to have full access to Shared Folders and full access to files including the right to modify them.
- Read only : Allows users to access files, directories and documents but do not make any changes.
- No Access : Full lock. Users will not even be able to see the content in shared folders.
After selecting, click Next . If you wish, you can change the user access rights later. Click Next .

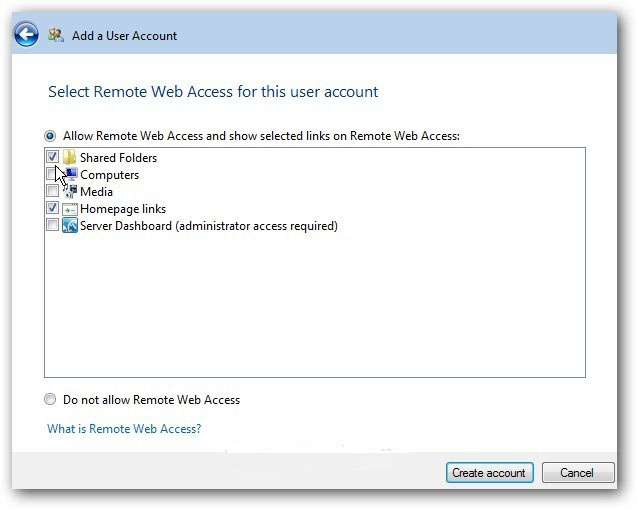
Now select the remote access that the user is allowed. The options are clear, but this is a quick explanation for each option.
- Shared Folders : gives users access to shared folders. Remote access will be the same as access they are allowed on the intranet.
- Computers : With remote access via WHS 2011 , users can access other computers on the network.
- Media : This is a collection of music, photos and videos on the server. If you give users access, they can play media files over the web.
- Server Dashboard : Only for administrators. It allows server administration from a remote computer.
Or we can choose Do Not Allow Remote Web Access if we don't want users to access data from remote machines. After selecting, click Next .
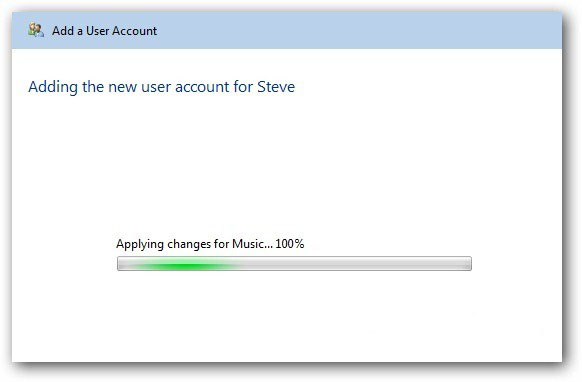
Now wait while the new user account is created.
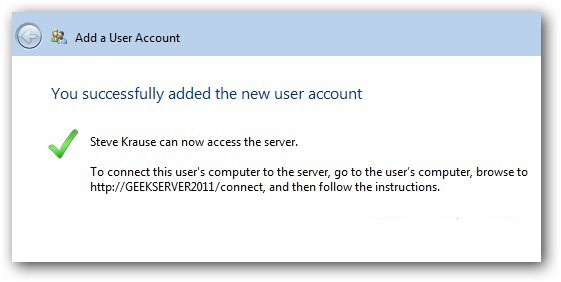
The initialization process is successful. A user account with remote access has been created. Close the window.
Now we will see the user just created on Dashboard under the Users section.
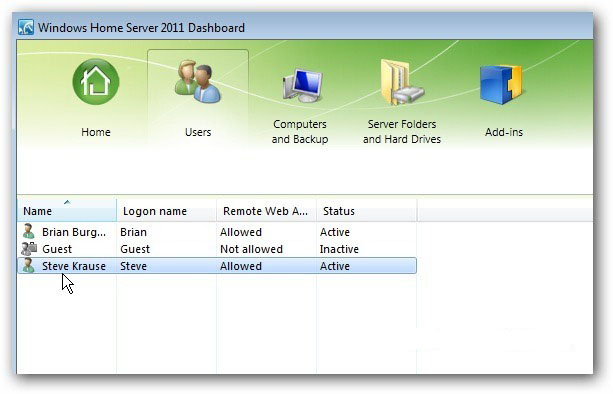
When you click on a user, there will be additional Tasks on the right panel.User tasks allow you to deactivate your account, remove, change your username and password and view their properties.
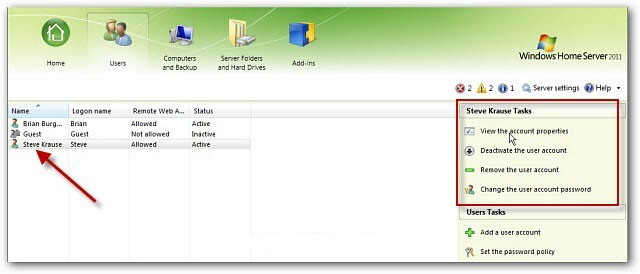
Click View the Account Properties to verify the settings are correct.
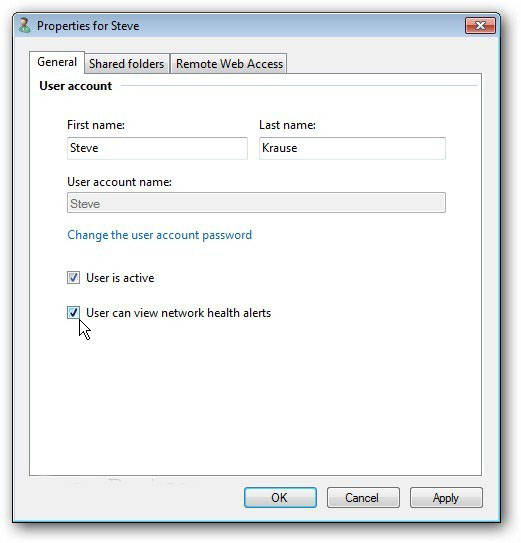
An interesting setting under the User Account General tab is for users to receive network status alerts (Network Health).
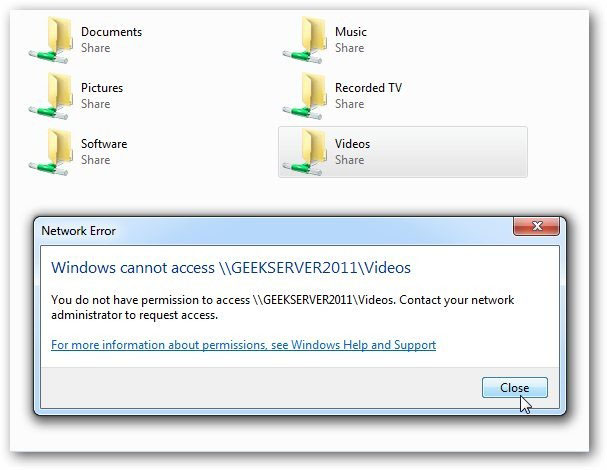
This is an example of a message that users will receive if they try to access a shared folder that they are not accessing.
If there is a user without the need to access the server, delete or stop their account. On the Dashboard , under the Users tab, right-click the user who wants to uninstall.
If you just need to temporarily remove the account, select Deactivate The User Account . The settings will remain the same, but they will not be able to access the server. To delete their account, click Remove the User Account .

A screen appears asking if you are sure. Click Delete Account .

Accounts and settings have been successfully removed.

That's all there is to do. Remember WHS allows setting up up to 10 accounts simultaneously.