Instructions for installing XenServer 6 and XenCenter
XenServer is virtualization software launched by Citrix, a company specializing in virtualization technology. Developed on Xen platforms, XenServer supports both Linux and Window so it will be more convenient for customers to initialize VPS. The article will guide users how to install Citrix XenServer 6 and XenCenter starting from the system requirements and finally the installation steps..
XenServer is virtualization software launched by Citrix, a company specializing in virtualization technology.Developed on Xen platforms, XenServer supports both Linux and Window so it will be more convenient for customers to initialize VPS. The article will guide users how to install Citrix XenServer 6 and XenCenter starting from the system requirements and finally the installation steps.
System requirements
XenServer running directly on hardware means there won't be anything between hardware and XenServer. In other words, XenServer is literally an operating system. It will communicate directly with the hardware, including network card (NIC) and storage controller.
Program requires 64-bit CPU to activate Intel VT or AMD-V. But, this is only a recommendation from the supplier. XenServer can still be set if the CPU is not enabled for Intel VT or AMD-V. However, utilities and features will be limited.
Remember, XenServer is a partial virtualization program. It uses partial virtualization in server virtualization. Therefore, the program requires the processor on the physical server to be able to implement virtualization technology so that we can take full advantage of it.
Users need at least 2GB of RAM just to install XenServer, but it is recommended to use at least 8GB of RAM, especially if the user intends to create multiple virtual machines on it. XenServer itself requires 16GB of memory but, we will need more space for the virtual machine.
The program can operate with a 100Mb NIC controller. However, one Gigabit or even 10Gigabit controller is recommended.
Hardware for XenServer
It is possible to set 1TB of RAM, 16 NICs and 64 logical processors on a physical host (host) running XenServer. Remember that logical processors are a combination of multiple cores.
Check the list of compatible hardware (HCL) at hcl.xensource.com before paying for the hardware or peripheral devices attached to the server.
In most cases, when users go to a software vendor and tell them what they intend to do with the server (for example, making XenServer), first, the provider will check the compatibility. However, check the hardware like peripherals, NICs . in the HCL to avoid problems arising during installation and later use.
XenServer is actually installed on the server class hardware. However, because it is a Linux distribution and is using partial virtualization, it can be compatible with many desktops or even laptops.
Therefore, if you want to test, users can install XenServer on a laptop or on a workstation, the program will still work.
Download Citrix XenServer 6 and XenCenter
Download XenServer and XenCenter from www.citrix.com/xenserver. Or if you have a MyCitrix account, you can visit www.citrix.com/mycitrix to download the program.
XenServer with 508MB capacity (ISO file) and XenCenter are 41MB.
Installing XenServer is quick and easy. Here are the installation steps:
- Burn the ISO file to a CD and insert the disc into an optical drive or extract the file using software like MagicISO.
- Make sure VT (or AMD-V) is enabled in the server's BIOS.
- Boot from CD.
- Respond to basic setup queries and reboot.
- Perform the initial configuration, such as assigning an IP address, host name, password .
- Connect to XenServer via XenCenter.
The installation process takes about 10 minutes.
Requires XenCenter installation
Citrix XenCenter is a Windows-based application that can be installed on a real machine or virtual machine.
The program is compatible with any Windows version: Windows XP, Vista, 7, Server 2003, 2008 and 2008RC. XenCenter requires .NET Framework 3.5.
The recommended requirement is as follows: 1GHz frequency, minimum 2GB RAM, NIC speed of at least 100Mbps and screen resolution of at least 1024x768. The program takes up 100MB of hard disk space.
Install XenServer
Mount ISO file to the physical server.
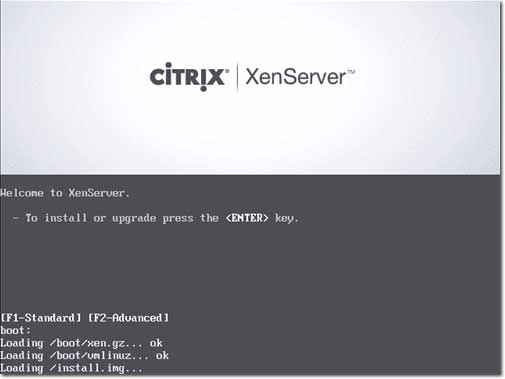
After booting, the program will start to install automatically.

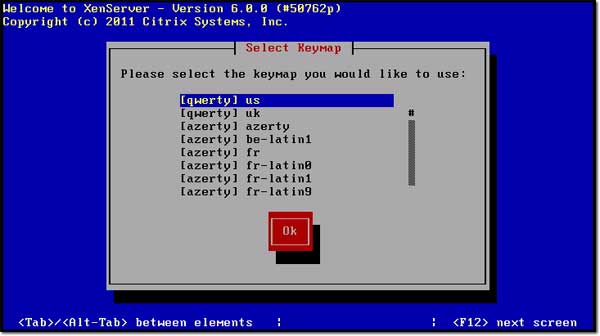
First, the program will want to know what kind of keyboard the user intends to use. Select a category and click OK .
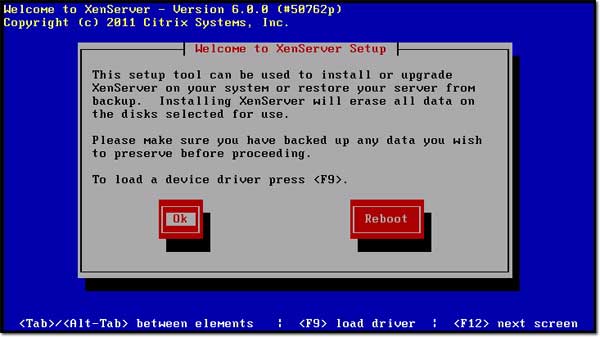
Click OK again.
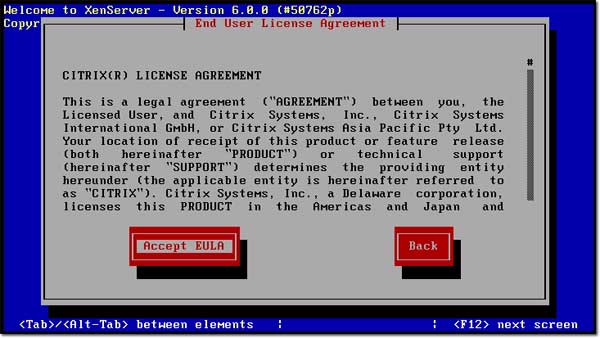
Click Accept EULA after reading the copyright terms.
If Intel VT (AMD-V) is not enabled on your device, this is what users will see:
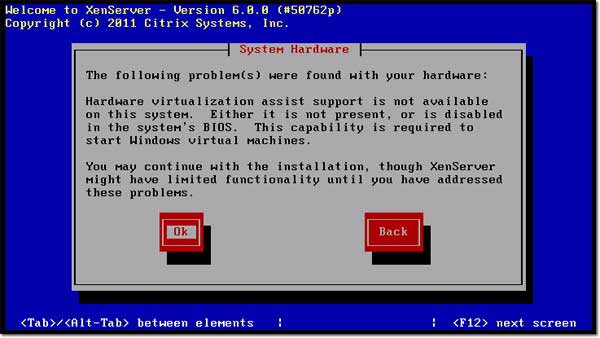
The thing to do now is return to the BIOS and activate Intel VT (AMD-V). Now look at what happens after clicking OK .
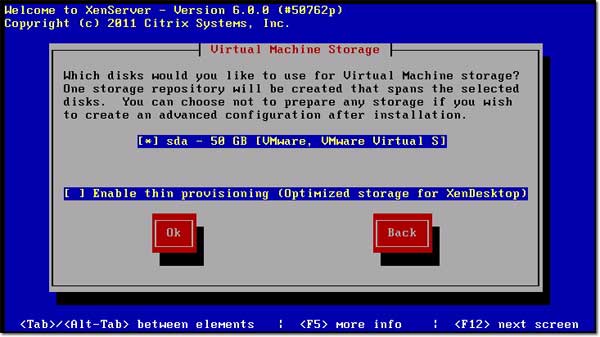
The system will ask users where to install XenServer. Select the installation location and click OK .
Select the installation source. In this case, we use local sources in the system, but in fact, the source can be HTTP, FTP or NFS. Click OK .

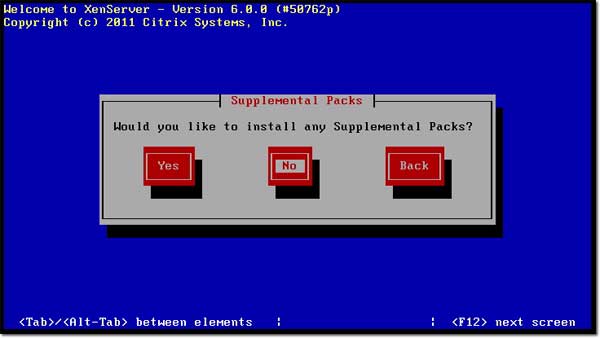
A message appears asking if you want to install some extra packages like drivers. In this article, we select No.
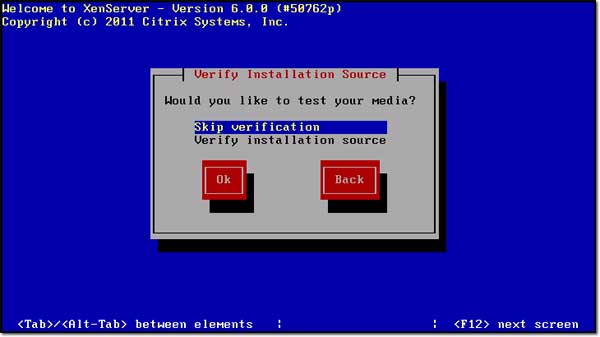
After that, users will be asked if they want to check the integrity of the downloaded ISO file to make sure there is no error. If you are sure the ISO file is good, select skip verification and click OK .
Set the password for the admin account and click OK .

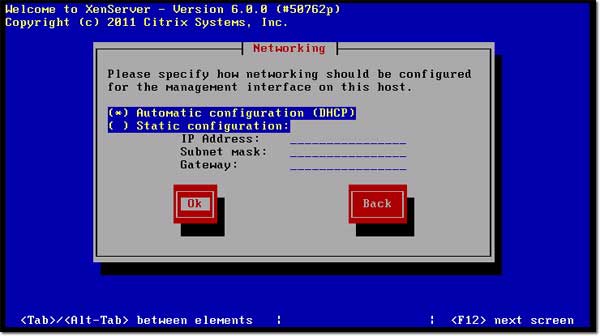
You can choose to allow DHCP to assign IP addresses or manually assign IP addresses. In this article, we'll let DHCP do it.
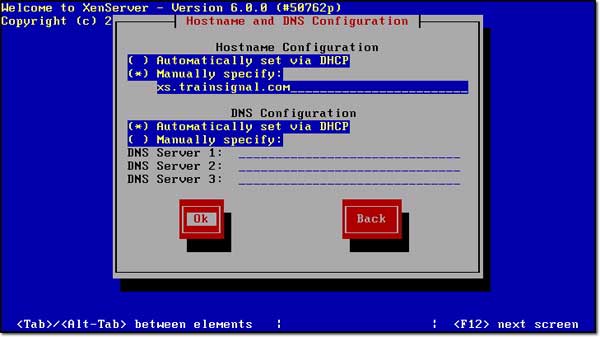
Next is the Hostname configuration step. As above, we can let DHCP configure or configure ourselves. In this article, the Hostname is assigned under the name ' xs.trainsignal.com '. However, DNS configuration is set by DHCP. Click OK .
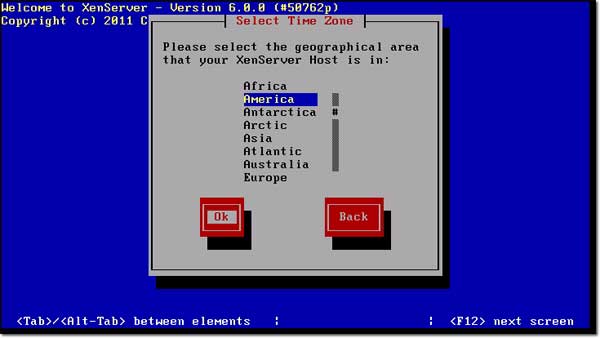
Locate the geographic location and click OK .
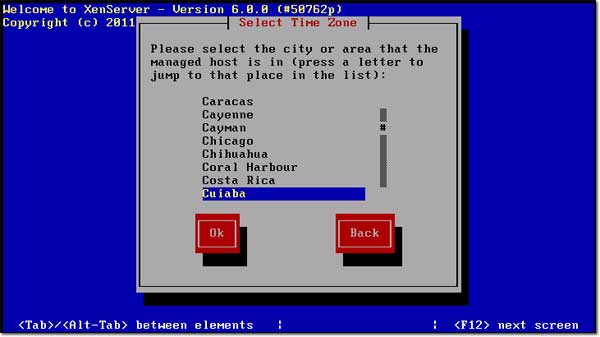
Specify the city or region and click OK .
If there is an NTP server, the correct time configuration is paramount on XenServer. If you want to perform multiple installations on XenServer, users must have an NTP server on their network. Once the NTP server is available, select Using NTP on the screen and then enter the IP address of the NTP server.
But to be seamless, here we choose Manual time entry option and click OK .

Click Install XenServer .
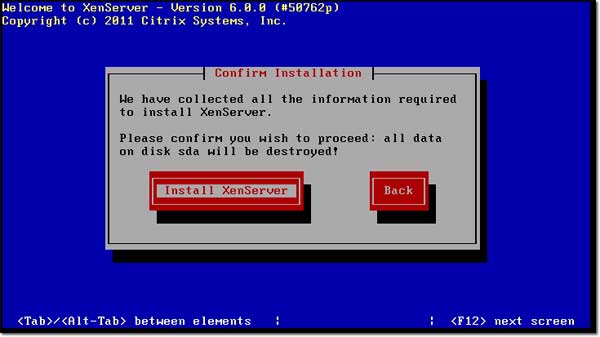
The ready to install screen appears.

If the manual time setting is selected, we will see the following:
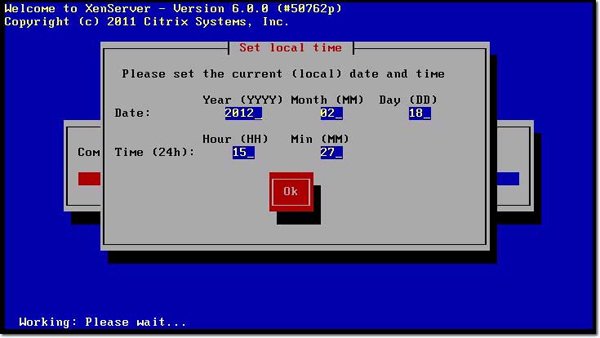
Enter the correct time and then click OK .
When the installation message is successful, click OK to finish.
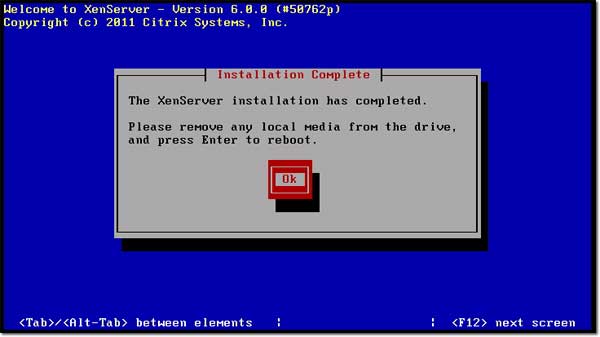
Restart the machine so that XenServer is ready for operation.
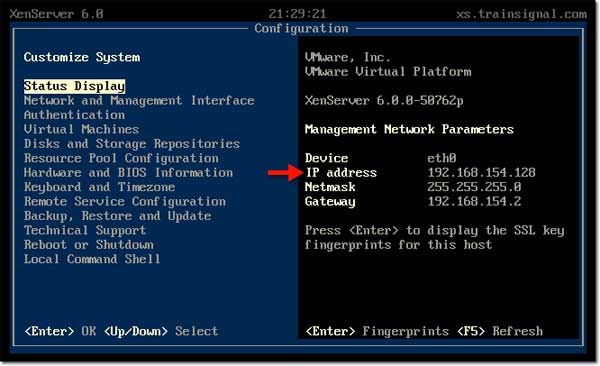
Below is the basic configuration of the server. An IP address has been assigned so we can connect to the server immediately afterwards.
Install XenCenter
Download the XenCenter installation file to a remote Windows environment.
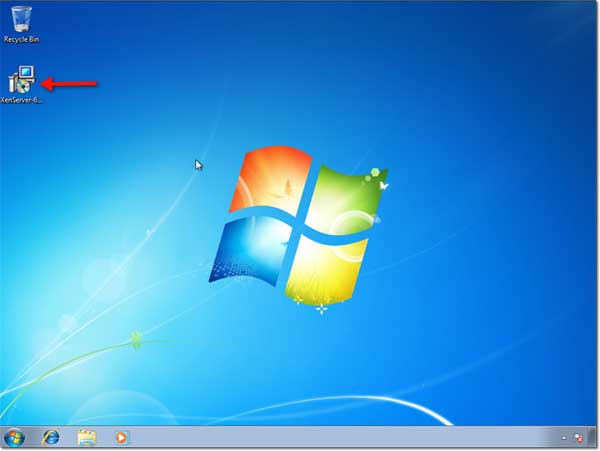
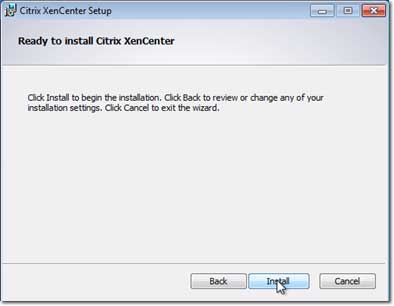
Launch the installer. Basically, we just need to press Next until the screen has the Install button. Click Install .
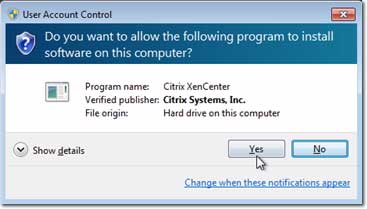
Click Yes .
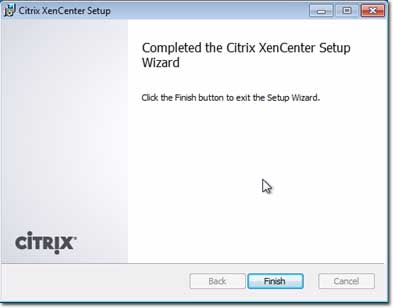
Then click Finish .
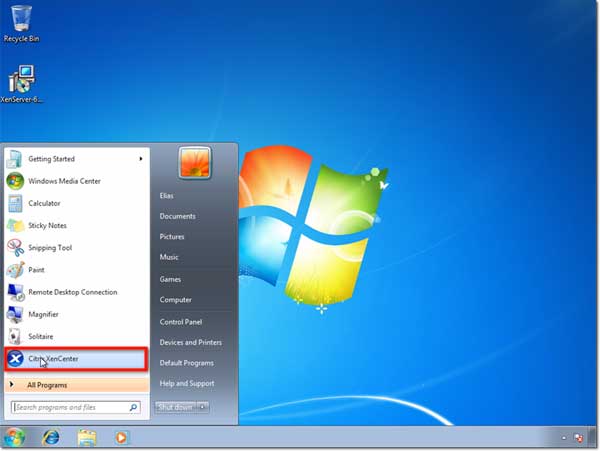
Before continuing, let's go through the XenCenter interface a bit. Launch the program from the Start menu.
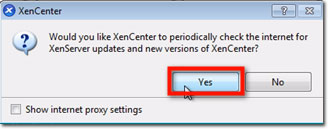
The first program will ask if you want to check for periodic updates on the Internet. Click Yes to be checked periodically or click No if declined.
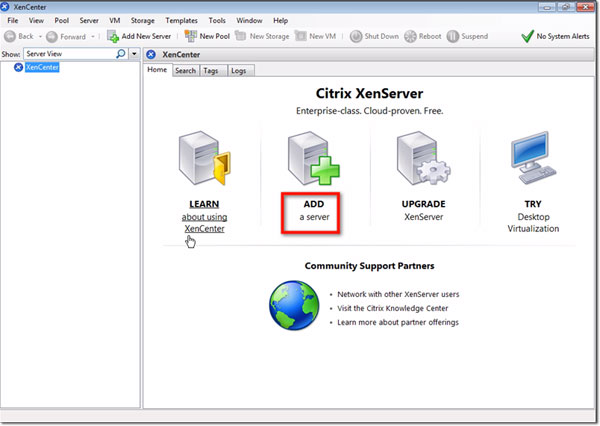
This is the XenCenter interface before any server, resource . is added to it.
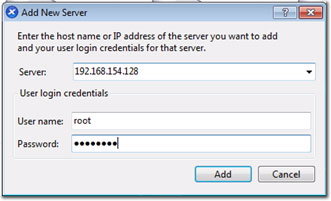
To connect to the XenServer server previously configured, click Add a server .
Enter the above IP address and the administrator account password. Click Add .
Check the Save and restore box on the connection state on startup box to make sure we are adding a new XenServer to XenCenter.
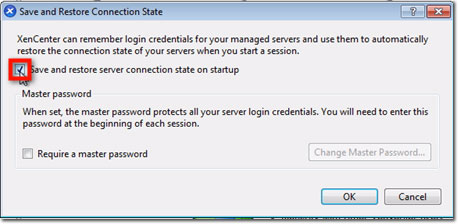
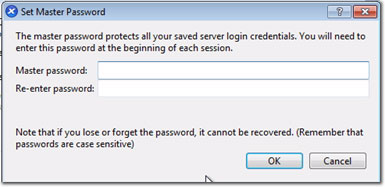
Users will be allowed to configure a master password for all XenServers linked to XenCenter. Check the Require a master password box if you want to configure the password and then enter the master password in the fields below:
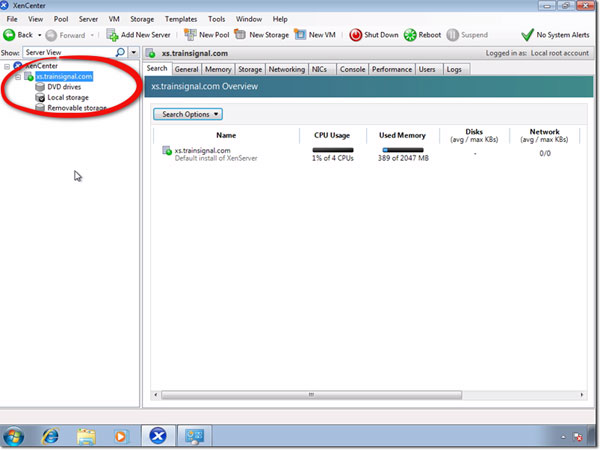
After clicking OK , the main screen appears and we will see XenServer added to XenCenter.
Conclude
Now, you can configure settings for XenServer from a GUI. That's all the work to do. Good luck!