Table of Contents
This updated guide examines How to Zip a File on a Mac and organizes the essential facts, background, and practical takeaways in clear American English.
Method 1of 4:
Use the Finder
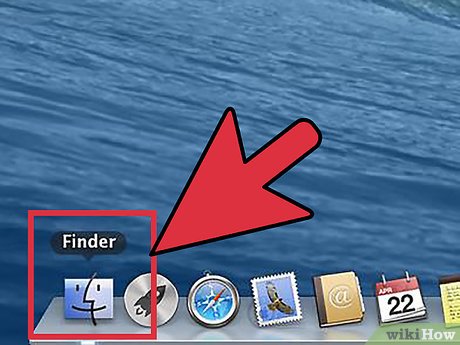 Open Finder. You can open Finder by clicking the Finder icon on the Dock. It looks like a square blue face. Once the Finder opens, navigate to the files that you want to compress.
- To easily compress multiple files from various locations into one.zip file, first create a new folder. Copy all of the files that you want to compress into this folder.
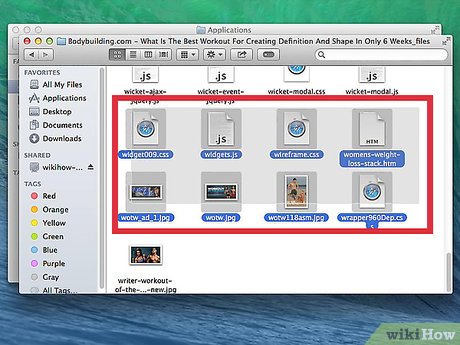 Select your files. You can select individual files out of a list by holding the Command button and clicking on each file. Once you have the files you want selected, right-click one of the selected files. If your mouse only has one button, hold Ctrl and click the file.
- If you want to compress a folder containing multiple files, right-click the folder.
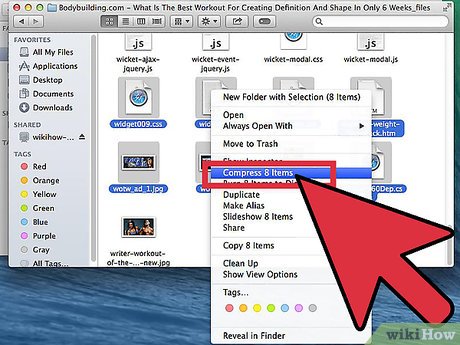 Compress the files. Select Compress from the right-click menu. Wait for the process to complete. Depending on how many files you are compressing, this could take several minutes. The filename will be the same as the file or folder that you selected to compress.
- Compressing multiple files or folders will create a file named Archive.zip.
- Compressed files will be about 10% smaller than the original. This will vary depending on what is being compressed.
Method 2of 4:
Use a Third-Party Program
 Find a compression program. There are several options available online for both free or purchase. Some compression formats, such as.rar, require proprietary software to create the archive. Others, such as.zip, can be made by nearly every compression program.
- Other proprietary compression methods may compress your files smaller than the standard.zip compression available through Mac OS X.
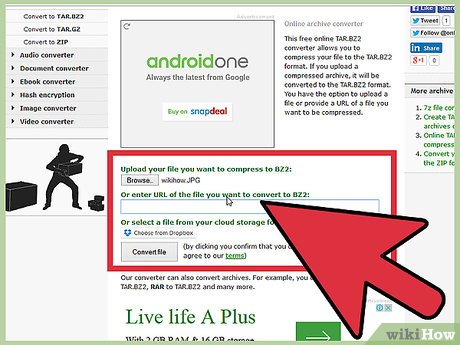 Add your files. Once you've installed and opened your compression program, add the files and folders that you'd like to compress. The method varies from program to program, but you can often just drag and drop your files into the compression window.
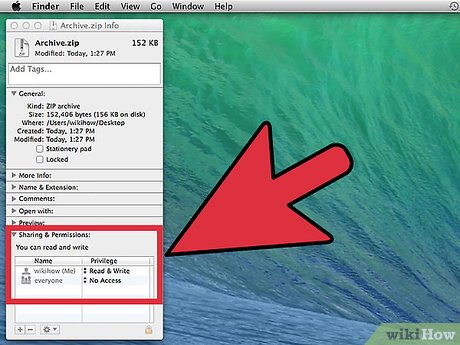 Secure your file. Many compressions allow you to add a password to your compressed file. Check the Security section, or click the File Menu and select Add Password or Encrypt.
Method 3of 4:
Zipping one file using the Terminal
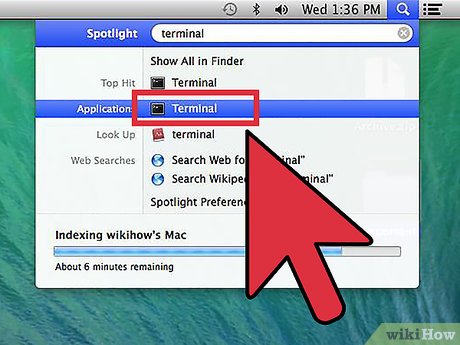 Open the Terminal.
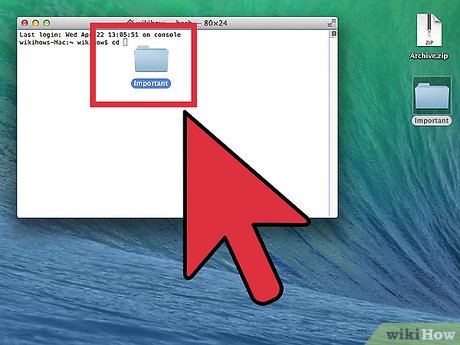 Typecd, press spacebar, and drag in the folder that you want the resulting zip file to end up in. Press⏎Return.
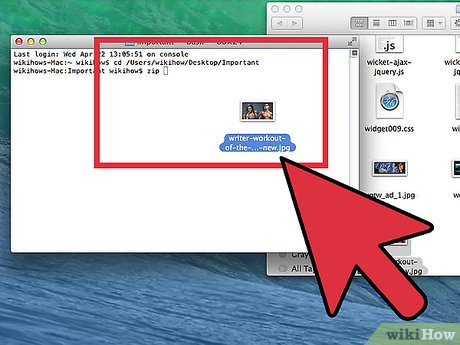 Typezip Archive.zipand then drag in the file or folder you want to zip. You can change Archive.zip to any filename for the archive you like. Press⏎Return.
Method 4of 4:
Zipping multiple files using the Terminal
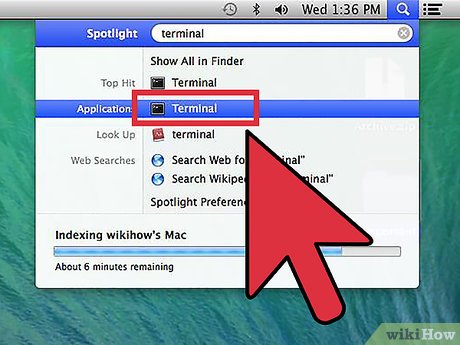 Open the Terminal.
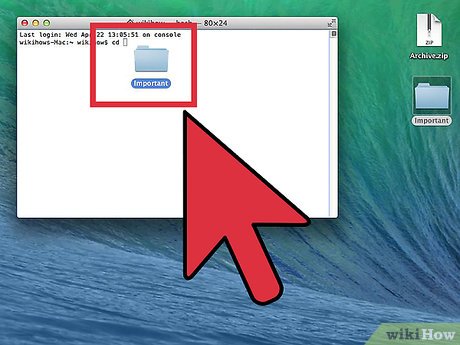 Typecd, press spacebar, and drag in the folder that files you want to zip are in. Press⏎Return.
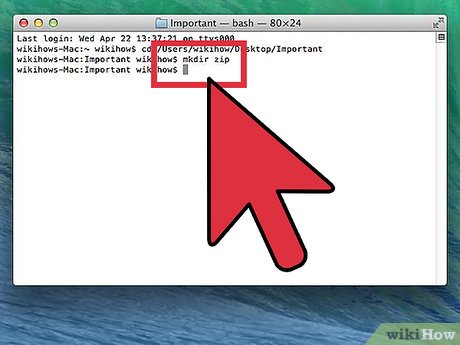 Typemkdir zip. Press⏎Return.
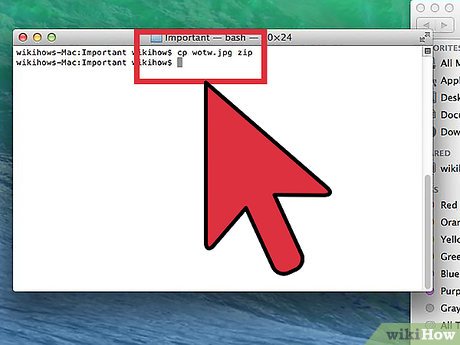 Typecp file1 zip, replacingfile1with the name of the file, including the file extension. Press⏎Return. Repeat for each file.
- If there is a space in the filename, type it like this:cp file 1 zip. Make sure to use a backslash, not a forward slash.
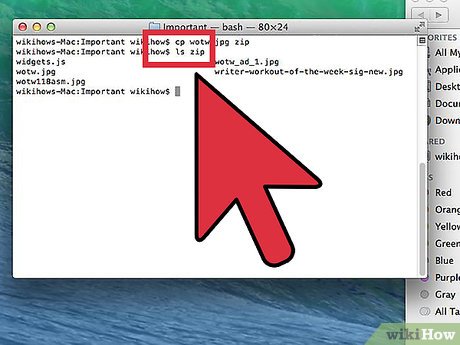 When you have finished, typels zipand press⏎Return. Check to see that every file you want to zip is there.
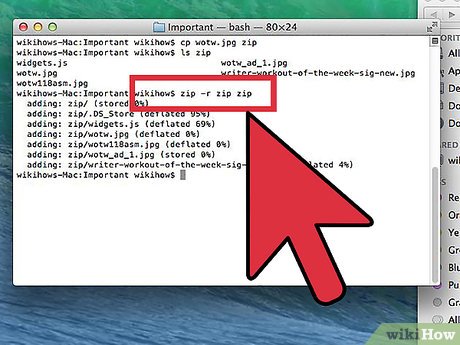 Typezip -r zip zipand press⏎Return.
FAQ
What is How to Zip a File on a Mac about?
It provides a structured overview of zip, explains the main context, and highlights practical takeaways for readers.
Why does this topic matter?
Understanding the main concepts helps readers evaluate the issue, avoid common mistakes, and make better-informed decisions.
How should readers use this information?
Use the guidance as a practical starting point, confirm details that may have changed, and follow current product, safety, or security recommendations.
Related Articles
 What Is ISO File?10 minutes read
 What Is the .DAT File: How to Open and Read the .DAT File?10 minutes read
 What Is File 000? Complete Guide6 minutes read
 All You Need to Know About ZIP Files - What Is a ZIP File?5 minutes read
 What Is DMG File?7 minutes read
 What Is Xml File: What Is an XML File and How to Open It?9 minutes read
Reader Comments 0
Sign in with email or Google to join the discussion.