Table of Contents
This updated guide examines How to Use Time Machine on a Mac and organizes the essential facts, background, and practical takeaways in clear American English.
Part 1of 4:
Backup Drive
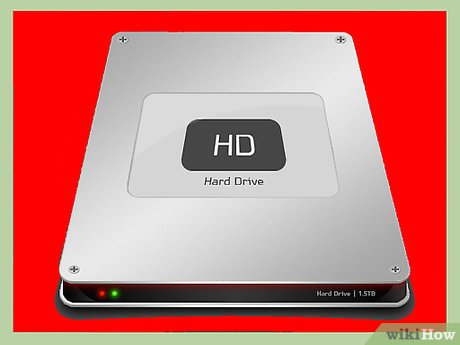 Buy an external drive. Make sure it is at least twice the size of your hard drive.
- Today, you can buy a backup drive that has a terabyte or more. Most backup drives will connect to your USB drive.
- You can also buy backup drives that work with your other Mac ports, such as FireWire 800 and Thunderbolt. You will need to check your Apple manual to see if your machine supports these drives. They can be much faster at sending and receiving information, but also much more expensive than a traditional USB port drive.
- Today, you can buy a backup drive that has a terabyte or more. Most backup drives will connect to your USB drive.
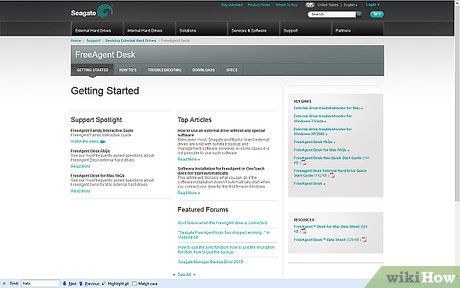 Read the instruction manual. Find out if the drive comes with its own software.
- If possible, choose a hard drive that does not run on proprietary software. This backup software can compete with the Time Machine backup, creating difficulties.
- Deactivate your hard drive's backup software by deleting it or following the directions in the instruction manual before trying to run Time Machine.
 Decide if you want to keep the backup drive connected to the computer, so that Time Machine can back up the computer on an hourly or daily basis. You can also choose to connect it specifically when you want Time Machine to run. EXPERT TIP
 General Manager of macVolks, Inc. Chiara Corsaro is the General Manager and Apple Certified Mac & iOS Technician for macVolks, Inc., an Apple Authorized Service Provider located in the San Francisco Bay Area. macVolks, Inc. was founded in 1990, is accredited by the Better Business Bureau (BBB) with an A+ rating, and is part of the Apple Consultants Network (ACN).
 Chiara Corsaro General Manager of macVolks, Inc.
You can back up your system periodically, if that's what you prefer. It's not recommended to leave a portable USB external hard drive connected to your machine all the time. They'll continuously spin, and they don't have any kind of internal ventilation system, so they'll wear out more quickly. However, once Time Machine has been set up for the first time, it will back everything up for you automatically, as long as you remember to plug your external hard drive into your computer every now and then.
Part 2of 4:
Time Machine Set Up
 Insert the backup drive into your computer. In most cases, you will do this by connecting it with a cord, or directly through a USB drive.
 Wait a few minutes for the system to recognize the new device. In most cases, your Apple computer will recognize the device and ask you if you want to use it as a backup drive.
- Click "Use as Backup Drive" when the dialog box asks if you want to use it with Time Machine.
- If the dialog box does not appear, or you want to use a drive that was previously inserted as a backup, then go to your "System Preferences" application. Click on "Time Machine." Select the backup drive you want to use from the browser.

- For additional security, check the box that says "Encrypt Backup Disk." This will only be available on certain operating systems.

- If the dialog box does not appear, or you want to use a drive that was previously inserted as a backup, then go to your "System Preferences" application. Click on "Time Machine." Select the backup drive you want to use from the browser.
Part 3of 4:
Time Machine Preferences
 Go to your Mac desktop. Click on the symbol of a clock with an arrow around it. This is the Time Machine icon.
 Scroll and select the "Open Time Machine Preferences" option to configure your Time Machine.
- You can also go back to the System Preferences application and click on Time Machine to get to the same screen.
 Select "Options" in the Time Machine dialog box.
 Select items to exclude from the Time Machine backup. Time Machine will not back up devices that are connected to your computer, but it will back up almost everything else, so you may want to exclude Mail or other items.
- Click the plus sign to add something that should be excluded from backing up.

- Click the plus sign to add something that should be excluded from backing up.
 Access Time Machine to see files from previous days, weeks or months. Click "Enter Time Machine" under the Time Machine icon.
 Flip through the past backups until you find the date that you want to access. Select the file you want and click "Restore" to reload it onto your Mac.
- You can also use the search bar to look for files, if you don't know when they were saved.

- You can also use the search bar to look for files, if you don't know when they were saved.
Part 4of 4:
Manual Time Machine Backup
- Set a date and time to back up your computer, if you choose not to keep your backup drive plugged in. It is a good idea to do this every day, or at minimum once a week, if you do not use your computer very often.
- If you leave the hard drive plugged into your computer, Time Machine will save backups hourly. It will save hourly backups for 1 day, weekly backups for a month and monthly backups for an unlimited amount of time. Backing up will stop when the machine is full.

- If you leave the hard drive plugged into your computer, Time Machine will save backups hourly. It will save hourly backups for 1 day, weekly backups for a month and monthly backups for an unlimited amount of time. Backing up will stop when the machine is full.
 Plug your external hard drive into your computer. Give the system a moment to recognize the drive.
 Click on the Time Machine icon. Select "Back Up Now."
 Leave the hard drive alone until it is backed up. Removing it without ejecting it will risk losing your data. EXPERT TIP
Chiara Corsaro
General Manager of macVolks, Inc. Chiara Corsaro is the General Manager and Apple Certified Mac & iOS Technician for macVolks, Inc., an Apple Authorized Service Provider located in the San Francisco Bay Area. macVolks, Inc. was founded in 1990, is accredited by the Better Business Bureau (BBB) with an A+ rating, and is part of the Apple Consultants Network (ACN). Chiara Corsaro General Manager of macVolks, Inc.
Consider having a secondary backup for important files. If you have anything irreplaceable on your hard drive, like your photos, it's a good idea to have another backup, such as on a separate external hard drive, a USB flash drive, a CD or DVD, or a cloud backup.
FAQ
What is How to Use Time Machine on a Mac about?
It provides a structured overview of time, explains the main context, and highlights practical takeaways for readers.
Why does this topic matter?
Understanding the main concepts helps readers evaluate the issue, avoid common mistakes, and make better-informed decisions.
How should readers use this information?
Use the guidance as a practical starting point, confirm details that may have changed, and follow current product, safety, or security recommendations.
Related Articles
 Can Icloud Drive Be Used to Back up Time Machine Data on a5 minutes read
 How to Delete Old Time Machine Backups on Mac3 minutes read
 How to Change the Time Machine Backup Time Interval4 minutes read
 Restore and Backup Data on Mac Using Time Machine6 minutes read
 Should I Use Time Machine or Icloud Drive to Back Up My Mac?10 minutes read
 It Is Not Difficult to Remove Unpleasant Odors in the Washing8 minutes read
Reader Comments 0
Sign in with email or Google to join the discussion.