How to use Photoshop CS5 - Part 7: Design and present with the Type Character Panel
Programs like Photoshop allow users to make design and learning easier. By learning how to use the Type Character Panel, you can easily personalize your photos.
TipsMake.com - Programs like Photoshop allow users to make design and learning easier. By learning how to use the Type Character Panel, you can easily personalize your photos .

Panel Fonts and Character
While programs like Adobe Illustrator are the right choice to handle the abstract shapes of fonts, Photoshop simply uses the available font components. However, it also has some basic editing options so that the presentation of the word is not too monotonous.
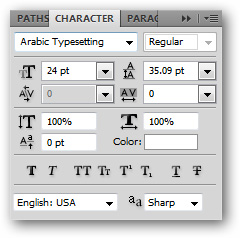
The Panel Character can be found by going to Window > Character (if you don't see it in the panel to the right of the working screen). This panel contains quite a few options with text that you can try.

Font Family : Here you can choose font for font object (like Arial, Times New Roman font .)
Font Style : Usually a font installed will come with a related font system including bold, italic style . (eg Arial, Arial Bold, Arial Narrow, Arial Condensed, Arial Rounded MT, Arial Black .)
Font Size : This is where you will change the font size. Enter the number in the box yourself or use the drop-down menu to select it.
Leading : Normally Photoshop sets a suitable distance between lines in the same text, but in some cases you need to change this distance, this is the option to use. .
Kerning and Tracking : This option allows to increase or decrease the space between letters. The value 0 is the default distance, increasing or decreasing this value is equivalent to increasing / decreasing the space.
Vertical Scale and Horizontal Scale : This is the control used to stretch or increase the flatness of the text, the value entered here corresponds to the original percentage.
Baseline Shift : This option is used to push the highlighted text higher (or lower) than the other words. This option is suitable for hitting the upper (or below) index in a paragraph of text. Value> 0 will be equivalent to pushing the text up, value
Text Color : This is the color adjustment option for the currently selected text.
Language : This option is used to set up non-English languages in some necessary cases.
Anti-Aliasing : The option to edit text by pixel pixel. Going through a series of options in this option you will see differences with each of the different types.
Faux Bold and other Character options
 Faux Bold : If the current font style you are selecting is already bold, but still not satisfied with its boldness, you can use this option to increase the thickness of the text.
 Faux Italic : Similar to Faux Bold, this option is used to increase the inclination of text.
 Uppercase : Turn your entire font into uppercase. Very useful in making the text in need of uppercase letters a long piece of text.
 Small Caps : It is still an option to create uppercase letters for the entire paragraph, but this option is different that the lowercase letters are slightly smaller than the uppercase letters.
 Superscript : Change the currently selected text or object to the above index, eg 2 8
 Subscript : Change the currently selected text or object to the lower index, such as C 6 H 12 O 6 .
 Underline : Add an underlined line below the selected text
 Strikethrough : Add a dashed line through all the currently selected text.
Options Panel and Type Tool
There are a few options that are not available in the Character Panel, but you can find them in the toolbar at the top of the working screen - Options Panel - when selecting the Type tool (T)

 Text Orientation : This option is used to adjust the orientation of the text vertically or horizontally.
 Alignment : Set the alignment of the specified text objects in the left margin ( Left Aligned ), right ( Right Aligned ) or center ( Center Aligned )
 Warp Text : Bending the text object in a defined shape, this shape can also adjust the curvature / tilt accordingly. This option is often used in case the text object created is a banner .
Design a simple book cover
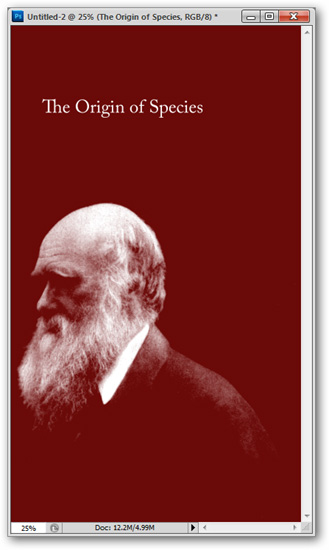
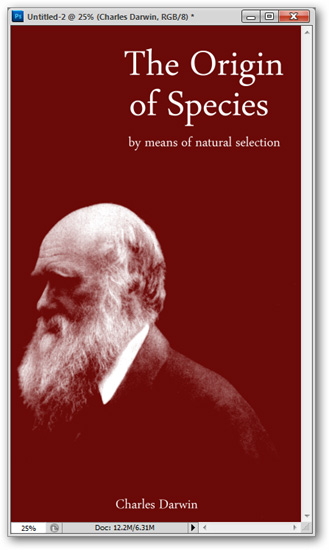
The design must be accompanied by the actual application, so the user will be able to understand how the basic knowledge is useful. The tutorial in this section is to create a basic book cover, the book By The Origin of Species By Mean of Natural Selection by Charles Darwin .
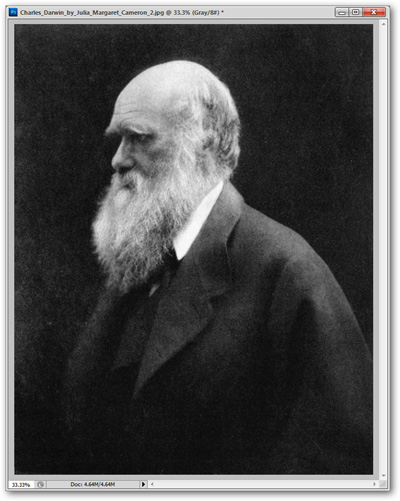
Press Ctrl + L to open the Levels tool and re-adjust Darwin's image. In design, the layout of the appropriate position to present components is quite basic.
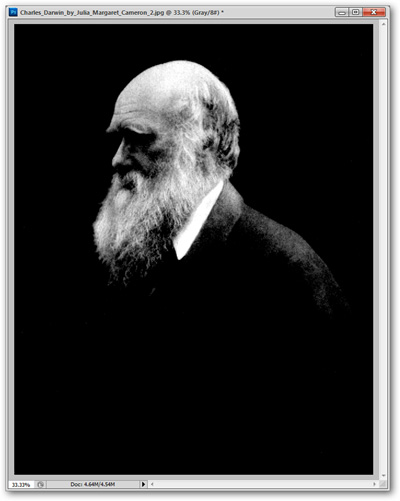
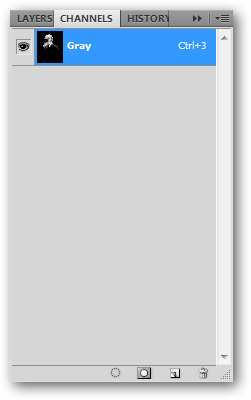
Once the image has been darkened, go to Image > Mode > Grayscale , hold Ctrl and click on the Gray channel in Panel Channels. This will create a selection of all the white areas of the image.
Press Ctrl + Shift + N to create a new layer

Go to Edit > Fill to fill the white layer with the selected layer.
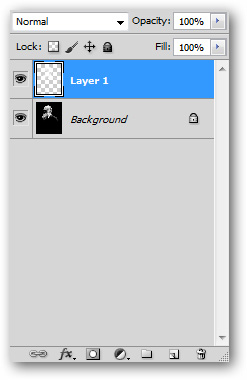
The icon of Darwin now stands out from the black background and you can use it as an element to create the cover

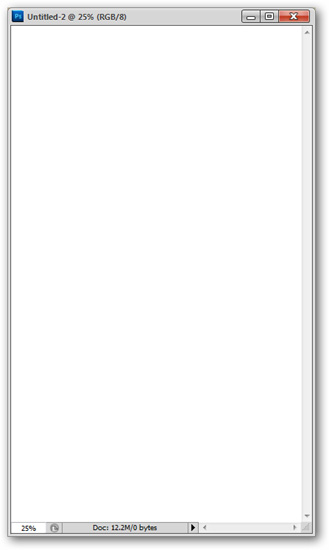
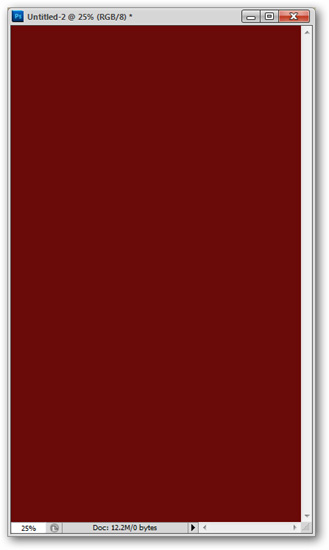
Press Ctrl + N to create a new file in the size of your cover.
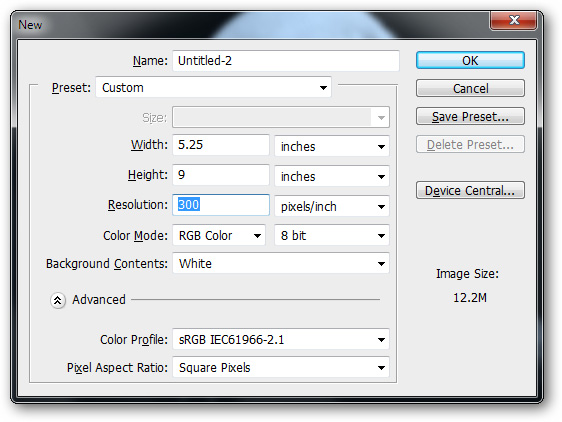
And this is a very long framework, equivalent to the book
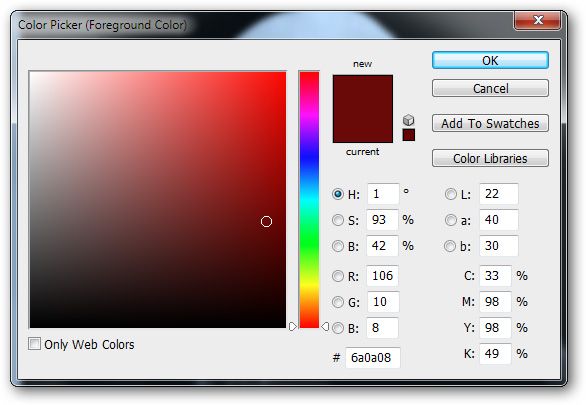
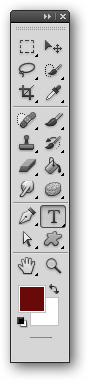
Select any foreground color in the toolbox, dark color is best suited.
Go to Edit > Fill to fill the Foreground color for the book background
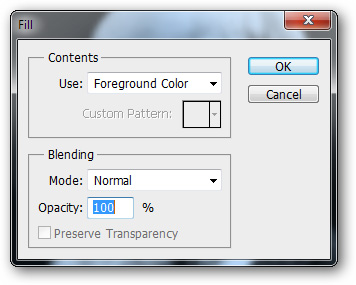
The background will now have the wine color as previously selected.
Press V to select the Move tool. Open the original file with the previously edited Darwin image and drag the layer you just edited into the image frame of the new image with the Move tool.
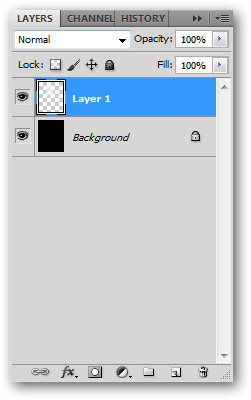
The image layer just dragged should lie above the background of the new file.

Press the T key or select the Type tool
Not all fonts are suitable. Font in pixel point is not suitable in this case.

A classic font will be more suitable.
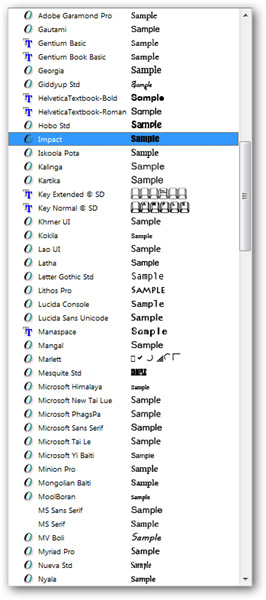
To choose the right font is not entirely simple, it can be the most difficult and time-consuming task, but is the most important of the design.
Change the font size and divide the book title into 2 lines. Once you have selected the appropriate font, adjust the Character Panel to get the right format.
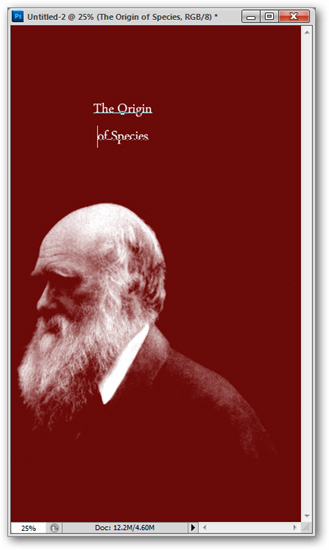

After adjusting the size, you need to make additional adjustments about Leading

Then comes the problem of letter spacing. Increase the size of Tracking to make the title easy to read
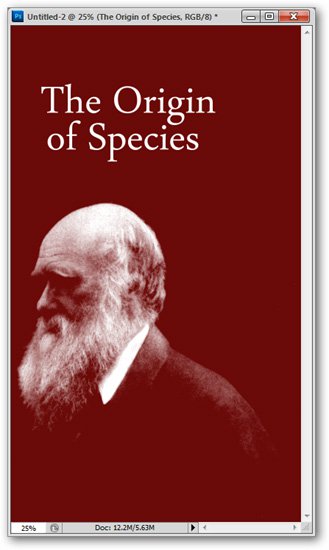
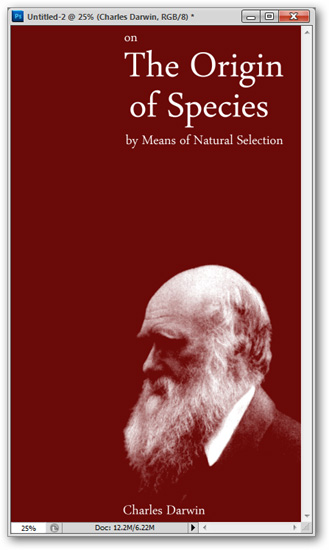
Add information to the title with smaller fonts and rearrange Darwin images
You can add additional graphic elements to reduce the monotone part of the cover.
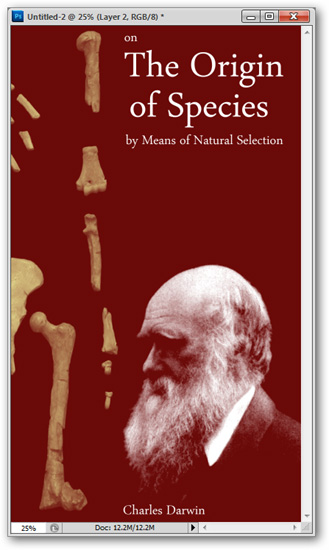
Just a few basic points, you have a pretty simple book cover that is still beautiful. Design is not about finding or drawing a beautiful image but having to find a place to put that image appropriately.
If only simple photo editing you can use Photoshop online.
Next lesson: How to use Photoshop CS5 - Part 8: Menu Filters
Previous article: How to use Photoshop CS5 - Part 6: Digital art
Was this article helpful?
Your feedback helps us improve.
Related Articles
 How to use Photoshop CS5 - Part 2: Panels8 minutes read
 How to design a website in Photoshop (Part 2): Create a Landing page for travel websites11 minutes read
 Photoshop CS: Creativity with New Year's cards (Last part)6 minutes read
 These great new features of Adobe Photoshop CC 2018 the Designer should not be missed13 minutes read
 Instructions for using Photoshop CS6 (Part 5): Create christmas cards with snowflakes on a red background6 minutes read
Reader Comments 0
Sign in with email or Google to join the discussion.