How to use Camtasia Studio to record a screen
The video recording software is now quite rich, including the famous names like VLC Media Player, Bandicam Screen Recorder, . or the Game Bar available in Windows 10.
With Camtasia Studio, users can record video screen, record all actions and edit videos with video editing tools. The software also supports audio recording during video recording, adding different quality to save video and export video to many other services. The following article will show you how to use Camtasia Studio to record screen video.
- How to use TinyTake to capture screen video
- Top 6 quality Android phone screen video recording applications
- Instructions for filming the screen with CyberLink Youcam
Instructions for recording screen videos on Camtasia Studio
Step 1:
If there is no Camtasia Studio software, users click on the link below to download and install.
- Download Camtasia Studio software
Step 2:
In the software interface, click Record the screen at the top left of the screen to record the screen.

Step 3:
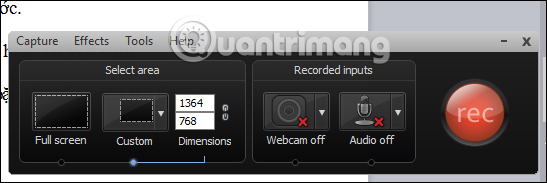
This will display a small window at the bottom right of the screen with screen video recording options.
- Full screen: Turn the entire screen.
- Custom: Select a part of the screen to rotate, can enter the size.
- Webcam: Turn on or off the Webcam.
- Audio: Turn on or turn off the microphone recording function.
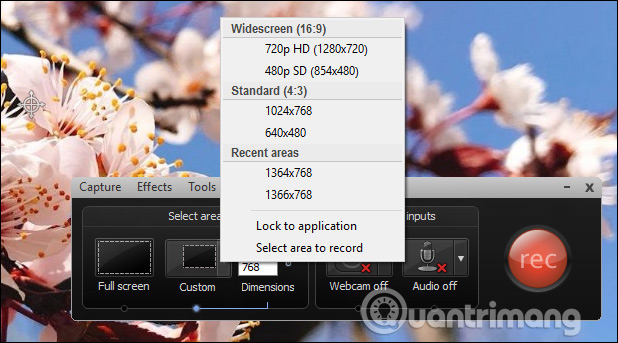
If the user chooses to rotate the custom type, clicking on the arrow icon will display additional sizes for you to choose. Or enter the size in the 2 boxes next to it. This will display a blurry border to surround the area you want to rotate the screen.
Step 4:
After you've selected the screen area you want to shoot, or the full screen press the Rec button to shoot.
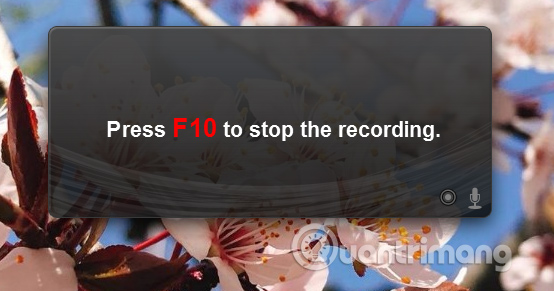
The shooting mode will be activated immediately with 3 seconds of preparation. The F9 key will be used to pause recording and the F10 key is used to stop video recording.
Step 5:
When pressing F10 to stop recording, we will move to the Preview interface to preview the video. If you want to delete the video, click on the Delete button.
Produce is used to export to any format. Save and Edit will save the video as a raw file and edit it in the main software.
Click Save and Edit to save and edit the video.

Step 6:
Now you will save the video recording file on your computer. You can name it if you want and then click Save. The next time you want to edit the screen recording video, just go to Camtasia Studio folder to find it.

Step 7:
In the edit interface you will see the video appear in the Timeline bar below. If no video appears, the user must drag the video to the Timeline bar.
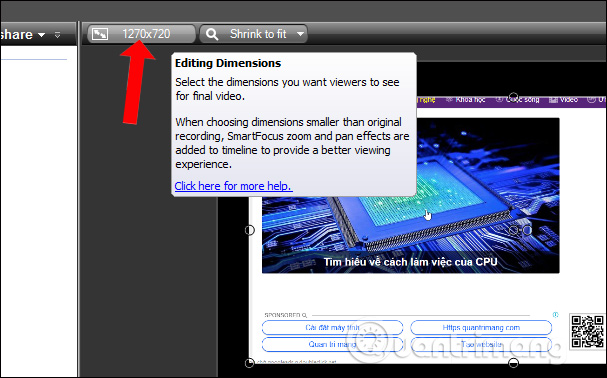
Next on the right interface will see the video frame. If you want to adjust the size and resolution for the video, click on the size above.
Step 8:
Select the size that the software provides in the Custom section, or enter the size in the 2 boxes below. Also you can choose the background color for the background video.

Step 9:
To add a logo to the screen video, click the Import media button above, then click the logo icon in the folder.

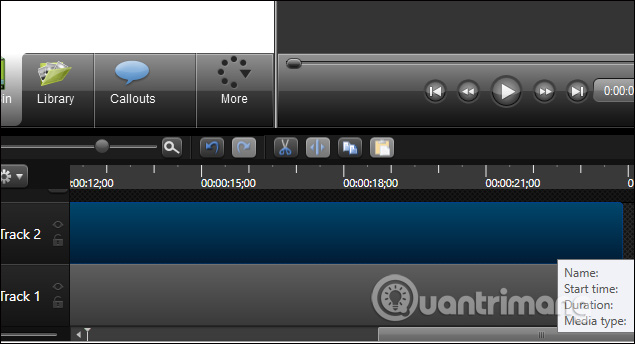
Once you have displayed the logo in Clip Bin, drag down the Timeline in Track 2 as shown. Continue dragging the logo bar with the video bar, if you want the logo to show the video playback time.
Step 10:
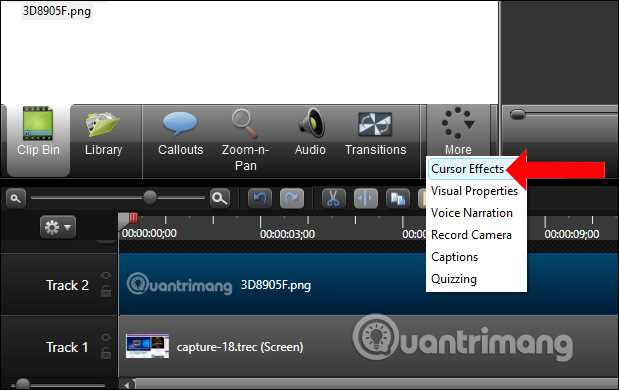
To add effects to the mouse pointer, click the video under the Timeline bar and click More and select Cursor Effects .
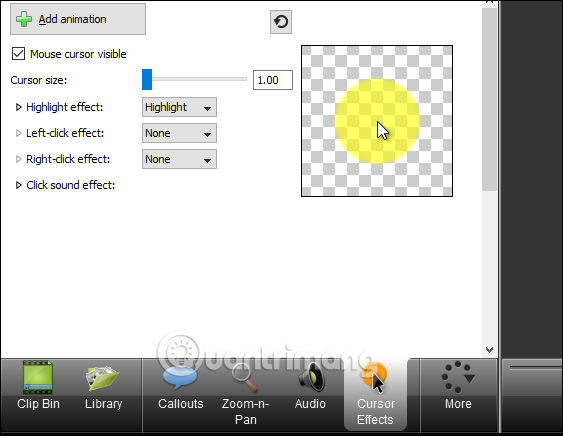
Display interface to adjust effects for mouse cursor . You can increase the size of the mouse pointer at the Cursor size bar. Next, add effects to the mouse, left-click effects, right-click effects.
Step 11:
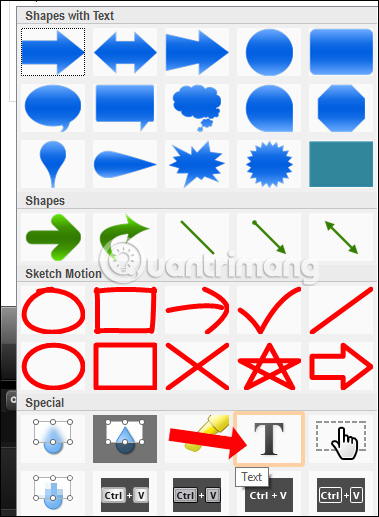
To add text to the video, click on the Callouts section on the bar. Click on the arrow icon to expand the custom.
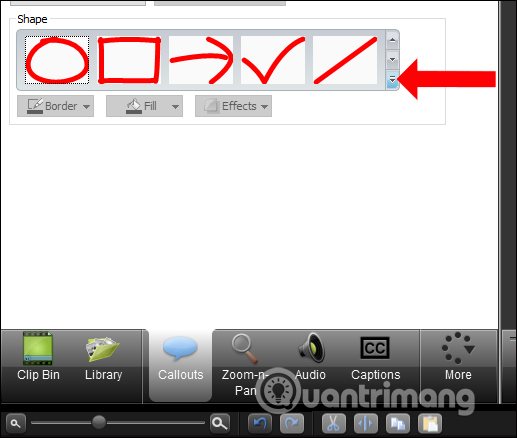
Click the T icon to add text to the video.
Step 12:
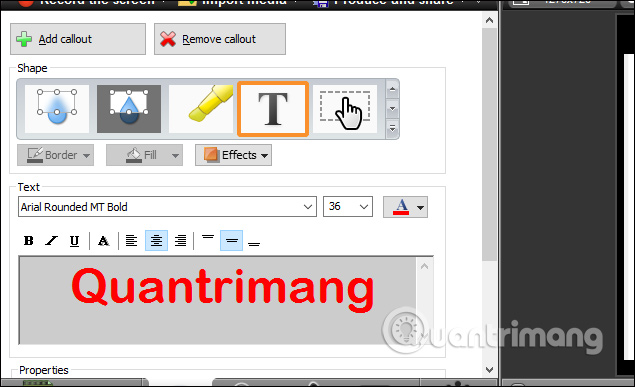
Next, enter the text in the box. Adjust the font size, font, font format, display position of the text, font color, etc. to match the layout on the video.
Step 13:
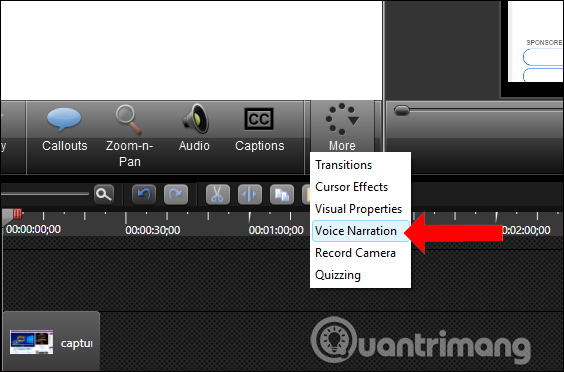
If you want to add voice to the video, click Voice Narration in More.
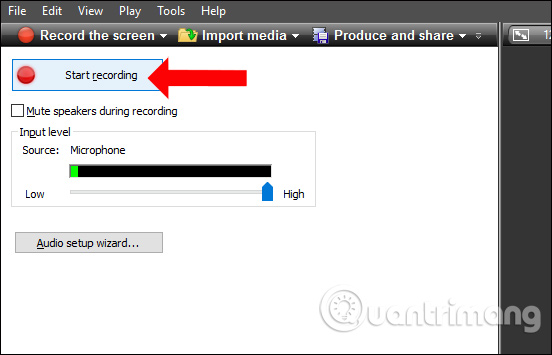
Press Next Start recording to proceed to record audio inserted into the video recording screen.
Step 14:
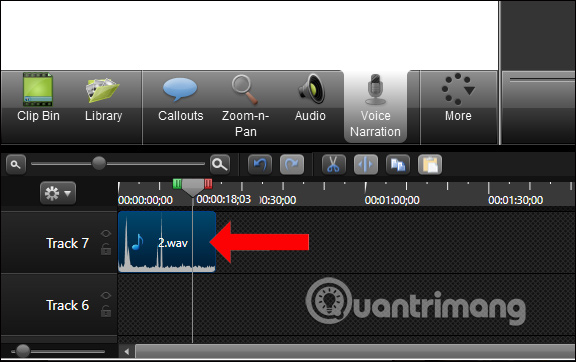
If the recording is finished press Stop recording and the user will need to save the recorded audio file to the computer.
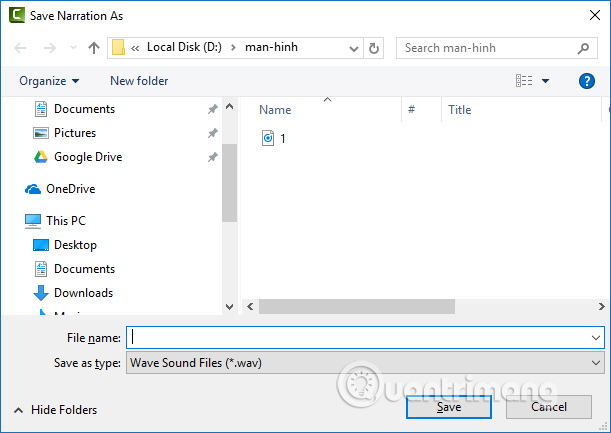
You will see the audio below the Timeline section as shown.
Step 15:
After you've finished editing the videos, click Produce and share on the interface.
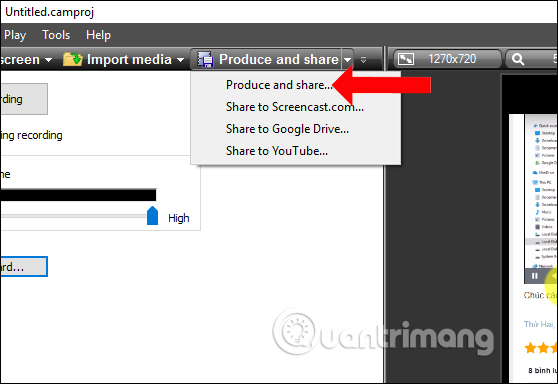
Choose the format for the video or choose to save it on your computer, burn it to a DVD, share it directly to YouTube, Google Drive, or Screencast.com website. Click Next below to continue

Step 16:
In the new interface enter a name for the video into Production name . The video output directory is fixed below. Click the folder icon to change the folder to save the output video if you want. Finally click Finish to complete.

The video creation process will take place shortly thereafter. Video creation time will depend on screen recording time, number of effects inserted into the video.
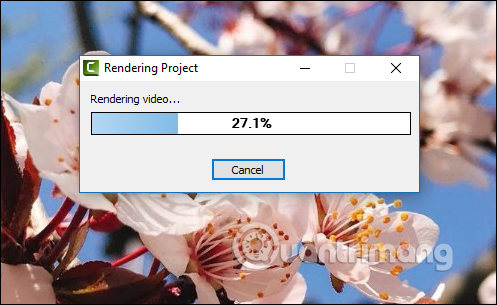
The video will be played immediately later by the video player on the computer that is set by default.
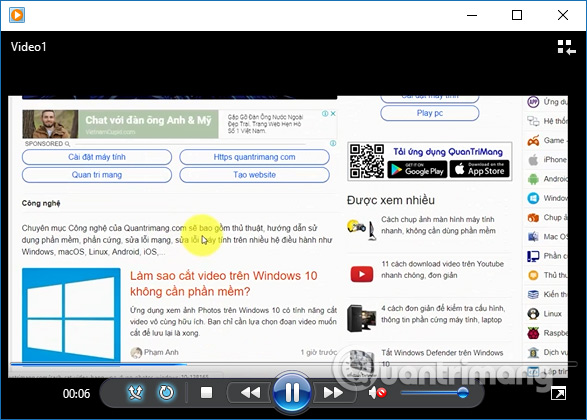
Recording video on Camtasia Studio is quite simple. Videos will be inserted with many other effects to increase interesting for viewers. Besides, Camtasia Studio has many different video editing features such as splitting audio on video, cutting video or creating 360-degree rotation logo on Camtasia Studio.
See more:
- Shortcuts in Camtasia Studio
- Top online video editing websites
- How to pair 2 videos into 1 using Camtasia Studio
I wish you all success!