How to record a screen with VLC Media Player?
VLC Media Player is one of the most popular music programs for Windows, besides, VLC also has one more feature that not many people know, it is screen recording . In the article below, we will guide you to implement features that are small but also very useful, especially those who want to make video tutorials.
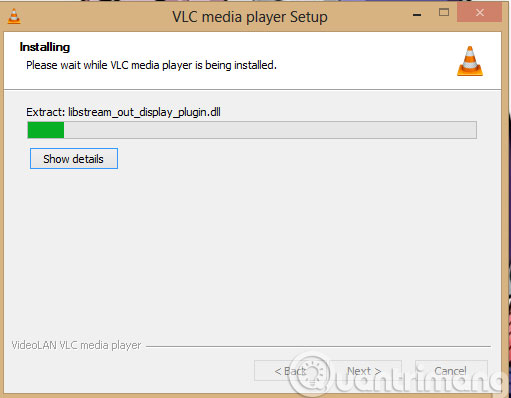
Step 1 : Download VLC Media Player and install
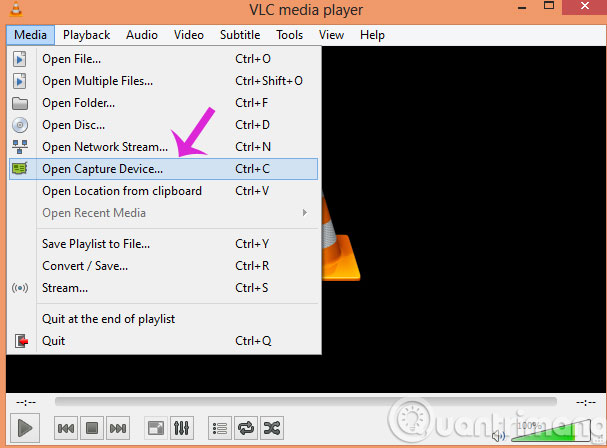
Step 2 : At the main interface of VLC, select the Media menu >> Open Capture Device ( Ctrl + C )
Step 2 : At Capture Mode tab, select the drop-down menu and select Desktop
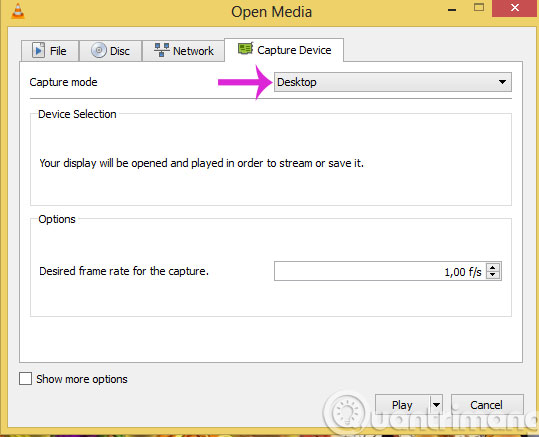
Step 4 : Then, select the Desired Frame Rate for the capture value you want. Should choose this value in the range of 15 - 30f / s

Step 5 : At the Play button, select the Down arrow arrow > Convert

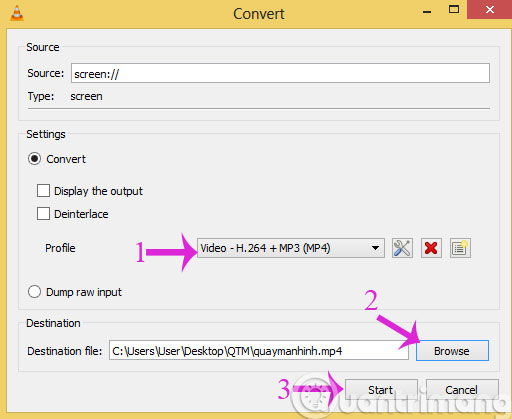
Step 6 : When the new window appears, you
- Choose video format as Video - H.264 + MP3 (MP4).
- Destination File : A path - where the video is saved after it has been recorded
Finally, select Start to start recording the Desktop screen video on your computer
While recording a video, if you want to stop, click on the Square button and click this button again to record the video.
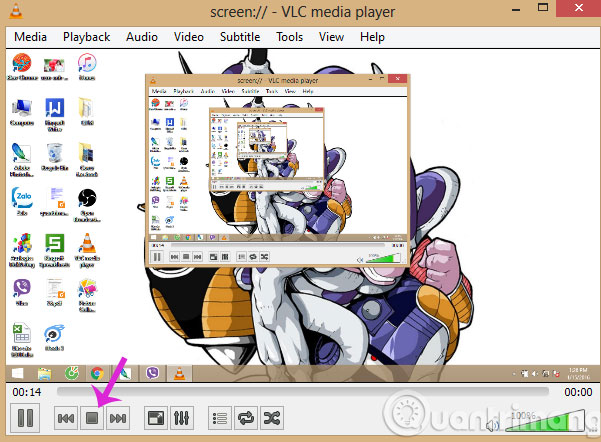
So, we have introduced to you how to film the screen using VLC Media Player.
- Instructions for filming the screen with CyberLink Youcam
- How to take photos of websites on Chrome and Firefox
- Simple computer screen captures
Good luck!