How to pair 2 videos into 1 using Camtasia Studio
On Camtasia Studio software, there are 2 video compositing features into 1 and run in parallel , support for making video demonstrations, quotations, and more detailed tips.
Videos are put together into 1 and run in parallel, we often see in comparison videos, review products or certain content. Another video will appear in the screen of a video and run 2 videos simultaneously, or adjust playback time depending on the user. With Camtasia Studio, in addition to the video recording feature, professional video editing, it also supports users to be able to dub 2 videos into 1 video running on the screen, assisting in the transmission of video content easily and clearly. more clear. In the following article, we will show you how to nest 2 videos in parallel with Camtasia Studio.
Video tutorials on combining 2 videos on Camtasia
1. How to install Camtasia Studio software
- Download Camtasia Studio Windows
Step 1:
We download Camtasia Studio software according to the link above.Note to users with Camtasia Studio 9 , the device must use a 64-bit version of Windows. Then we click on the .exe file to install the software.

In the following interface, we click the Next button .
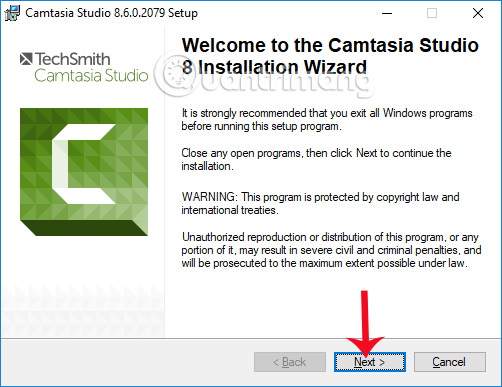
Step 2:
Then check I accept the license agreement to agree to the terms of installation.

Step 3:
Next, because you are using the Camtasia Studio version, try selecting the Free trail item.

Step 4:
Switch to the new interface if the user wants to change the installation directory, check the Browse button. Or do not check immediately on the Next button below.

Step 5 :
Camtasia Studio will suggest the user to install the add-in into PowerPoint, if there is no need, uncheck the box below, then click on the Next button .

Step 6:
There are 3 different options to install. You can tick or uncheck the options you don't want, then click Next .
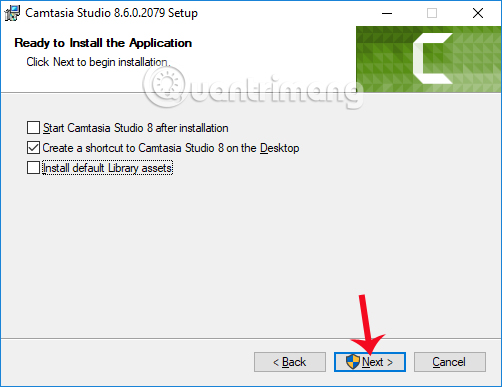
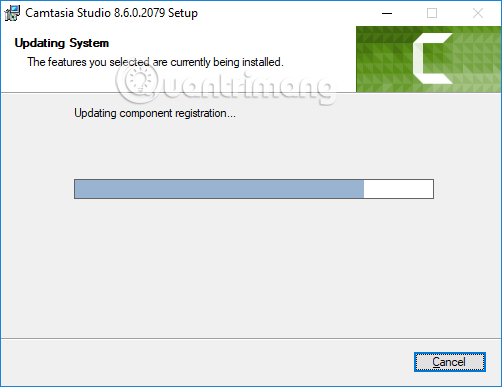
Next you wait for the installation of Camtasia Studio on the computer.
After finishing, click Finish to exit the installation interface.
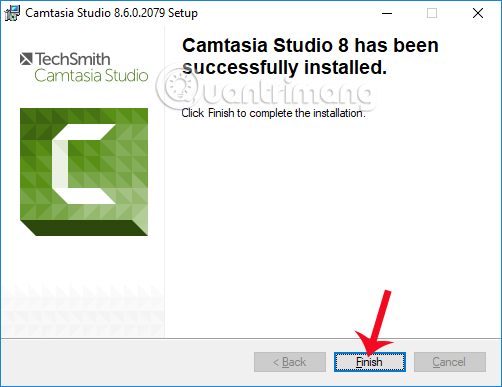
Step 9:
When clicking on the Camtasia Studio icon on the screen, an interface appears, check the I would like to evaluate Camtasia Studio to use the trial version. Click Finish to complete.

2. How to dub video in parallel with Camtasia Studio:
After completing the software installation, you proceed to pair 2 videos together.
Step 1:
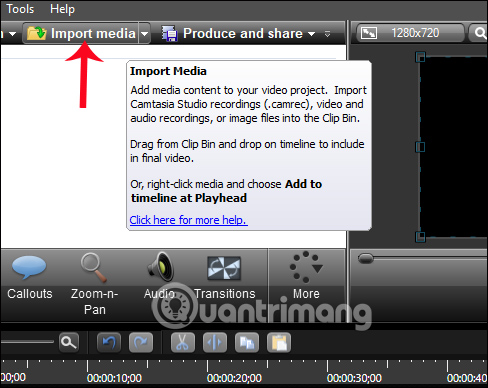
In the interface of the software, click on Import Media item to open the first video. Click the Open button to export the video to the interface of the software.
Step 2:
You drag the video in the top view down to the Track below to be able to use the video. The duration of video 1 will appear.

Step 3 :
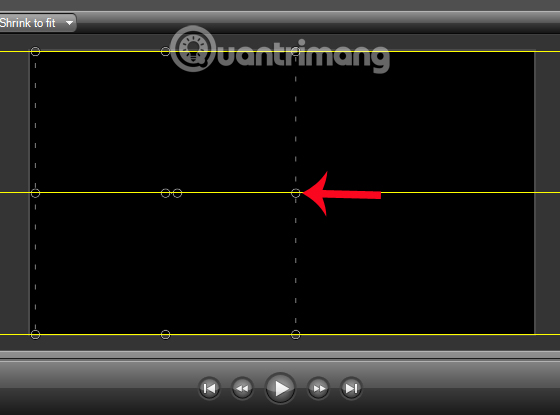
Looking up on the interface of the software on the right will see a black frame with many white dots . This is the video display section 1 on the screen.

Depending on the type of video you want, we can split the screen, or shrink a video screen. Adjust the frame according to the lines that appear on the interface.
Step 4:
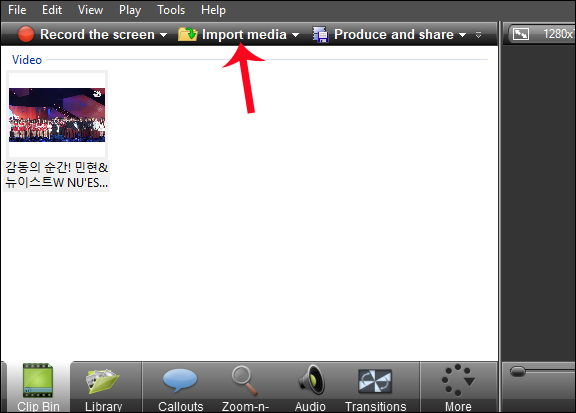
Next click on the Import Media button above to open the video 2.
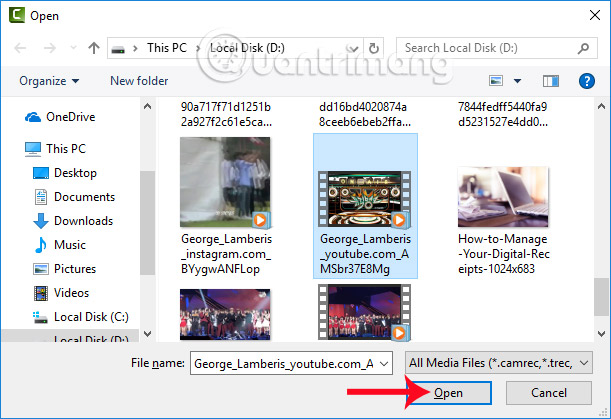
Click on the video in the folder interface and then click Open to export the video to Camtasia Studio software.
Step 5:
Users also proceed to drag this 2 video to the Track area below. If you leave video 2 below the video 1, it means the video screen 2 will be below the video 1. Track the video at the top, the content will take priority.
Here you can also adjust the run time of 2 videos, can run 2 parallel videos or this video runs first, this video runs later. Here I will let 2 videos run at the same time.

Step 6:
Next also adjust the position and frame appear for video 2 . Since I put the video in the style of screen above and below, I will have the interface as shown below.
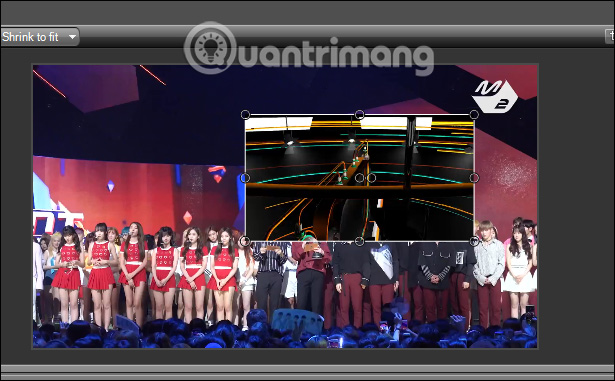
Step 7:
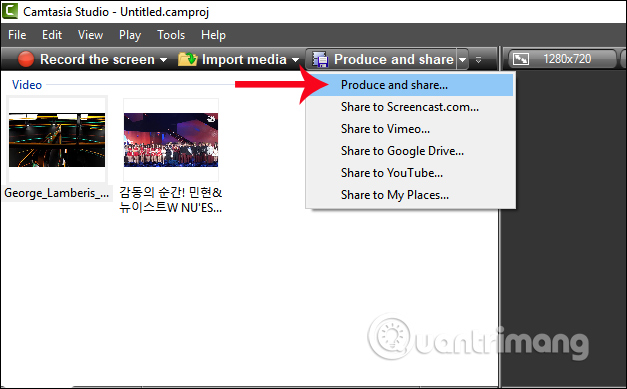
When you're done adjusting the 2 videos, the playback time of the two videos, click Produce and share and then select Produce and share . in the list that appears.
Step 8:
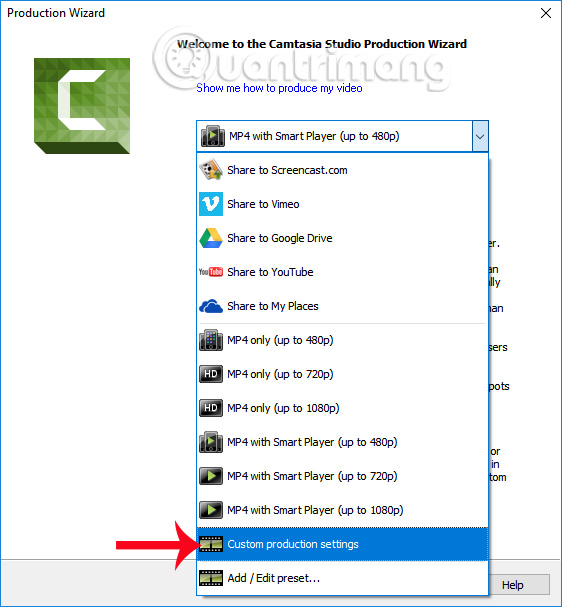
In the new interface, a list of resolutions appears to us. You can select the Custom production settings .
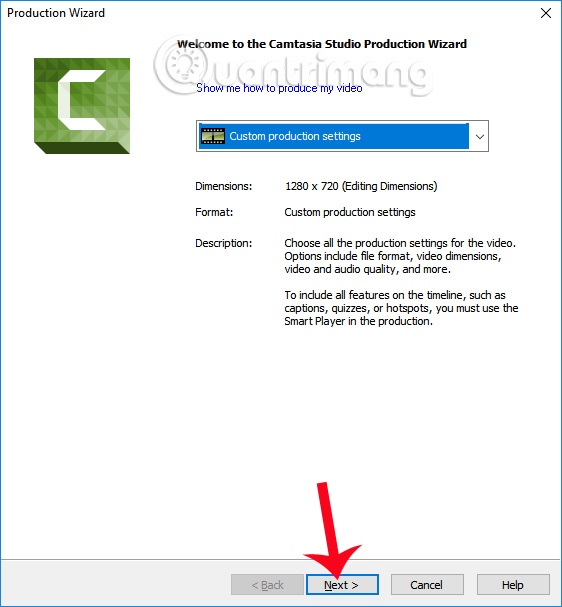
Click Next button.
Step 9:
Next choose the format for the video or select the format suitable for the device for the output video, click Next below.
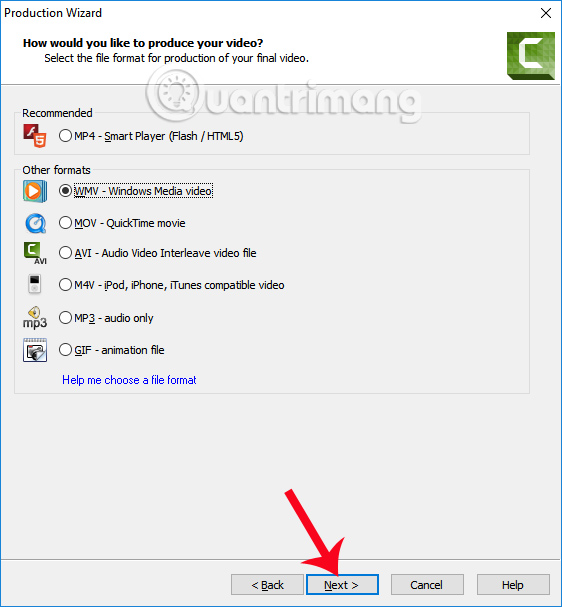
Step 10:
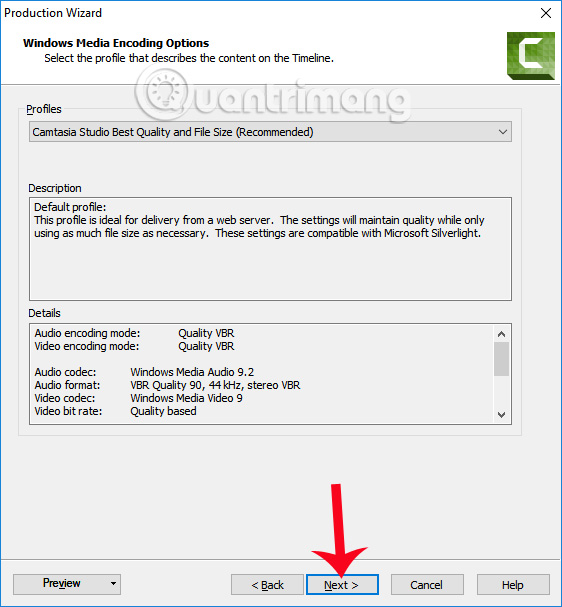
Switch to the new interface and click Next .
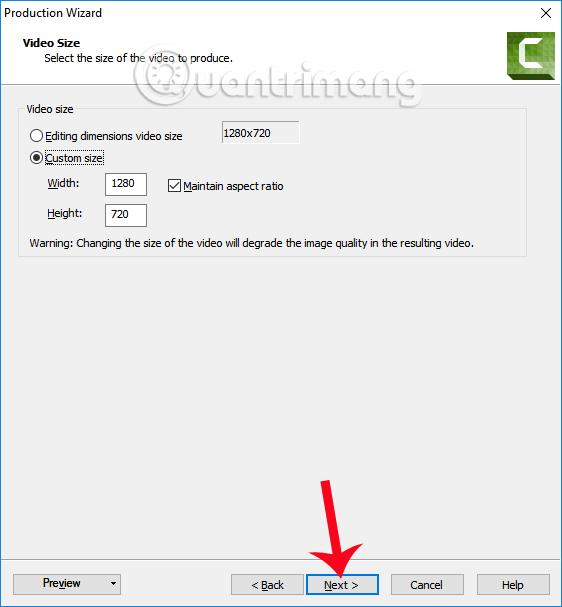
After that is the frame size for the video, click Custom size to select the size that the software has set up and click Next below.
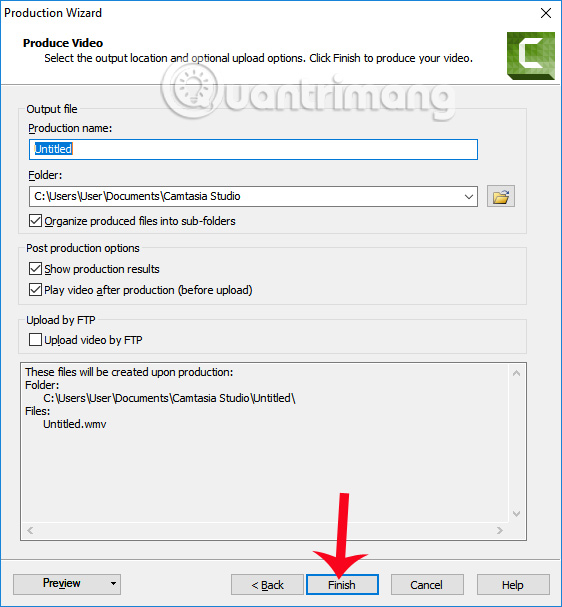
Step 11:
In this interface, we name the video , select the output video folder, or keep it as it was, then click Finish below to complete the setup steps for the output video.
Step 12:
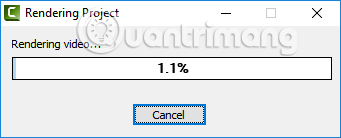
Finally, the user waits for the video processing process to end with Camtasia Studio.
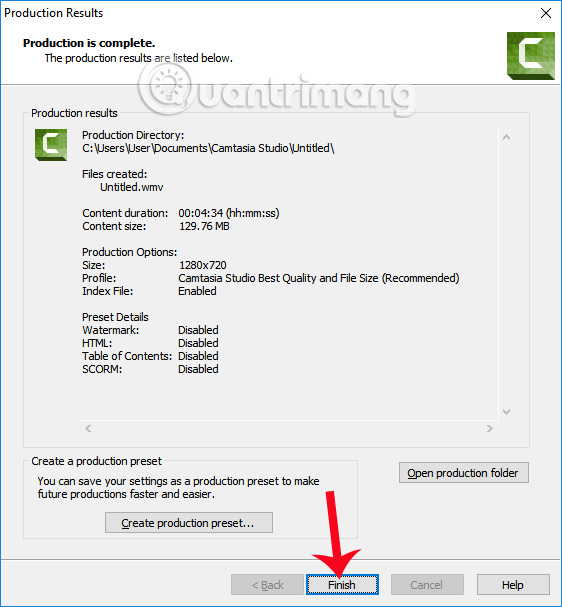
Upon completion of the software interface, a notification will appear, with the video export folder, video format, time, size and video size you set up earlier. Click Finish to complete the video integration.
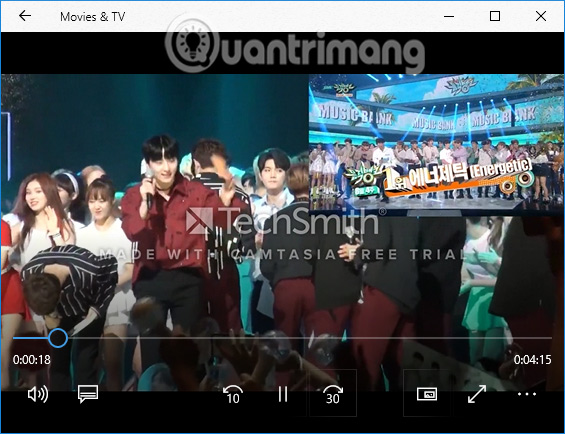
Finally, open the music player software on your computer to play the video. As shown in Figure 2, the video has been intertwined, according to the screen style and the bottom screen that I set up earlier. However, with free Camtasia Studio video, the logo will be attached in the middle.
A useful feature on Camtasia Studio to integrate 2 videos into 1 and run on 1 video playback screen interface. With this method, you can easily create video tutorials, review content, etc. You can adjust the way to display 2 videos as well as the playback time of 2 videos according to the above article.
I wish you all success!