How to Use Add or Remove Programs in Windows XP
Windows XP has a facility of Add or Remove Programs to modify or delete installed programs, add new programs or to simply manage defaults of programs. Let's see how to use this facility. Continue to step one to start. Click on Start and...
Table of Contents
Part 1 of 4:
Change or Remove Programs
-
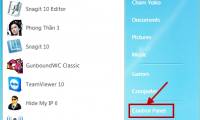
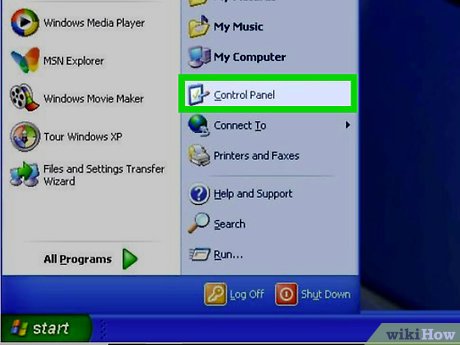 Click on Start and then Click on the Control Panel option. You will see Add or Remove Programs there. Click on it. A new window will be opened.
 -
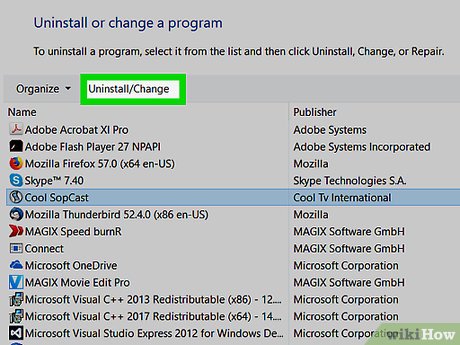 Click on the program you want to remove and a dialog box will appear to remove the program. Click yes to remove it.
 -
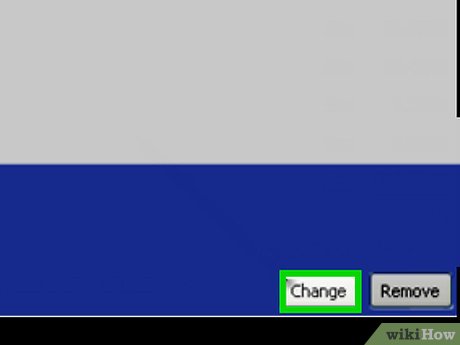 Click on the program you want to Change. There will be a Change/Remove Option. Click on Change. Follow the instructions to change the program.
Part 2 of 4:
Add New Programs
-
 Click on the second tab to use Add new Programs.
 -
 Read the data. There are two options available. One is Adding from CD -ROM and second is adding from Microsoft. The Second option Updates through internet.
 -
 Insert the Microsoft CD-ROM if you don't have an internet connection available. Install the program and done!
Part 3 of 4:
Add or Remove Windows Components
-
 Use this option to remove a component from Windows XP.
 -
 Go on the third tab on the window.
 -
 Wait for the setup to appear. After it opens check on the box beside the program to remove it.
Part 4 of 4:
Set Programs Access and Defaults
-
 Click on fourth tab to open it.
 -
 Use the service to set defaults of services like email service, media player, etc. You can choose from the options to set your desired program defaults.
Was this article helpful?
Your feedback helps us improve.
Related Articles
 Remove 'root' programs that haven't been uninstalled completely on Windows 7, XP4 minutes read
 How to Remove Programs from Windows with IObit Uninstaller5 minutes read
 How to remove all available applications on Windows 10?2 minutes read
 How to remove software and programs on Windows 73 minutes read
 How to remove malicious programs GS.Enabler, SK.Enabler, SK.Enhancer, WS.Enabler?10 minutes read
 Instructions to remove the All apps option on Windows 10 Start Menu4 minutes read
Reader Comments 0
Sign in with email or Google to join the discussion.