How to Turn on BitLocker in Windows
BitLocker is a tool in Windows that can be used to encrypt fixed drives, but also operating systems as well to protect your core data from outside intrusion. Go to Settings > Update & Security > Device encryption..
Method 1 of 3:
Windows 10
-
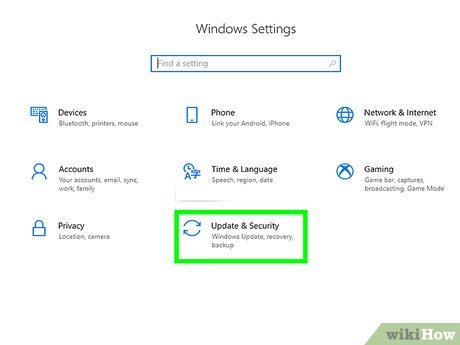 Go to Settings > Update & Security > Device encryption.
 -
 Choose "Turn on". This will enable BitLocker. It may take a while for the drive to fully encrypt.
Method 2 of 3:
Windows 7 and Later
-
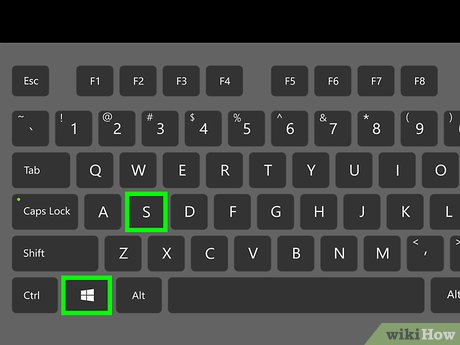 Press the Windows button on your keyboard and "S" at the same time.
 -
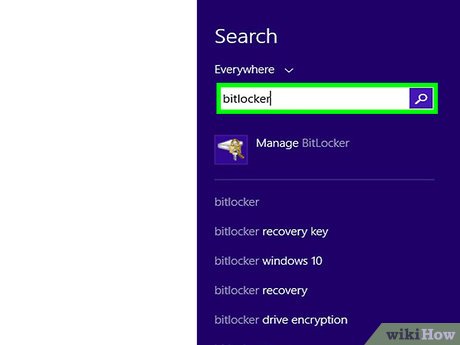 Type in "bitlocker" in the search window that comes up.
 -
 Select "Manage BitLocker".
 -
 Click on "Turn on BitLocker".
Method 3 of 3:
Enabling BitLocker without Compatible TPM
-
 Log on with administrative privileges.
 -
 Press the Windows button on your keyboard and "S" at the same time.
 -
 Type and select GPEDIT.MSC
 -
 On the left pane, select Computer Configuration > Administrative Templates > Windows Components > Bit Locker Drive Encryption > Operating System Devices.
 -
 On the right, double-click 'Require additional authentication' at startup.
 -
 Click the "Enabled" radio button. Double check that "Allow Bit Locker without a compatible TPM checkbox" is checked.
 -
 Click OK and repeat the process for enabling BitLocker in Windows.