Table of Contents
This practical guide walks through how to take a screenshot of a Windows 11 computer, explains the main requirements, and highlights common issues that may appear along the way.
And as you all know, recently, Microsoft has officially introduced Windows 11 to the technology-loving community around the world.
So, I will continue to show you how to take a screenshot of your computer on Windows 11 - the latest operating system up to the time I write this article.
This article I will divide into 2 parts, that is how to take screenshots with software and take computer screenshots without software. Okay, soon I will go into the detailed article:
I. Using computer photography software on Windows 11
There are countless software that support screen capture, free software, and paid software are many.
However, I only list the software that I personally appreciate the most. These are all software that I have used before and found very satisfied. You can refer!
II. How to take computer screenshots on Windows 11 without software
Well, if you don't have to take screenshots too often, it's not necessary to use software at all.
Because on the operating system Windows 11 has provided us with many ways to do this already. Details are as follows:
Method 1. Use the Windows + Print Screen key combination (PrtScr, PrtSc, PrtScn)
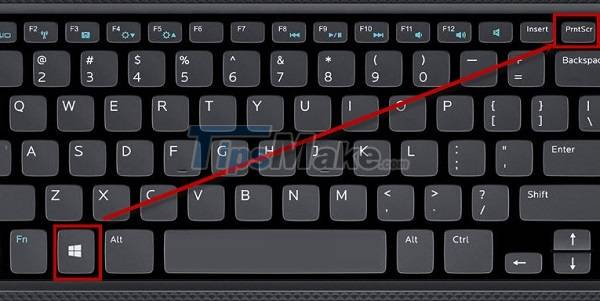
Note: Some laptops may need to be combined with the Fn key on the keyboard.
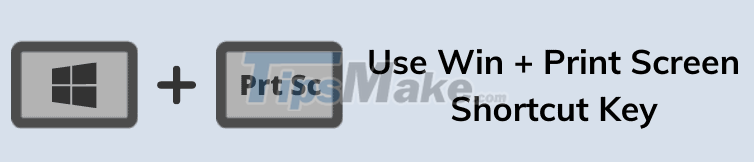
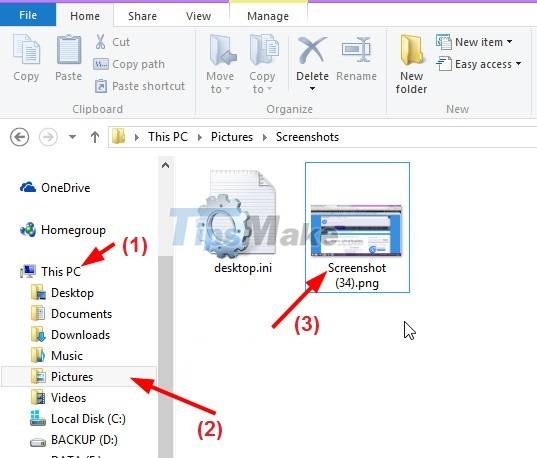
This is the fastest way to take pictures on Windows 11, you just need to press the key combination Windows + PrtScr (or some machines are Windows + Fn + PrtScr), the image will immediately be captured and saved in the Pictures folder.
With this way, the image will be captured by default as full screen, ie, everything that is displayed on the computer screen is captured.
The default image will be saved in *.png format. To edit, just right-click on the image => and select Edit.
Method 2. Use the Print Screen key (PrtScr, PrtSc, PrtScn)
Note: Some laptops may need to be combined with the Fn key on the keyboard.

It can be said that this is also a pretty fast way to take a screenshot of your computer on Windows 11.
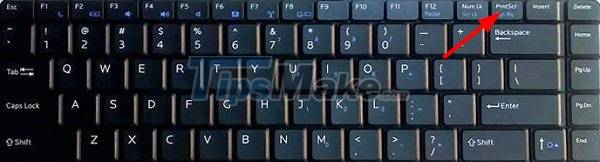
You just need to press the PrtScr key (or Fn + PrtScr) on the keyboard => then open the MS Paint tool => and press CTRL + V to paste the image you just took => then select File => Save as to save the image.
Method 3. Use the key combination ALT + Print Screen (PrtScr, PrtSc, PrtScn)
Note: Some laptops may need to be combined with the Fn key on the keyboard.
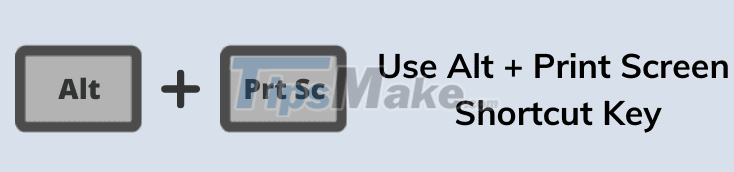
With this key combination, you will capture the window you are using. For example, if you are working on Word, you press the key combination ALT + PrtScr (or some machines are ALT + Fn + PrtScr), then only that Word window will be captured.
After pressing this key combination, open the MS Paint tool => and press CTRL + V to paste the captured image, then save it. You do the same as in Method 2 above.
Method 4. Use the Snip & Sketch app
But the way to take pictures above is straightforward, but if you want more features and options, you can use the Snip & Sketch application on Windows 11.
This is essentially an advanced application of the Snipping Tool. You can quickly open this Snip & Sketch application with the keyboard shortcut Windows + Shift + WILL
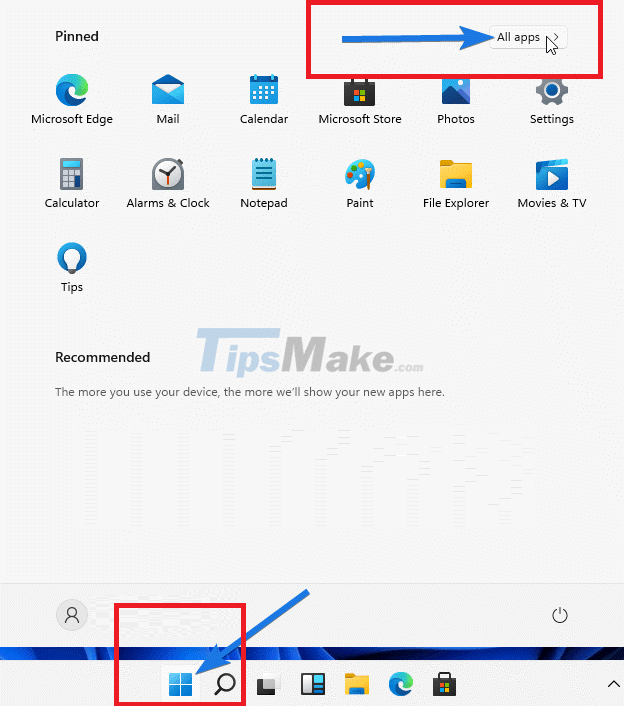
But To use the mouse to manipulate, you can follow the instructions as follows: Click the START MENU button => then select All apps as shown below.
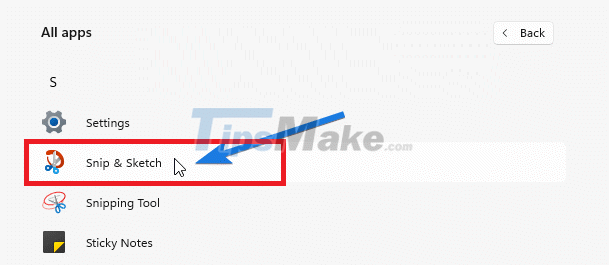
Scroll down and find the Snip & Sketch app
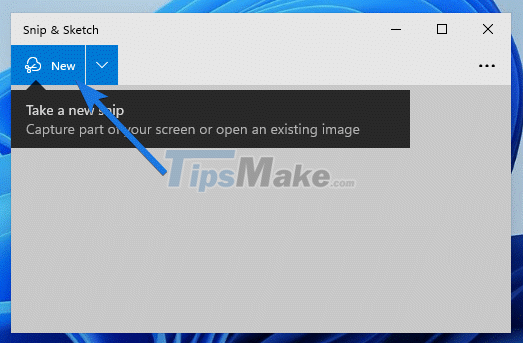
Okay, now the Snip & Sketch application will start up, click New.
Next, the computer screen will dim and display the options as shown below. You can choose the photography tool => then black out the area you want to capture.

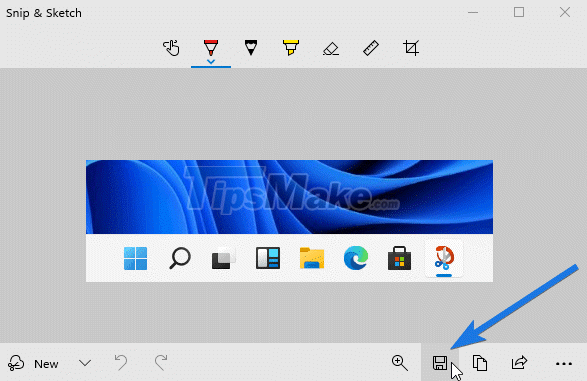
Well, Next, you can use the tools available in the Snip & Sketch application to edit and annotate the photo. => finally click Save image and you're done.
Method 5. Take a screenshot of Windows 11 with Snipping Tool
Snipping Tool is a tool that we are all too familiar with, because it has appeared on most previous versions of Windows.
And this is probably the most used photography tool among the tools that Windows provides available. In terms of usage, it is not different from previous operating system versions.
Perform:
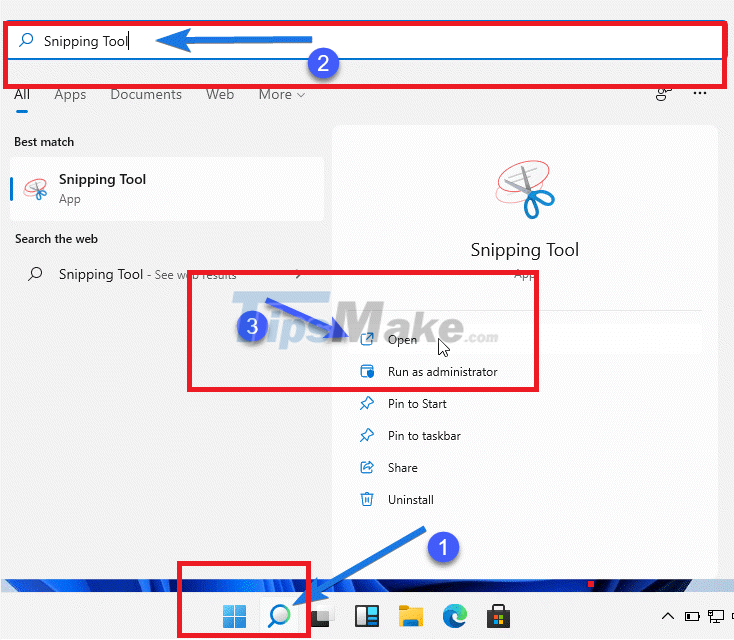
You click the SEARCH button on Windows 11 => and search with the keyword Snipping Tool => and click Open to open this tool.
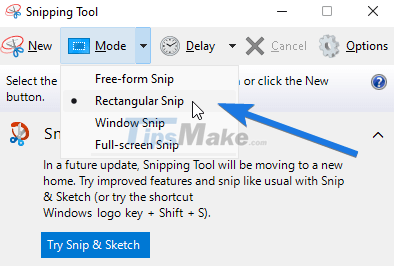
Now the Snipping Tool will appear, select the shooting mode at the Mode option. There will be options like:
- Free-form Snip: Draw the area you want to capture.
- Rectangular Snip (default style): Rectangular
- Windows Snip: Similar to Full-screen Snip.
- Full-screen Snip: Full screen capture
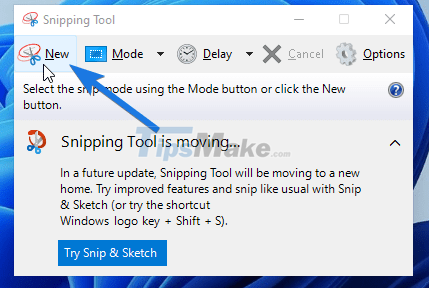
=> Then click New to start shooting.
Now scan the area you want to capture (the same operation as black out).
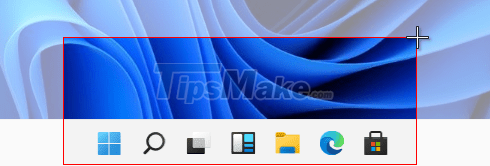
Next, the image will be captured and displayed in the Snipping Tools tool, you can edit the image if you want => finally click File => select Save as. to save it.
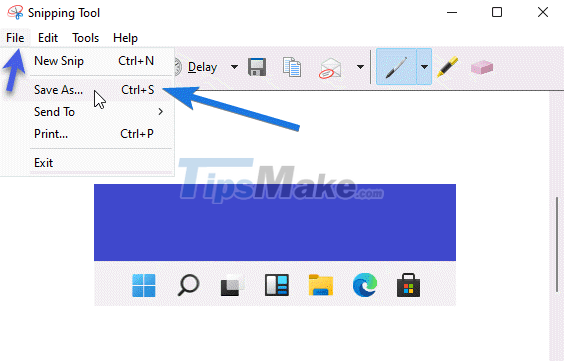
Method 6. Use the Xbox Game Bar available on Windows 11 to take pictures
Xbox Game Bar was developed by Microsoft for gamers to easily record a video of their computer screen, capture screenshots during gameplay, and quickly share it with team members without having to use it. to the third software.
Therefore, we can take advantage of this feature to take screenshots, or maybe record videos.
Perform:
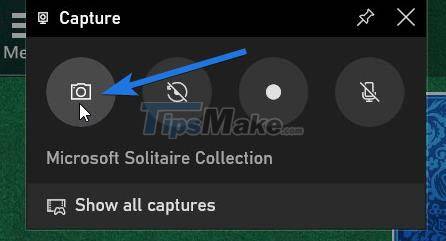
To use Xbox Game Bar is simple, you press the Windows + G key combination to start the tool up => then you click on the capture icon as shown below.

Now the photo gallery will appear, you continue to click on the camera icon => the captured image will be automatically saved.
III. Conclude
Well, above are the most effective ways to take computer screenshots on Windows 11 today. All in all, it's all familiar ways
Key Takeaways
Use the information above as a practical reference for how to take a screenshot of a Windows 11 computer. Review each step carefully, confirm any requirements, and choose the option that best fits your situation.
FAQ
What does this guide explain about Take a Screenshot of a Windows 11 Computer?
It explains the main concepts, practical considerations, and useful steps related to take a screenshot of a Windows 11 computer without requiring advanced knowledge.
Who can benefit from learning about Take a Screenshot of a Windows 11 Computer?
This information is useful for readers who want a clear overview, practical guidance, and reliable steps related to take a screenshot of a Windows 11 computer.
What should I check before applying this information?
Review the requirements, confirm that your device, software, or situation matches the instructions, and back up important data before making major changes.
Related Articles
 Top Ways to Take Screenshots on Your Computer8 minutes read
 The Fastest Ways to Take Screenshots on a Computer or Laptop9 minutes read
 How to Take Screenshot on HP Windows 10 Computer7 minutes read
 How to Take a Screenshot on Windows 118 minutes read
 How to Take a Screenshot in Microsoft Windows15 minutes read
 12 Quick and Simple Ways to Take Screenshots of Acer Computers9 minutes read
Reader Comments 0
Sign in with email or Google to join the discussion.