Table of Contents
This guide provides a practical overview of Ways to Take a Screenshot in Windows 10 Computer, including its main features, benefits, limitations, and important considerations.
Method 1: Use the Windows + Print button
This is the most common and used way, you can apply this way on other versions of windows.
To take a screenshot, simply press the Windows button + Print Scrn on the keyboard:
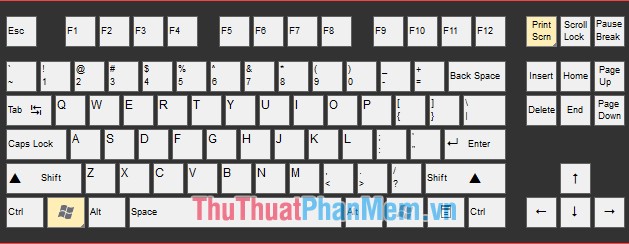
Immediately your entire computer screen will be captured and the image will be saved in the Picture -> Screenshots folder .

Method 2: Use the key combination Windows + Shift + S
This method is also very handy similar to Method 1, but instead of capturing the entire screen this way lets you capture a rectangular area on the screen you want.
First, press Windows key + Shift + S
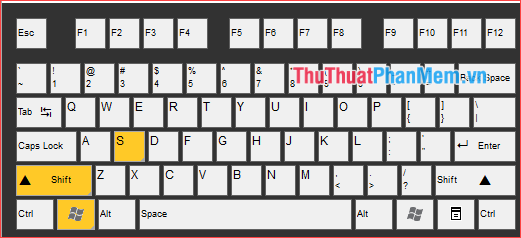
Then the computer screen will dim and the mouse pointer plus sign appears, hold down and drag an area that you want to capture then release the mouse is done.

Next, open the Paint software and press Ctrl + V to paste the image you just took and save.
Method 3: Use the key combination Alt + Print
Similar to the above two ways, this will help you capture an application window that you are currently open by pressing Alt + Print
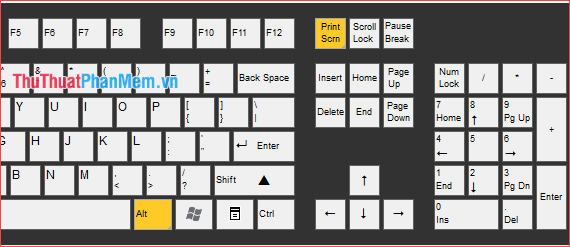
For example, you are opening a web browser window, to capture this window you just need to press Alt + Print
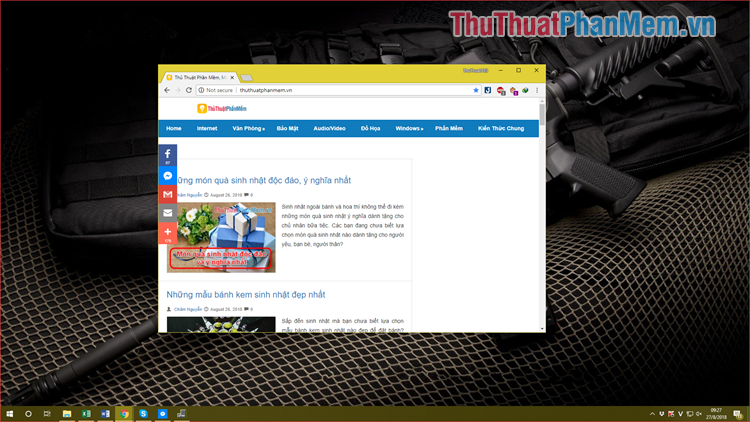
Then open the Paint application and paste the snapshot just finished
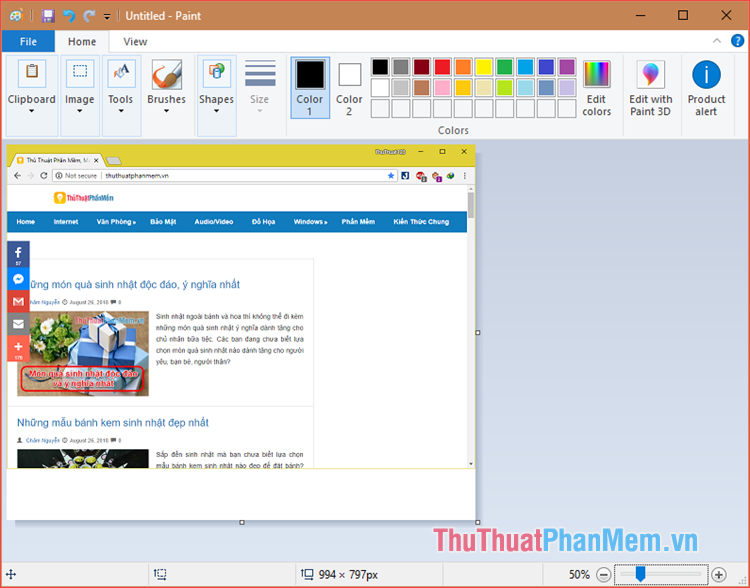
Method 4: Use the Snipping Tool
Snipping Tool is a multifunctional screenshot tool built into the Supported operating systems and dates back to Windows 7.
To use this tool, open the search function on Windows 10 and enter the Snipping Tool until the results appear as shown below and open the Snipping Tool.
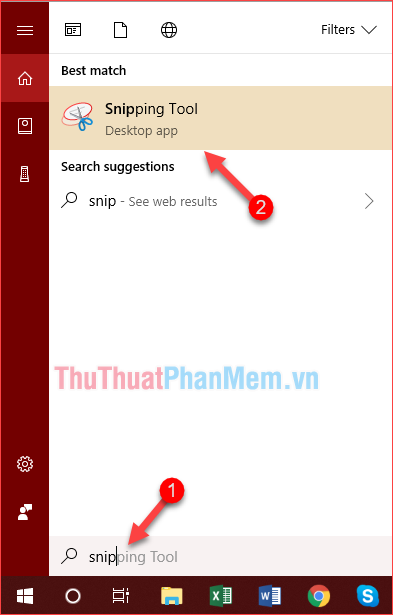
The software has a very compact and simple interface, in which the New button is the shutter button and the Mode button is for selecting the shooting mode.
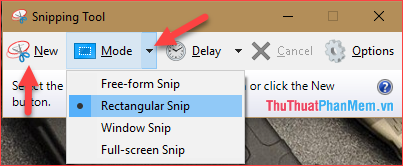
There are 4 shooting modes as follows:
- Free-form Snip : Free shooting, that is, you will capture an area of the screen that you draw as shown below:
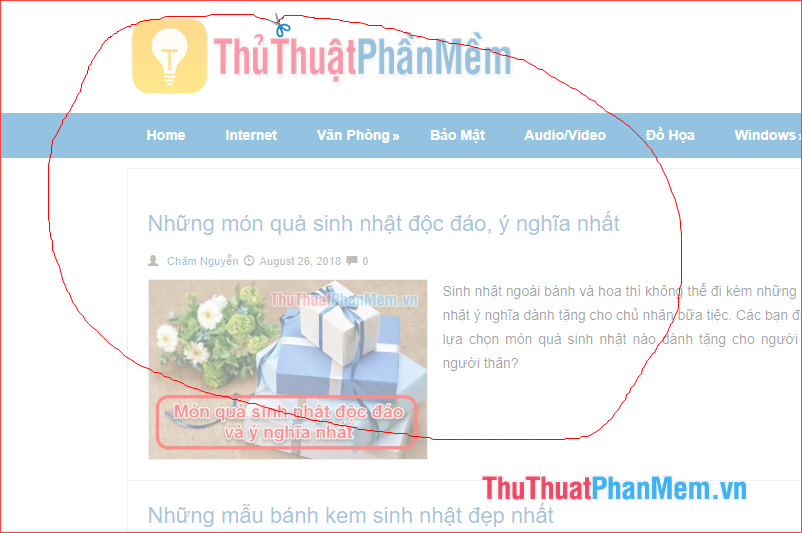
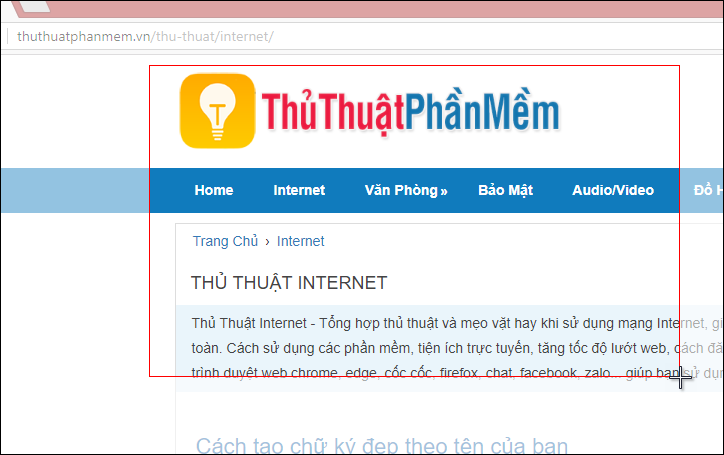
- Rectangular Snip : Capture an arbitrary rectangular area (same as above 2):
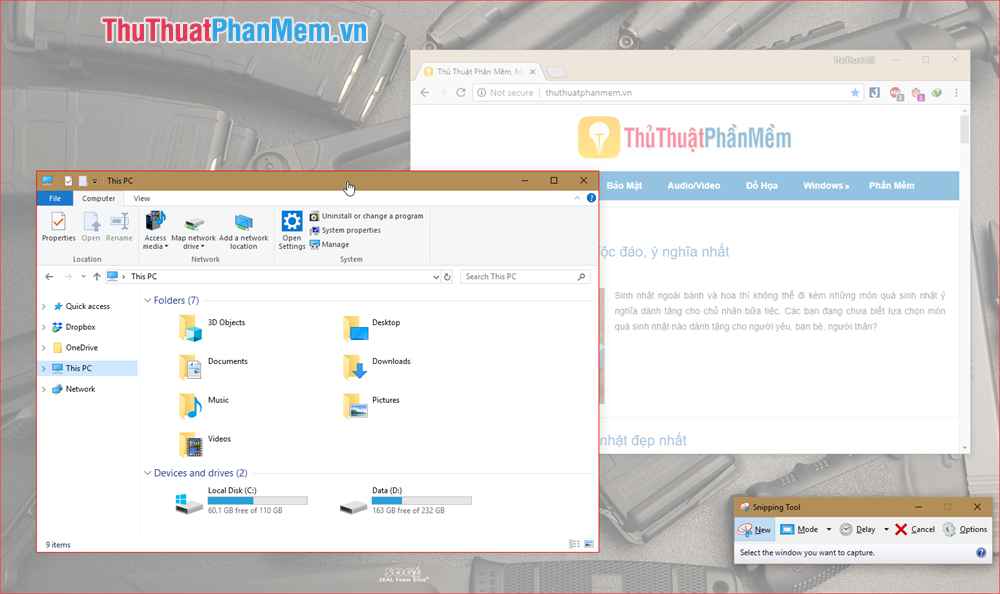
- Window Snip: Capture an application window of your choice. When you select this mode, click on which window to capture.
- Full-screen Snip: Capture the entire computer screen.

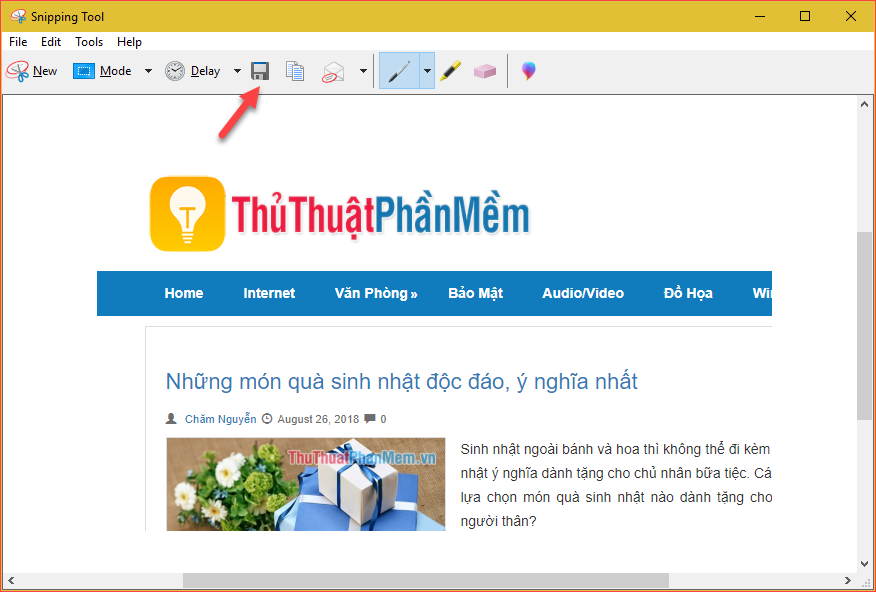
In addition, when the image is taken, it will appear in the software, you will not need to open the Paint application to paste the image.
Click the Save button to save the image.
Above are some simple and effective ways to take screenshots on Windows 10, in addition to the above if you want to capture screenshots professionally, you can use screen capture software such as: Snagit, FastStone capture. vv. Thank you for watching the article.
FAQ
What should I know about Ways to Take a Screenshot in Windows 10 Computer?
Focus on the key features, requirements, limitations, and practical use cases explained in this guide.
How do I get the best results with Ways to Take a Screenshot in Windows 10 Computer?
Follow the recommended steps, use current software or information, confirm compatibility, and review settings before major changes.
Are there any risks or limitations?
Potential limitations depend on compatibility, data quality, cost, privacy, support, and how the product or method is used.
Related Articles
 Top Ways to Take Screenshots on Your Computer8 minutes read
 The Fastest Ways to Take Screenshots on a Computer or Laptop9 minutes read
 5 Easiest and Fastest Ways to Take Screenshots of Windows 10: Recommended18 minutes read
 12 Quick and Simple Ways to Take Screenshots of Acer Computers9 minutes read
 7 Fastest Ways to Take Screenshots of Computers and Laptops on Windows13 minutes read
 How to Take Screenshot on HP Windows 10 Computer7 minutes read
Reader Comments 0
Sign in with email or Google to join the discussion.