How to split screen on Windows 10
Windows has always been a great environment for multitasking, with the ability to run multiple applications at once and switch between them easily. Moreover, split screen on Windows 10 also helps you get work done faster and more efficiently.
Snap Assist feature
One of the best support features for multitasking on Windows 10 is Snap Assist. This feature makes it easier for you to select an application window to arrange it on the screen. You just need to drag the application window to the edge or corner of the screen and it will automatically resize to fit.
Step 1: Press Windows + I to open Windows 10 settings. Type 'multi-tasking' in the search box, then open Multitasking settings.
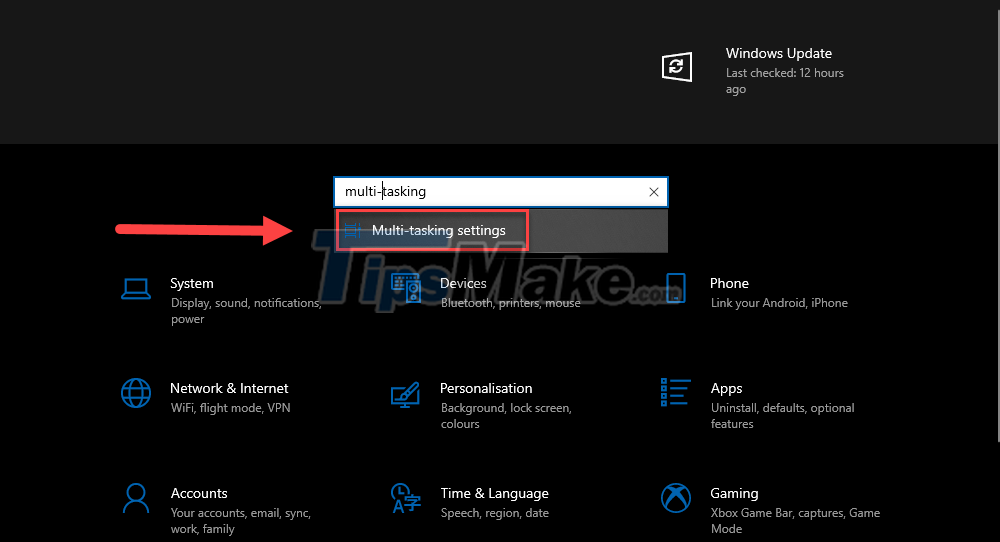
Step 2: Select Turn on (On) in the Snap windows section. Below you have 3 options about the Snap feature:
- When I snap a window, automatically resize it to fill available space: When you drag the window, it will automatically resize to fill the empty screen.
- When I snap a window, show what I can snap next to it: After positioning a window, you will see which windows are placed next to it.
- When I resize a snapped window, simultaneously resize any adjacent snapped window: When you resize a snap window, the adjacent window attached to it will also be stretched accordingly.

Use Snap Assist to split the screen
Split screen with mouse
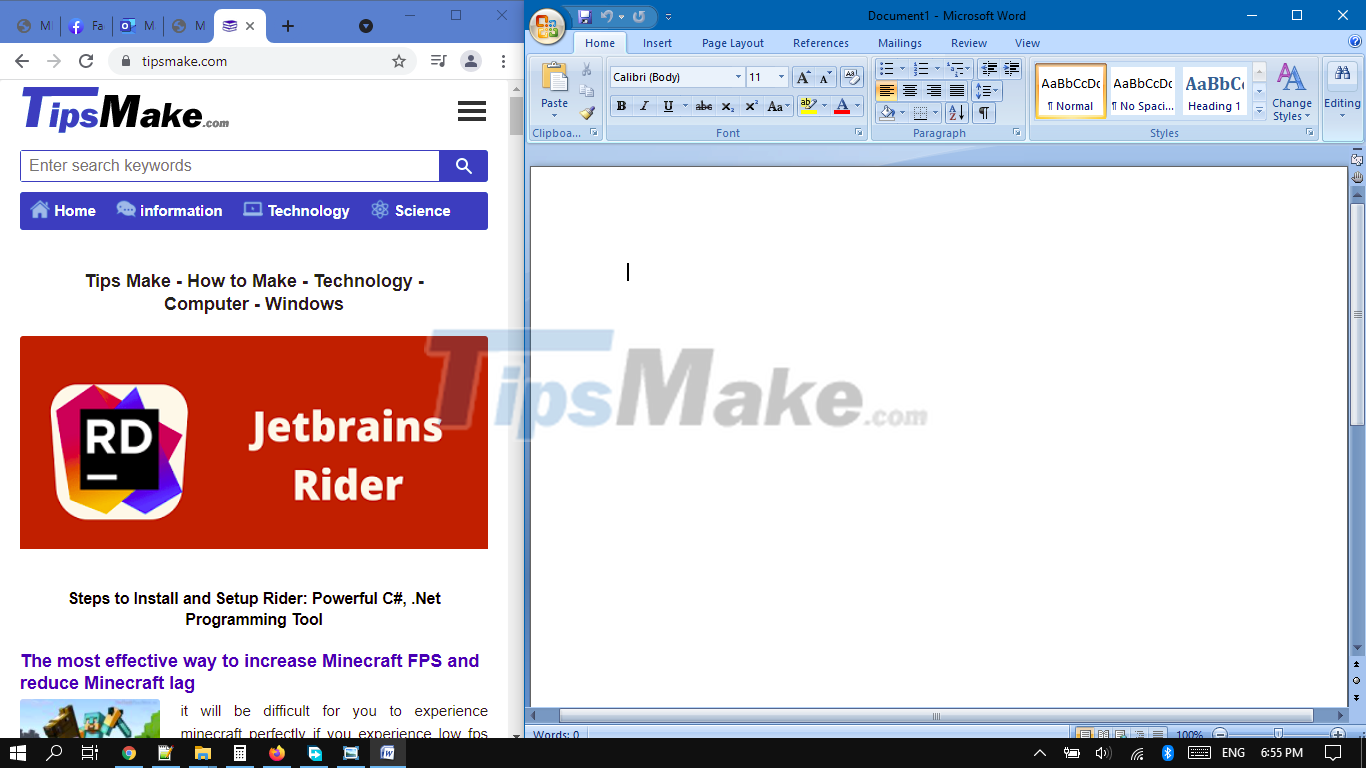
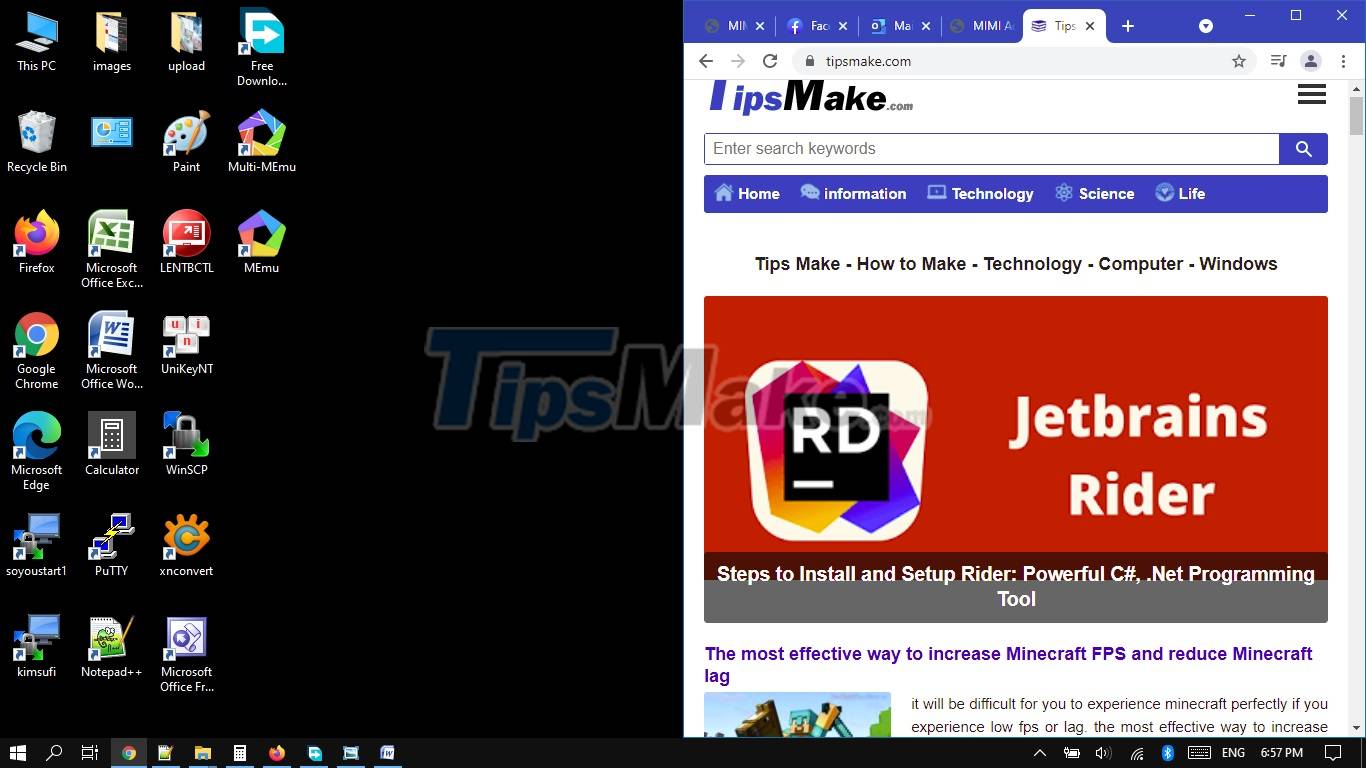
Step 1: Grab a window you are working on, drag it to the edge of the screen, until you see a blurred border, then release. This border represents the area the window will occupy on the screen (1/2 screen).
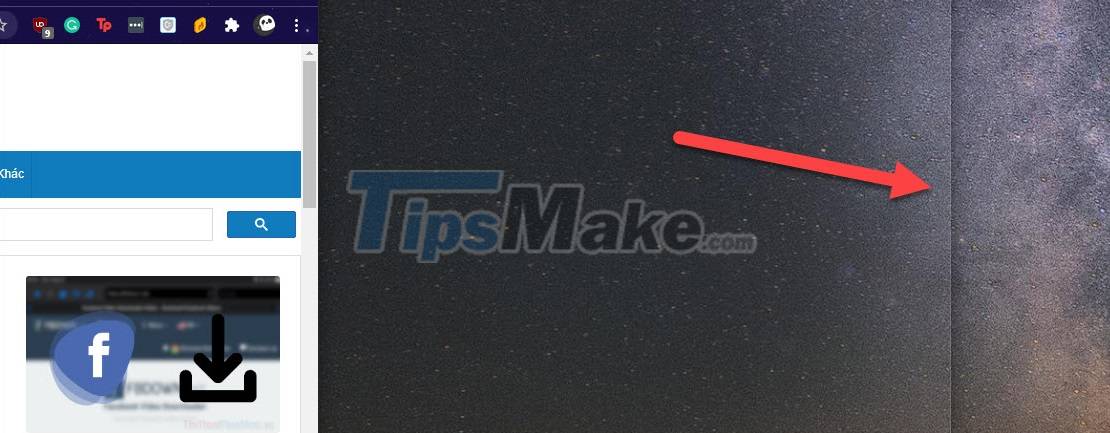
Step 2: After releasing the mouse, the window will be placed exactly ½ of the screen. You will now see other active windows appear. Select one and it will fill the empty space on the screen.
If you don't use this method, you can repeat step 1 for another window, but put it on the opposite side.
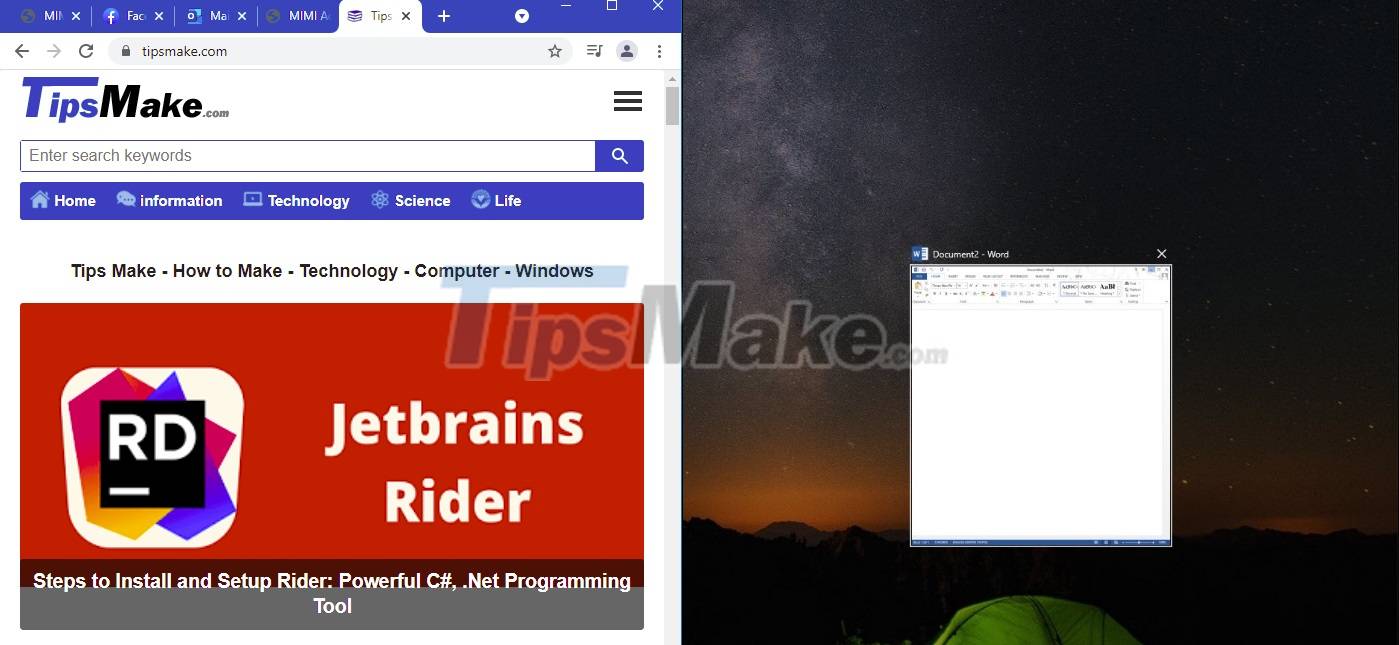
This is the result after you have successfully split the screen:

Step 3: To resize the two windows, simply put your mouse pointer on the vertical line in the middle and drag one side.
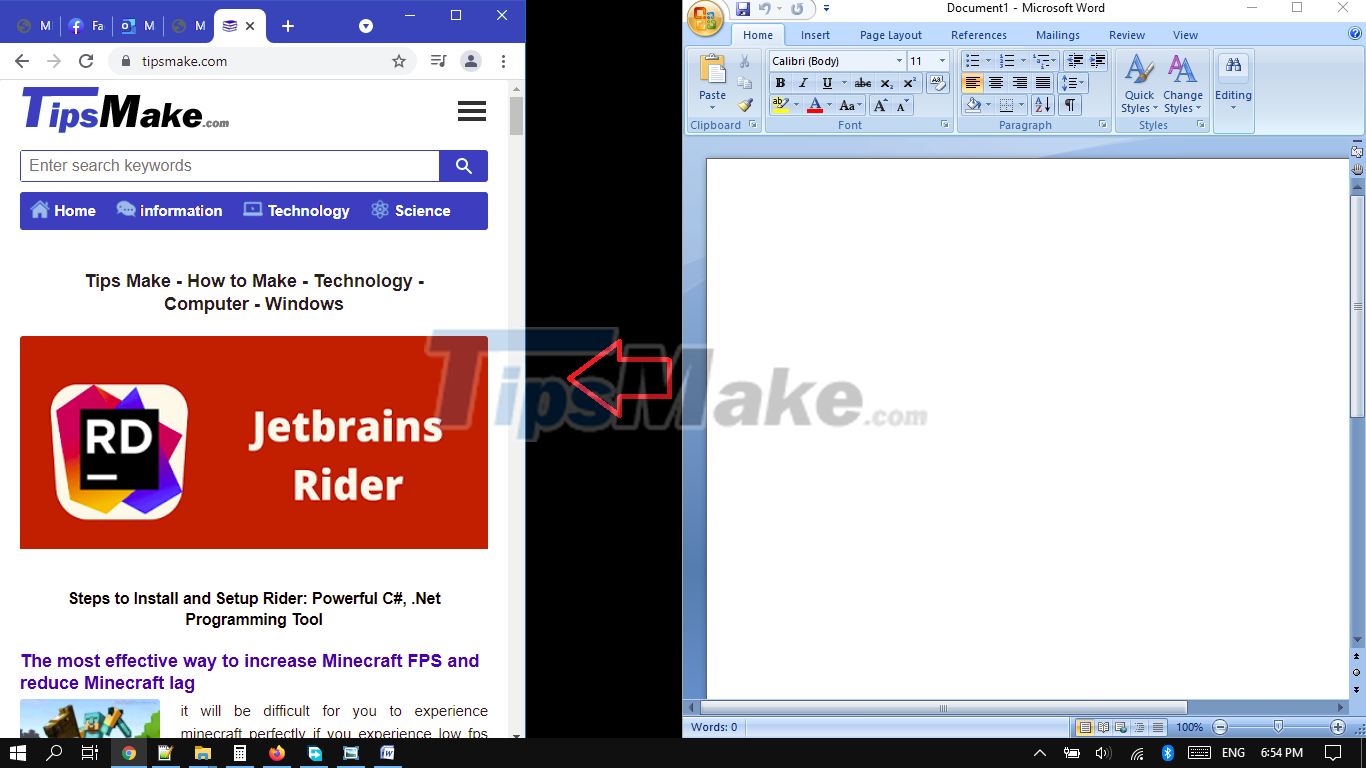
After releasing the mouse, the remaining window will be changed accordingly.
Split 4 windows
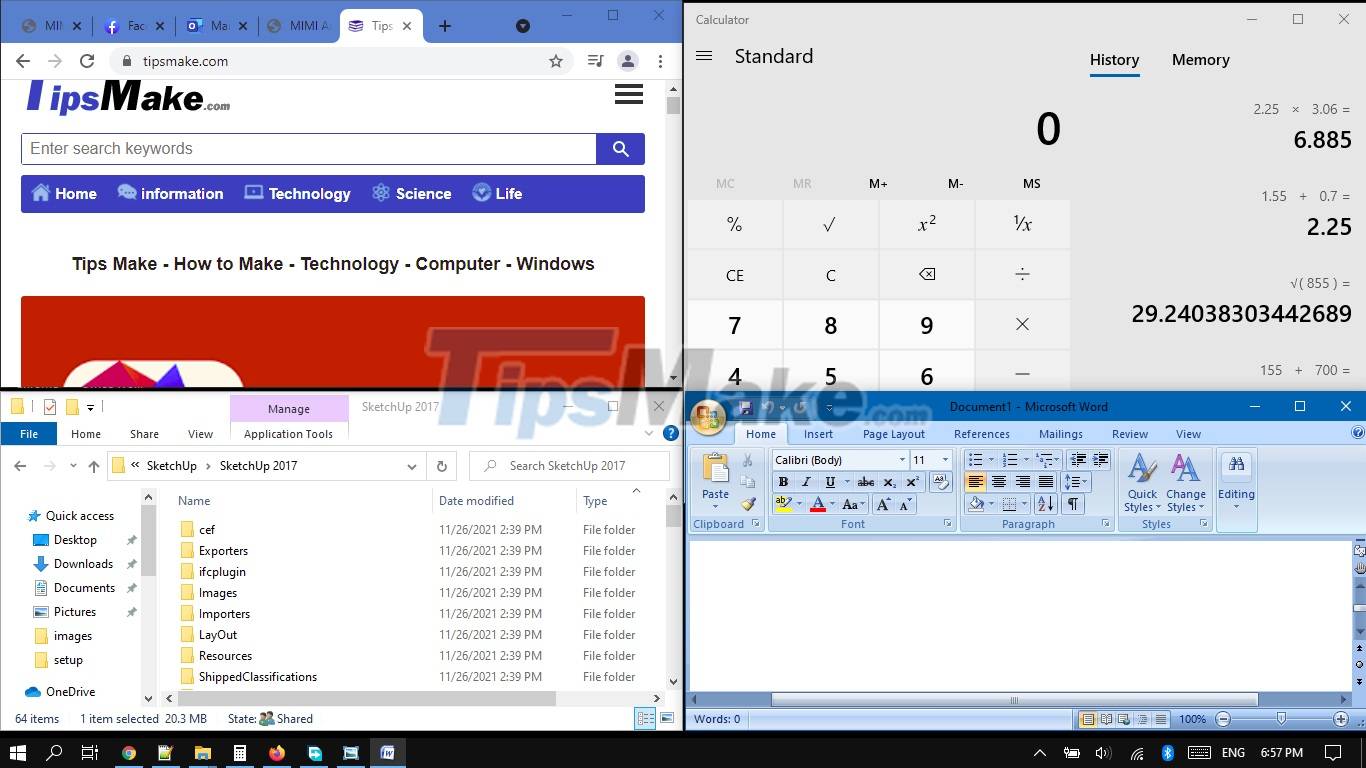
Snap Assist also supports 4-screen split on Windows 10. If you have a large or high-resolution screen, you can take advantage to split 4 windows on one screen at the same time.
First, drag the application window to the corner of the screen so that the blurred area shows only ¼ of the screen, then release the mouse.
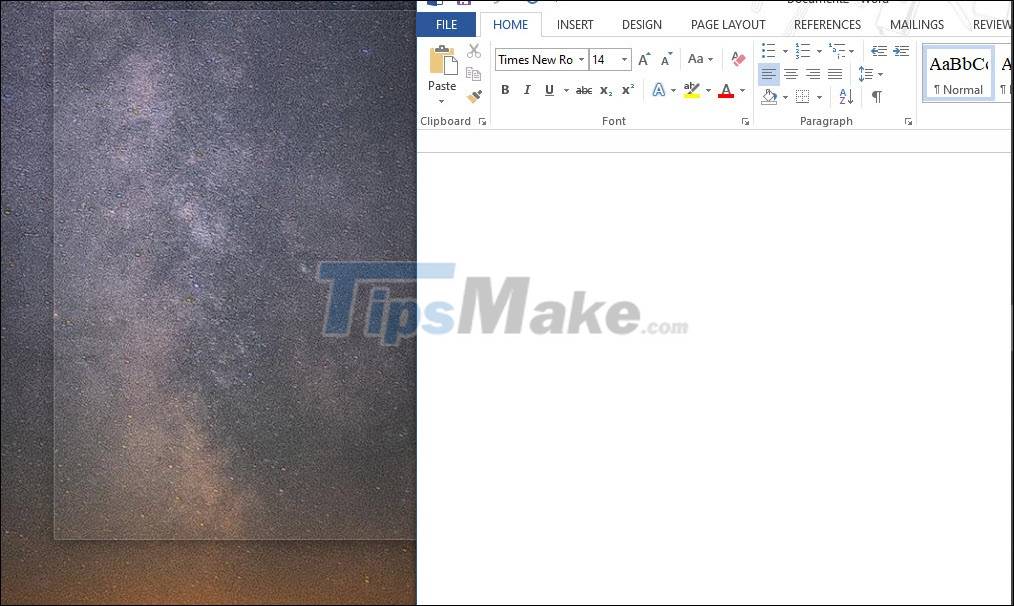
Combine like the method above and you can arrange 3 to 4 apps on the screen.
Use the Taskbar or keyboard shortcuts
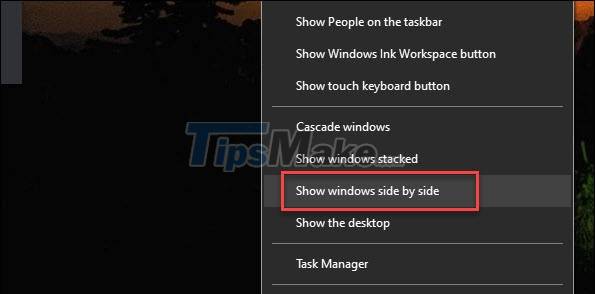
When using the taskbar to split the screen, the system will automatically split according to the number of active applications on the screen (you must have at least 1). Simply right-click on the taskbar and select Show windows side by side. To cancel the snap, simply right-click again on the taskbar and select Undo Show all windows side by side.
In addition, you can also use keyboard shortcuts to perform quick split-screen operations. First click on the window you want to arrange, then use Windows + right/left arrow keys to make it fill half of the screen.
And that's all about split screen on Windows 10? Do you find Windows 10's Snap Assist feature very handy?