How to set up the default email client on Windows 10
In general, sending and receiving email is a basic and extremely simple task in Windows 10. However, that is when you have chosen the right default email application.
Table of Contents
Sometimes, you click on an email link and that link is automatically opened in a mail client that you don't want to use.
If you're uncomfortable with this situation, just choose an email client you like, then set it as the default. Find out how to do it right here.
Set default email client on Windows 10
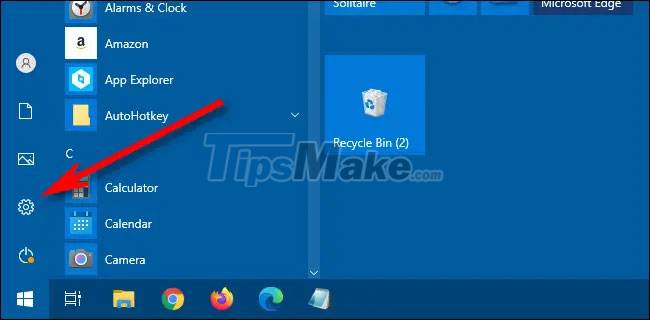
First, open the Settings Windows application by pressing the Windows + i key combination. Or you can also access the Start menu and click the gear icon on the left.
On the Settings interface that opens, click on the 'Apps' item.

On the Apps settings page, click 'Default Apps' in the list on the left. In the Default Apps settings section that appears on the right, click on the Mail application icon (located just below the 'Email' section). This will allow you to choose a new email client that you want to use as the default.

In the 'Choose an App' pop-up menu, click the name of the email client you want to use as the default to open or send email.

Then close Settings and the job is done. The next time you click the email link, the default email client you selected will open.
Hope you are succesful.
Was this article helpful?
Your feedback helps us improve.
Related Articles
 How to Set Default Email Client in Windows 112 minutes read
 6 best email apps for Mac8 minutes read
 iOS 14 allows users to set Chrome as the default browser, Gmail as the default email client2 minutes read
 Pin Email account to Start Menu on Windows 103 minutes read
 Launch Email editor quickly from web browser2 minutes read
 Discover 2 new vulnerabilities on 2 popular email protocols3 minutes read
Reader Comments 0
Sign in with email or Google to join the discussion.