How to set up Gmail on iPhone?
Gmail is Google's free web-based email service. With this application, users only need to have an Internet connection to be able to send and receive mail to other users anywhere, anytime. If you are using an iPhone, in the article below Network Administrator will guide you how to set up Gmail on your iPhone phone.
Part 1. Use the Gmail application
1. Download the Gmail application to your device and install it

Visit the App Store, then enter the keyword "Gmail" into the Search box to find, download and install the Gmail application on iPhone. Alternatively, you can download the Gmail application to your computer and sync your computer to your iPhone to install the application.
- Download the Gmail application to your device and install it here.
2. Log in to your Gmail account
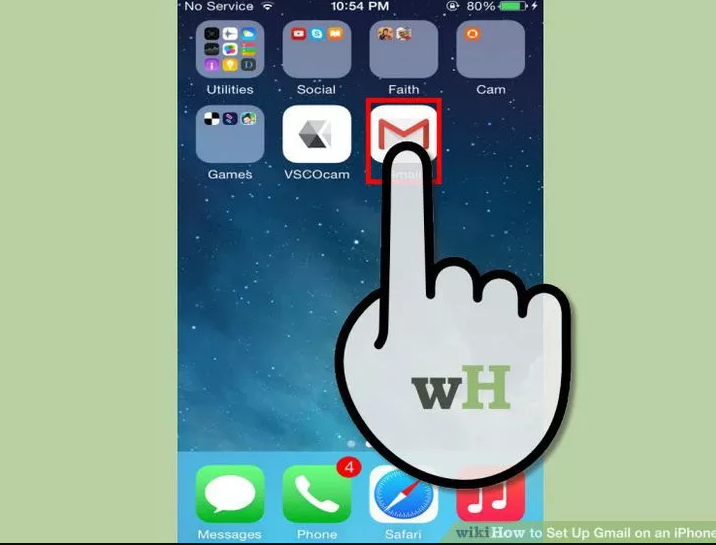
Open the Gmail application on your iPhone phone and log in to your Gmail account. This allows you to directly access your Gmail account on your phone to use and view all sent, received and saved mail. The app also allows you to access email on any device, and even is able to compose email and send email right on your iPhone phone.
However, the application does not allow you to access the contact list from the application even though you can enter a contact's name to email that user.
3. Manage Mailbox on the application
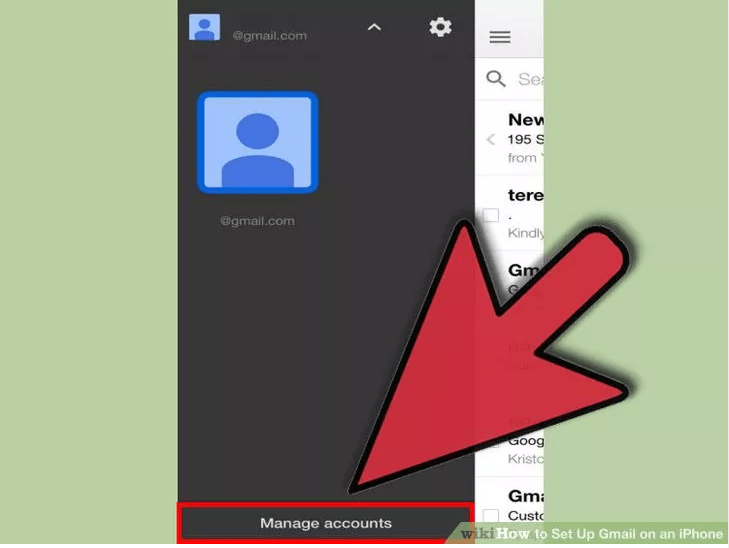
Click the 3 line dash icon in the top left corner of the inbox to display the list of email folders. In the top left corner, click to select the email address to display all the accounts you currently log in to.
Click Add Account . Enter your email account and password, then click Sign In .
4. Configure notifications on iPhone settings

Activate notifications by accessing Settings => Notification Center (or Notifications on iOS 8). Click Gmail from the list of applications, allowing you to display notification effects, notification sounds, etc. Depending on the notification effect you want to set up for incoming mail.
5. Use the Gmail application for all necessary mail
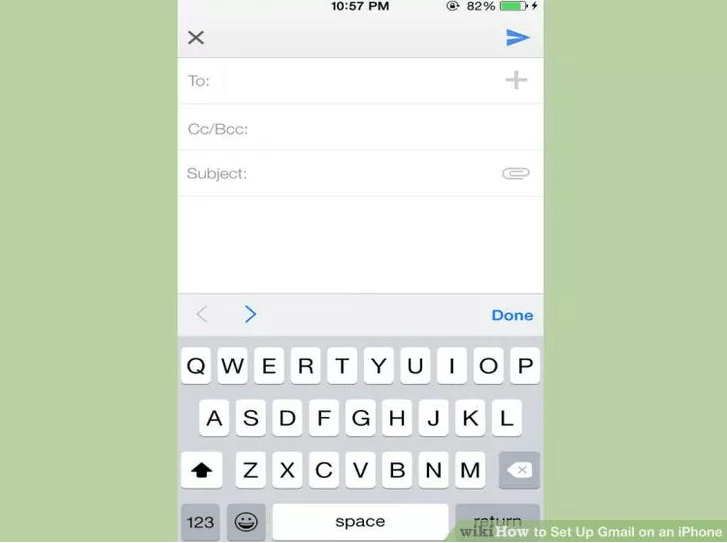
You will have to use the Gmail application, not the default Mail application of the iPhone. For example, when sending certain images, you can open the image in Photos (photos), click the Share button to share the image and click Mail .
However, you can use the Gmail application to send mail. Open the Gmail application, then click to compose a new message and attach the image you want to send to the email.
Part 2: Use Gmail account on Mail
1. Open the Settings application

On your iPhone, open the Settings app and select Mail, Contacts, Calendars . In the Accounts section, click on Add Account and then click on the Google icon.
2. Complete the required information
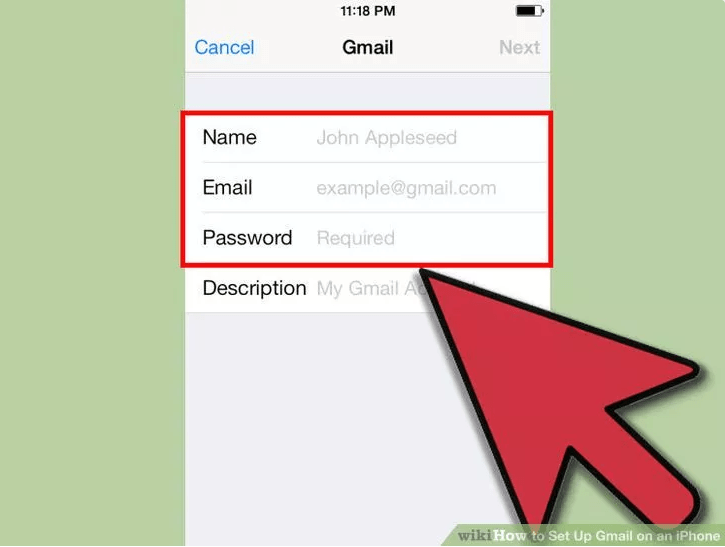
This information includes your name, email address and password. The description will automatically fill in Gmail, but you can change it if you want. After completing, click Next . This is to confirm your account information and follow the steps on the next window.
3. Select the Gmail functions available on the phone application
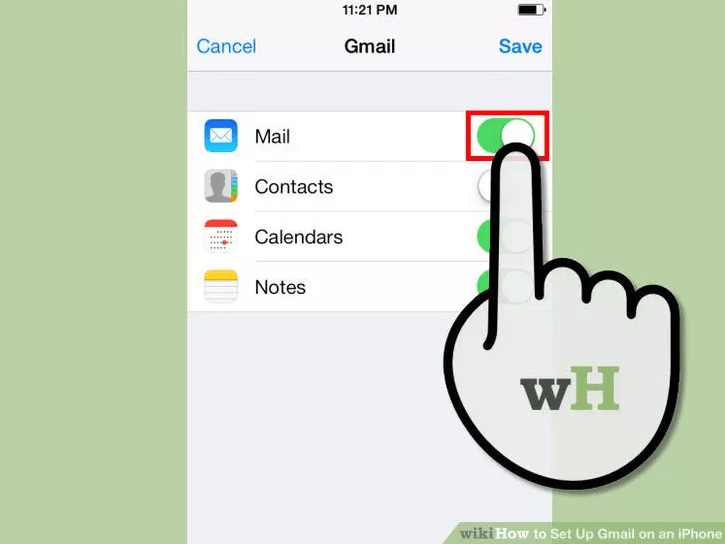
You can choose to sync mail, contacts, calendars and notes from your Google account on your iPhone phone.
4. Click Save in the top right corner
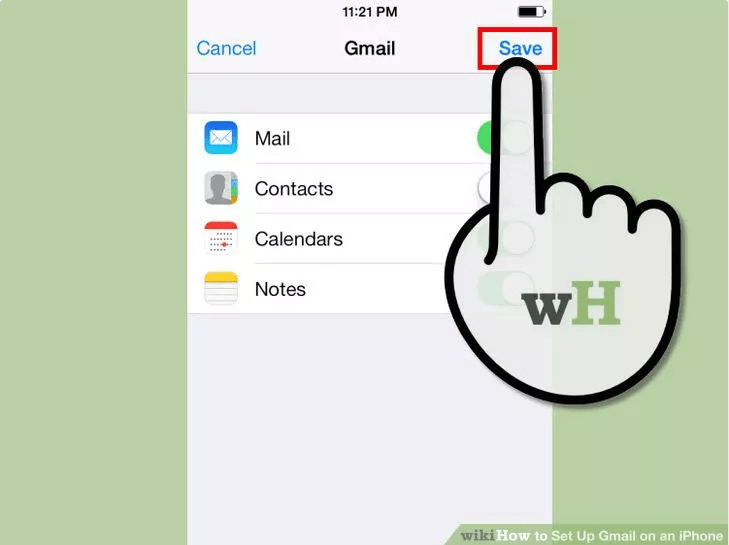
This is to add your account, display the "Account Added" message, and then return to the Settinsg app on your iPhone phone. Press the Home button to close the Settings application.
5. Access Gmail inbox
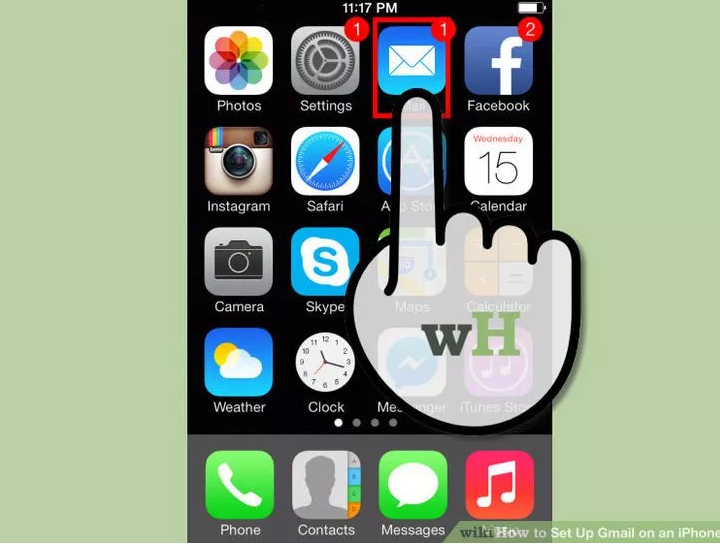
Click the Mail icon on the Home screen to access Gmail inbox. Your mail will appear in the inbox. View your folders or mailboxes by clicking the back arrow icon in the top left corner of the inbox. You can read, write and send email from the Mail application as usual.
6. Configure account settings

Visit Settings => Mail, Contacts, Calendars . In the Accounts section, click Gmail and then select the account you want to set up. Click Advanced to access the advanced settings. Here you can configure the mailbox behavior to set up your email account as you wish.
- Click on Drafts Mailbox to select the location for drafts. You can save draft messages on your iPhone phone, or select Drafts located in the On the Server section .
- Click Deleted Mailbox to select the location where you want to store deleted emails and click Archive Mailbox to select the location of the email archives attached. You can store it on your iPhone phone or on the Server.
7. Configure Push notification
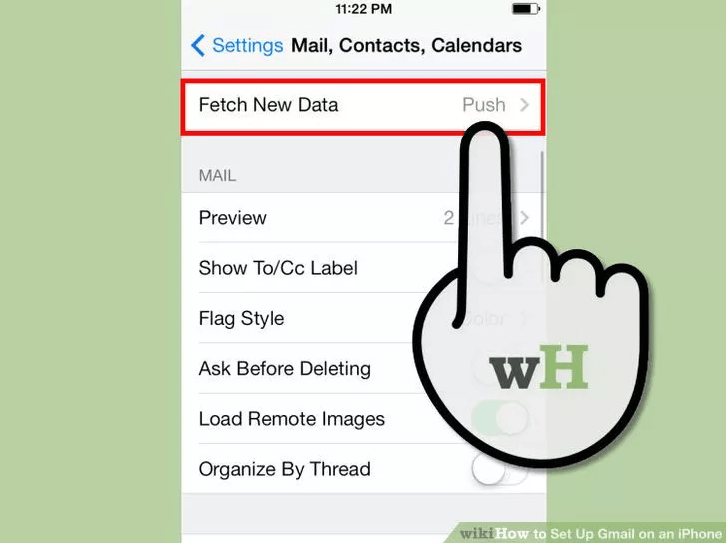
In the Mail, Contacts, Calendars window, find and click Fetch New Data to set how often Mail checks new data. Open Push to automatically do this. If Push is turned off, you can choose how long it takes the phone to check for new data by selecting a setting.
Part 3: Fix connection errors
1. Allow your iPhone device to access your Gmail account if 2-step verification is enabled
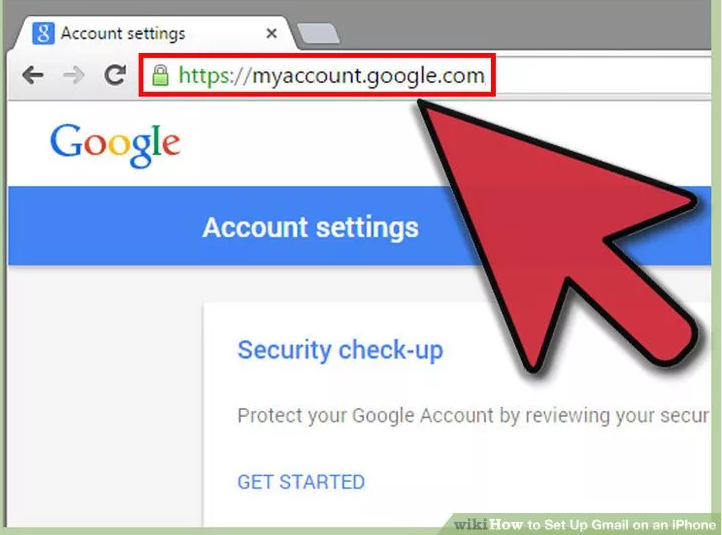
Google provides 2-step verification system. This process acts as a security layer, protecting your account, but it can cause problems in case you use Mail settings on iPhone phones. To enable Gmail, you need to create a confirmation code and only use that confirmation code once.
- Open the Google Security setup page. To quickly access the Google Security settings page, click on this link. And you will be asked to log in your account information.
- Click the link Settings next to App passwords .
- Select Mail from the dropdown menu on the left. Then select iPhone from the dropdown menu on the right, or enter a custom name.
- Click the Generate button, and a new window will appear with the password.
- Open the Settings app on your iPhone, then find and click Mail, Contacts, Calendars . Choose your Gmail account.
- Replace the password with the password you just created, note there is no space. Your account can connect right now.
2. Check IMAP settings on Gmail
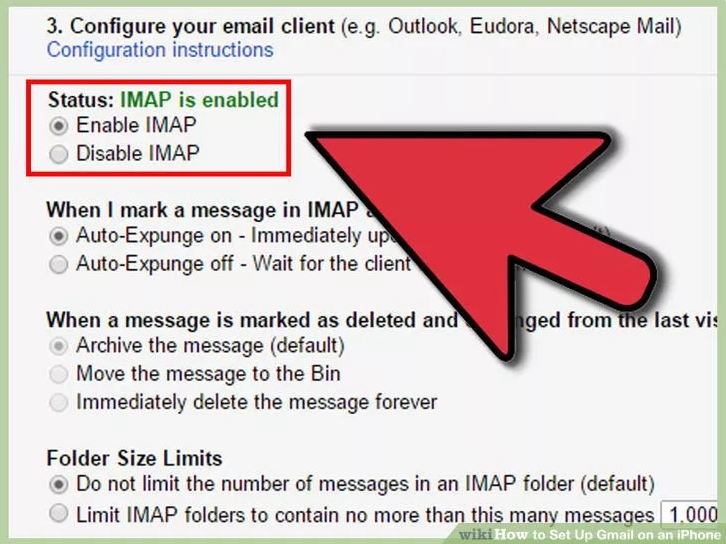
If your Gmail does not set up IMAP properly, you may receive a connection error message during the process of loading messages on Gmail on your iPhone device. To check IMAP settings, open any web browser on your computer, then log in to your Gmail account.
- Click on the serrated icon in the upper right hand corner, then select Settings .
- Click on the Forwarding and POP / IMAP tab.
- Check the " Status:" frame located in the " IMAP Access " section. If you see " IMAP is enabled " then there is no need to activate it, otherwise if you don't, you must activate IMAP by clicking the " Enable IMAP " button.
- Click Save Changes to save the changes.
Refer to some of the following articles:
- Instructions for setting up 2-layer protection for Outlook accounts and Microsoft accounts
- How to turn on POP / IMAP Gmail to use in Outlook
- Steps to change the default account for Mail Merge on Outlook 2007, 2010 and 2013
Good luck!