How to Reduce Shadow Copy on Windows Vista
Shadow Copy, or Volume Snapshot Device is an application interdependent with System Restore that is unique to Windows Vista and Windows 7. The Shadow Copy is the disk space used by System Restore (up to 15% of of disk volume) which makes...
Table of Contents
Method 1 of 2:
Reviewing Shadow Copy
-
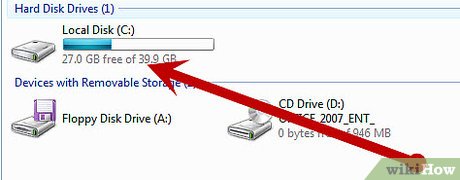 Click Start>Computer and on Local Disk (C:) you'll see the available disk space you have left on the hard drive of your Windows Vista desktop/notebook computer.
 -
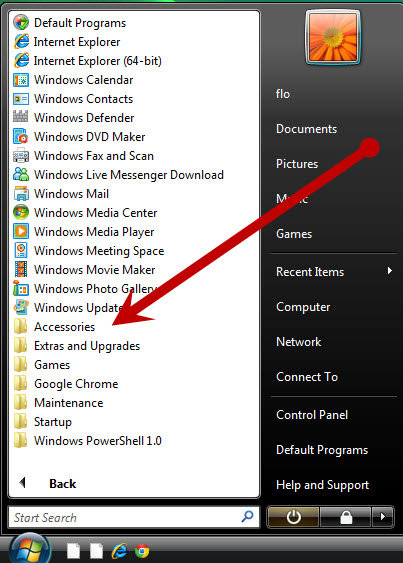 Click Start>All Programs>Accessories.
 -
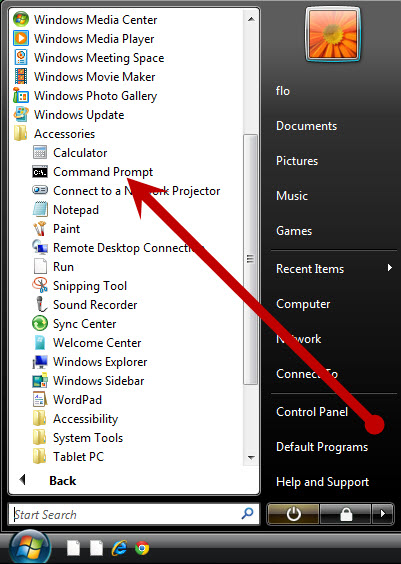 Select Command Prompt (make sure you right click on Command Prompt first, and select Run as administrator).
 -
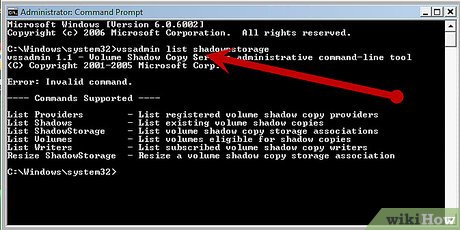 Type in vssadmin list shadowstorage.
 -
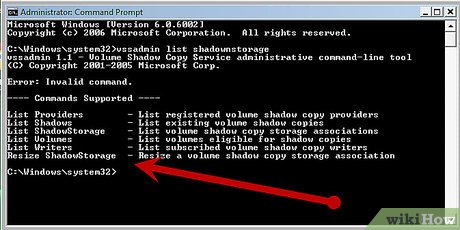 Press Enter/Return. Command Prompt will show the allocated space towards Shadow Copy. This can be reduced to allow more free hard drive space.
Method 2 of 2:
Reducing Hard Disk Space Allocated for Shadow Copy
-
 Exit Command Prompt and backtrack to Step 3 in Reviewing Shadow Copy. Open Command Prompt, again selecting the Run as administrator option when right-clicking.
 -
 Type in vssadmin resize shadowstorage /On=C: /For=C: /Maxsize=[here add the maximum space you will allow for Shadow Sorage, e.g. 3GB].
 -
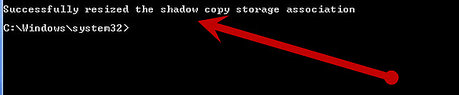 Press Enter/Return. The results will be displayed in Command Prompt.
 -
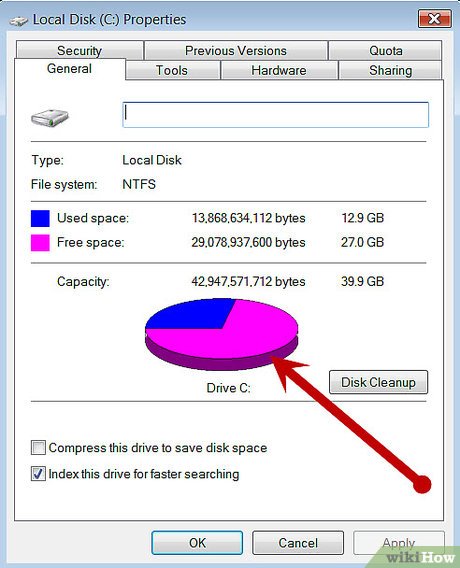 Click Start>Computer and once again review the available disk space for Local Disk (C:).
Was this article helpful?
Your feedback helps us improve.
Related Articles
 Shadow Defender - Download Shadow Defender here3 minutes read
 Shadow effect in CSS4 minutes read
 Shadow command in Windows3 minutes read
 How to Speed up Windows Vista3 minutes read
 Shadow, the service that allows Windows 10 to be used on any device3 minutes read
 Photographic tips that cast shadows in photography7 minutes read
Reader Comments 0
Sign in with email or Google to join the discussion.