How to Stop Vista Showing the 'Com Surrogate Has Stopped Working' Error
Method 1 of 3:
Quick Fixes
-
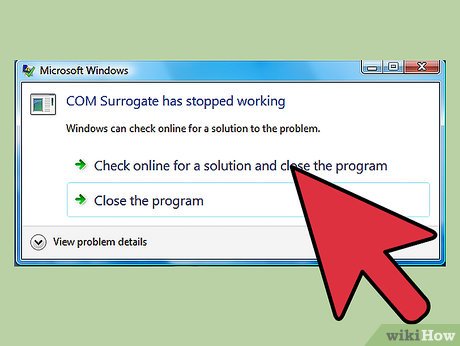
 Understand what causes the error. The "COM Surrogate has stopped working" error usually appears when you're looking through folders containing thumbnails for videos and images. The error is typically caused by codecs (software that processes video files) that aren't compatible with Windows Vista. The most common culprits are DivX and Nero.
- There several quick fixes you can try to resolve the problem.
-
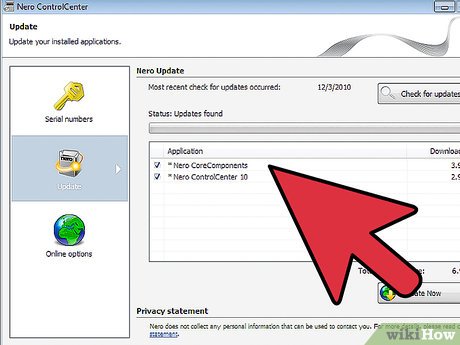
 Update your versions of Nero and DivX. If you have either or both of these programs installed, they could be the source of your problems.
- You can update DivX by downloading the latest version from divx.com. You can update Nero using the update utility in the program, or by downloading the newest version from nero.com.
-
 Rename a few Nero files. There are a couple of Nero files that can be causing the problem, and renaming them will essentially keep them from running. Doing this will break Nero ShowTime, however, so avoid this fix if you rely on that program.
- Open C:Program FilesCommon FilesAheadDSFilter
- Rename NeVideo.ax to NeVideo.ax.bak
- Rename NeVideoHD.ax to NeVideoHD.ax.bak
-
 Disable thumbnail previews. This isn't a very elegant fix, as you'll no longer be able to see thumbnails for your images or videos, but it will keep the error from appearing whenever you open a folder.
- Open any folder on your computer.
- Click the "Organize" button in the upper-left corner of the window.
- Select "Folder and search options"
- Click the View tab and check the "Always show icons, never thumbnails" option.
- Click Apply
-
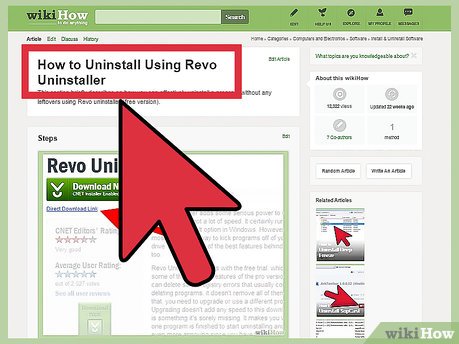
 Completely uninstall Nero. If you don't rely on Nero, you can remove it from your system completely. This will usually solve your problem, but you'll need another utility to remove it completely.
- Download and install Revo Uninstaller.
- Select any Nero applications from the list.
- Perform a Moderate scan at the end of the uninstallation process.
- Repeat for every Nero entry.
Method 2 of 3:
Using InstalledCodec
-
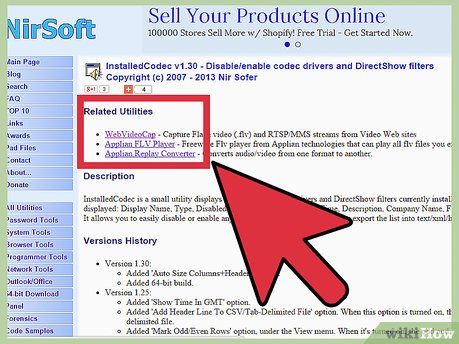
 Download the free InstalledCodec utility. This program will scan your computer for every installed codec and allow you to disable them on the fly.
- You can download InstalledCodec for free from nirsoft.net/utils/installed_codec.html. Note that some antivirus programs will flag Nirsoft software as a potential virus. These are false-positives, and can be safely ignored.
-
 Run the InstalledCodec utility. You can extract the ZIP file by double-clicking it and then clicking "Extract". It does not need to be installed.
 -
 Test each codec to find the one causing the problem. You will need to go through the list and test each codec to find the one causing the errors.
- Select the first codec on the list and click the "Disable" button in the upper-left corner of the window.
- Open a folder containing thumbnails that usually gives you the error.
- If the error still occurs, re-enable the codec and disable the next one in the list.
-
 Uninstall the codec (or leave it disabled). Use the "Display Name", "Type", "File Description" and "Company" columns to help you determine what the codec is and the best way to delete it.
- Perform web searches for information on the codec and detailed tips on removing it.
- Leaving the codec disabled may solve your problem, but could cause issues with your media payback programs.
Method 3 of 3:
32-Bit Vista Fix
-
 Determine if Vista is 32-bit. This fix is only possible for computers running the 32-bit version of Vista. 64-bit computers cannot perform this.
- Click here for instructions on determining if your copy of Vista is 32-bit or 64-bit.
-
 Click the Start button to open the Start menu.
 -
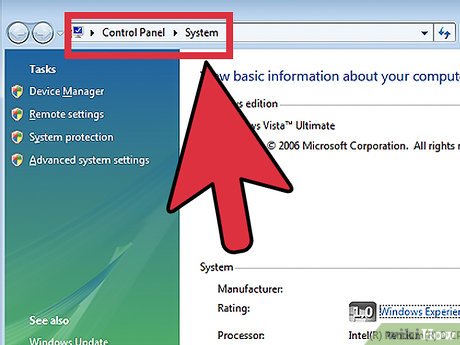
 Right-click on "Computer" and select "Properties".
 -
 Click the "Advanced system settings" link.
 -
 Click the .Advanced tab and then click Settings... in the "Performance" section.
 -
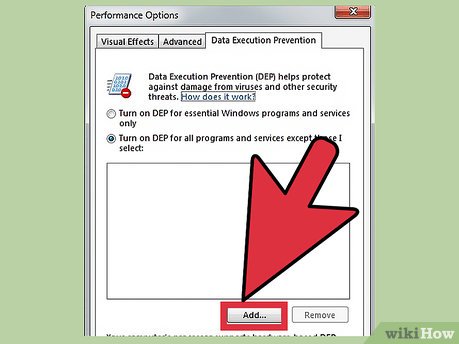
 Click the .Data Execution Prevention tab.
 -
 Select "Turn on DEP for all programs and services except those I select:".
 -
 Click .Add... and then navigate to C:WindowsSystem32.
 -
 Select .dllhost.exe.
 -
 Repeat the adding process for the DivX and Nero EXE files. These can be found in their respective Program Files folders.
Share by
David Pac
Update 04 March 2020
