Table of Contents
This updated guide explains how to Play VOB Files through clear steps, practical examples, and important checks that help prevent common errors.
Method 1 of 4:
Using VLC Player
-
 Open your web browser and visit videolan. org. VLC Player is a free, open-source video player that can play virtually any type of video file, including VOB format.
 -
 Click the "Download VLC" button. This should automatically download the correct installer for your operating system. If the wrong installer downloads (for example, if you're using a Mac and an EXE file downloads), click the logo for your operating system underneath the download button.
 -
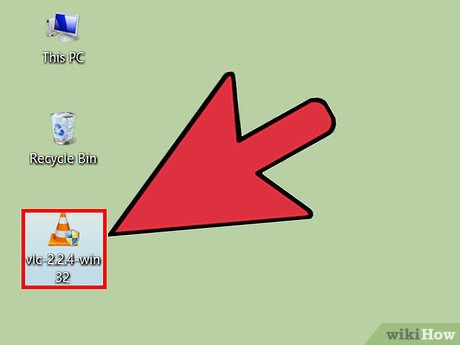 Run the VLC installer after downloading it. This will begin the installation process. You can find this file in your Downloads folder, or in your browser's Downloads section.
 -
 Follow the prompts to install VLC. The process is different for Windows and macOS, but you can leave any settings at their defaults.
 -
 Start VLC Player. After installing VLC, open it from your Start menu (Windows) or Applications folder (macOS).
 -
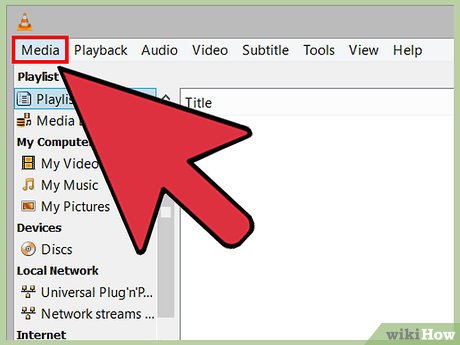 Click the "Media" (Windows) or "File" (macOS) menu. This will display the menu options for opening media files.
 -
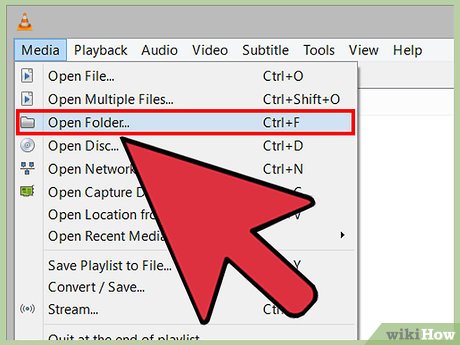 Select "Open Folder" (Windows) or "Open File" (macOS). This will allow you to open the VIDEO_TS folder that contains your VOB files.
 -
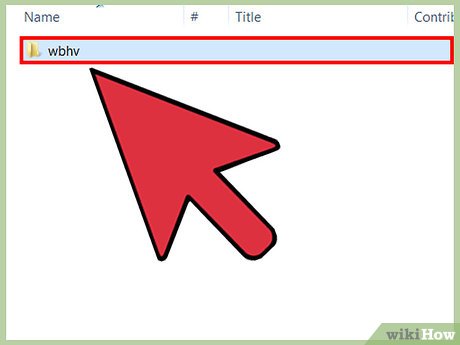 Browse for the folder containing your VOB files. The folder will usually be labeled VIDEO_TS if it was ripped directly from a DVD.
 -
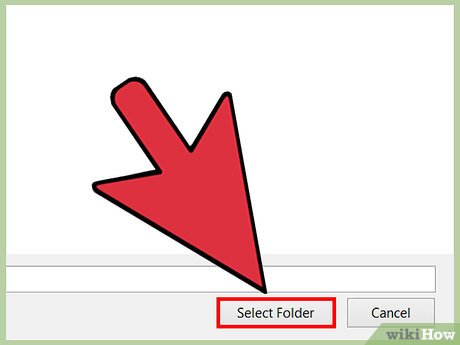 Open the selected folder to start playing the VOB files. When you open the folder, VLC Player will begin playing the video as if you had inserted the DVD. You'll have access to the DVD menus, special features, chapters, and other bonuses.
Method 2 of 4:
Using MPC-HC (Windows Only)
-
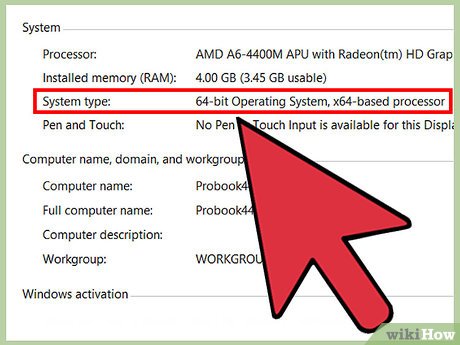 Determine if you are running 32-bit or 64-bit Windows. You'll need to know in order to download the correct version of MPC-HC.
- Press ⊞ Win+Pause or right-click "Computer" in the Start menu and select "Properties."
- Look at the "System type" entry in the window that appears. If it says "64-bit" or "x64," you have a 64-bit system. If it says "32-bit," "x86," or nothing about bits at all, then you're running 32-bit.
-
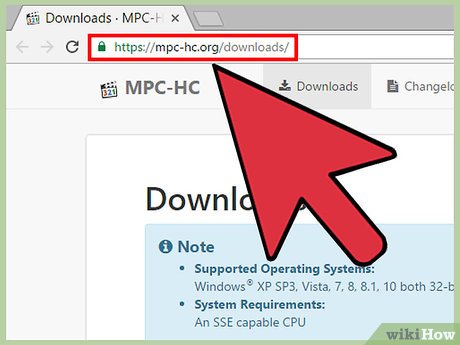 Visit the MPC-HC website. MPC-HC is a free, open-source media player that can play VOB files as well as most other video formats. You can download it for free from mpc-hc. org/downloads/
- MPC-HC is only available for Windows.
-
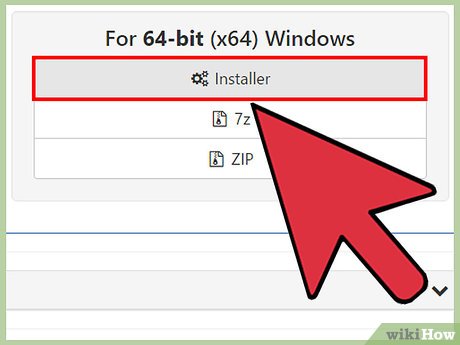 Click the "Installer" link for your version of Windows. This will download the installer program from MPC-HC.
 -
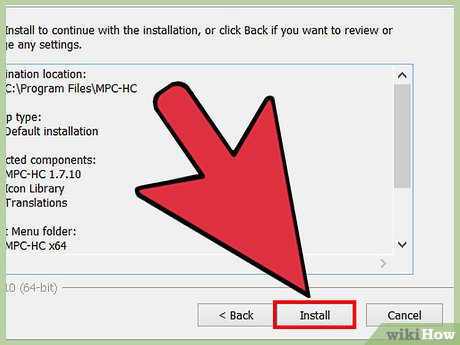 Run the installer and follow the prompts. The download is small and should only take a few moments to complete. Run it after downloading and follow the prompts to install MPC-HC. You can leave the settings at their default.
 -
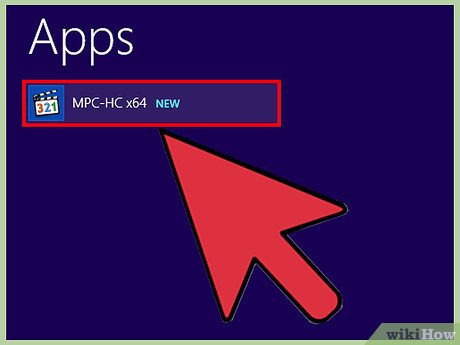 Start MPC-HC after installing it. You're given the option to launch it from the installer, or you can find a shortcut for it on your desktop.
 -
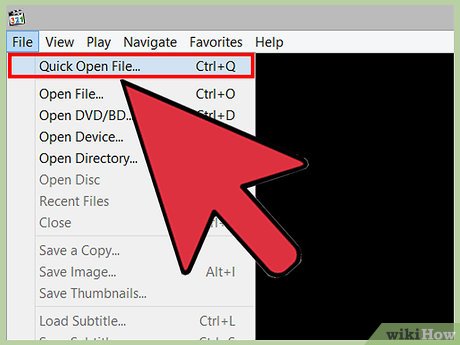 Click the "File" menu and select "Quick Open File." This will open the file browser.
 -
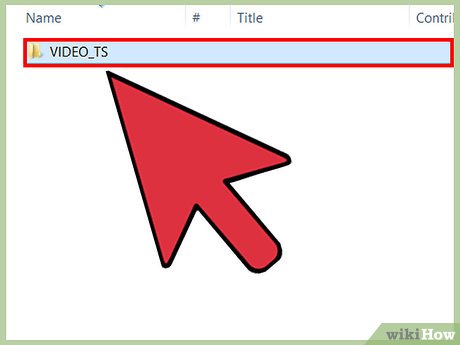 Browse for the folder containing your VOB files. When you rip a DVD to VOB format, you typically will have a VIDEO_TS folder that contains all of the VOB files. Navigate to and open this folder in the file browser.
 -
 Select the "VIDEO_TS. ifo" file. This file loads the contents of the DVD in order so that you can play the menus and all of the special features.
- You can select individual VOB files, but this will only play that portion of the DVD.
-
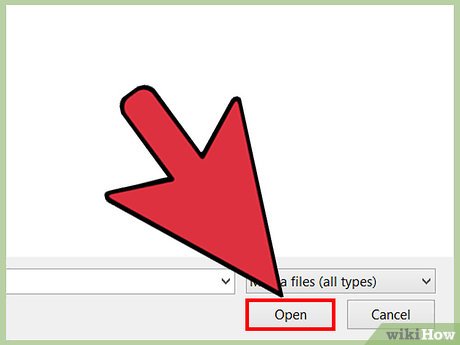 Open the file. This will begin playing from the beginning of the DVD, loading the proper VOD files when necessary.[1]XResearch source
Method 3 of 4:
Using a Plex Media Server
-
 Download MakeMKV. Plex has a hard time reading VOB files, so you'll be better off using MakeMKV to remix them as MKV files. You won't lose any quality, but you will lose access to menus. Chapters will be preserved.[2]XResearch source
- Visit makemkv. com/ and click the "Download Make MKV for Windows" link to download the installer.
-
 Run the installer and follow the prompts. You can leave all of the installation settings at their defaults. MakeMKV will not install any adware.[3]XResearch source
 -
 Start MakeMKV. You can start it from the installation wizard, or from the shortcut on your desktop.
 -
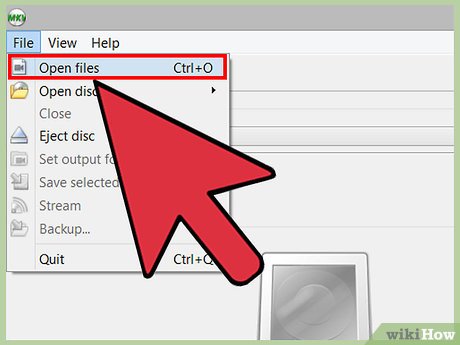 Click the "Open files" button. You'll find this in the upper-left corner of the MakeMKV window. It looks like an icon of a camcorder over a file.
 -
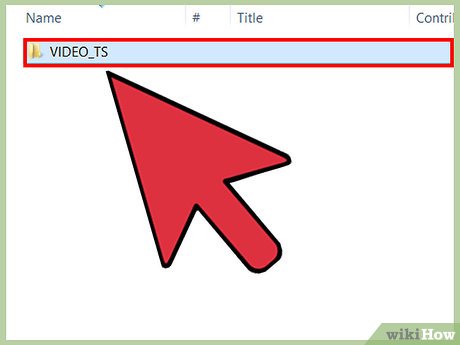 Browse for the folder containing your VOB files. If you ripped the VOB files from a DVD, they'll typically be located in a VIDEO_TS folder. Navigate to this folder in the file browser so that you can see the contents.
 -
 Select the "VIDEO_TS. ifo" file. This is the master file for the VOB files, and tells the player which order to play them in. Selecting this file will allow MakeMKV to load all of the VOB files into the MKV file.
 -
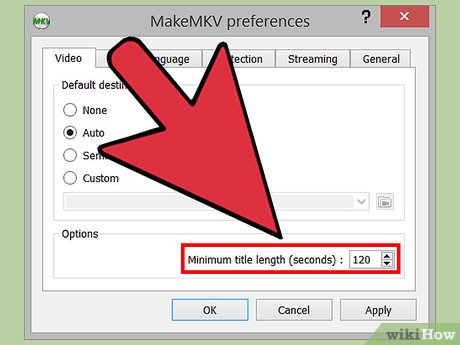 Select the title you may need to use. For movies, this should be the full-length title. If the DVD had several TV episodes, you'll have to create a separate MKV for each episode, which actually makes selecting episodes easier in Plex.[4]XResearch source
- You can also select the audio and subtitle tracks you may need to include. MKV supports multiple tracks of each.
-
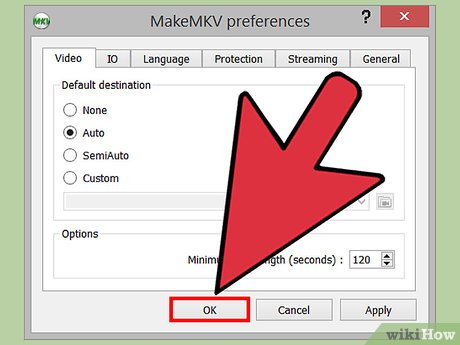 Start the remixing process. MakeMKV will create an MKV file based on the title and audio settings you selected. The time this takes will vary depending on the size of the VOB files.
 -
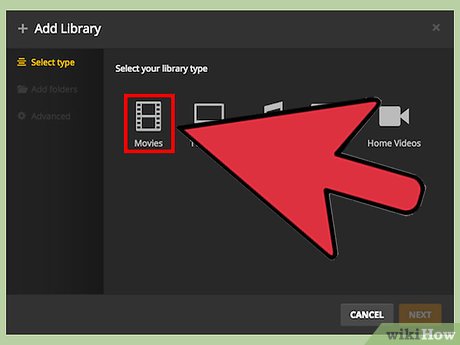 Add the finished MKV to your Plex libary. Plex can read and transcode MKV on the fly, so it should have no problem picking up your new MKV file. In most cases, Plex will automatically find the correct information for the video. See Set Up a Media Server Using Plex for details on adding media to your Plex server.
Method 4 of 4:
Burning VOB to DVD
-
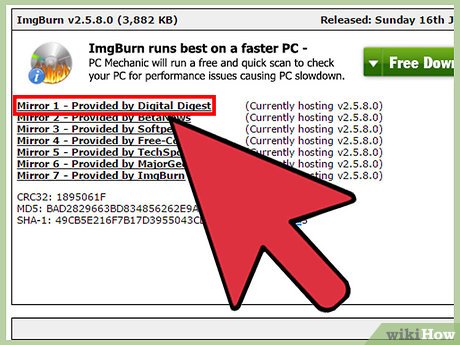 Download ImgBurn. This free program will allow you to create a playable DVD using the VOB files in your VIDEO_TS folder. The DVD can be used on any DVD player that supports burned discs. Visit ImgBurn to download the program.
- When selecting a mirror, make sure to find the download link that doesn't require a special download manager. Mirrors 5 and 6 are the safest ones to download from.
- Avoid the ImgBurn mirror (Mirror 7) as this installer comes with extra adware that you'll need to decline during the installation process.
-
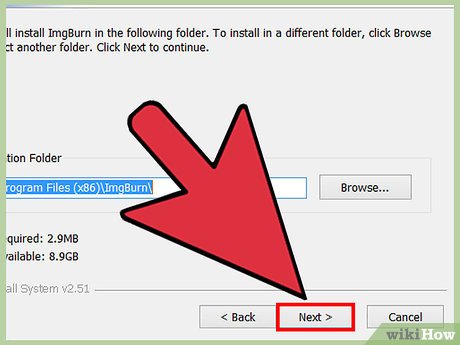 Run the setup program. After downloading the installer, run it from your Downloads folder. You can leave the settings at their default.
- Carefully read each screen, as the installer may contain adware depending on which mirror you used to download it.
-
 Start ImgBurn. After installing, you can find a shortcut to it on your desktop. You'll be greeted with the main ImgBurn menu.
 -
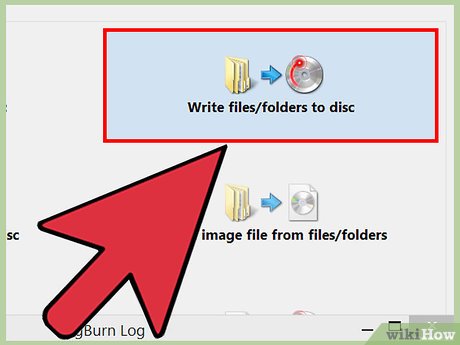 Select "Write files/folders to disc" from the menu. This will open Build Mode, which will make an image file from your VOB files and then write it to a disc. Build Mode will preserve all of the original DVD menus and features.
 -
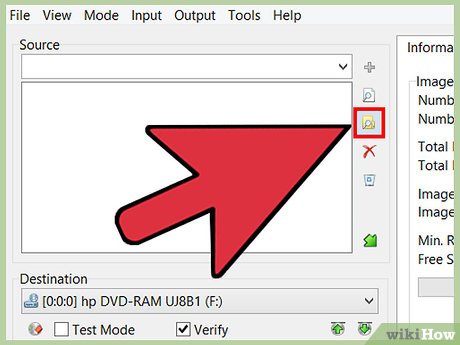 Click the "Browse for a folder" button. This will open the file browser. You'll find this button to the right of the "Source" fields.
 -
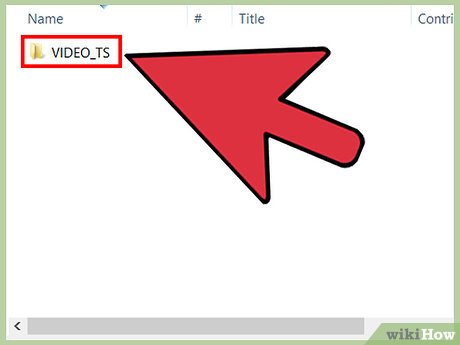 Select your VIDEO_TS folder. The VIDEO_TS folder contains the VOB files that you may need to burn to DVD. Opening this folder will load all of the VOB files into ImgBurn.
 -
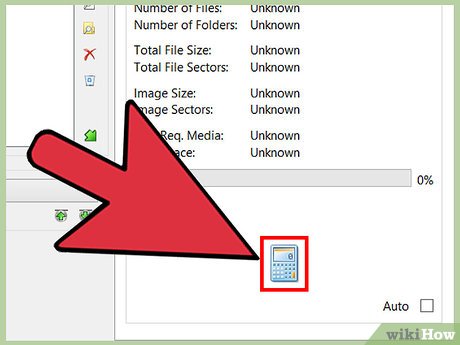 Click the "Calculate" button. This looks like a calculator, and can be found in the lower-right corner. The size of the image file will be determined, and you'll be informed if you need a single-layer or dual-layer disc.
 -
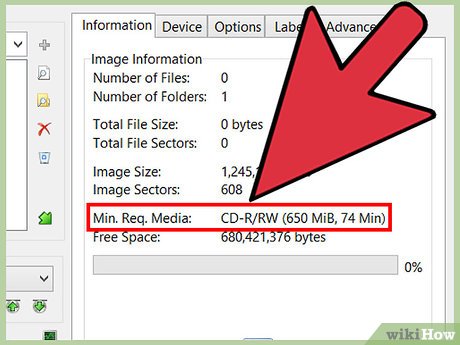 Insert the disc type recommended. After calculating, you'll see a "Min. Req. Media" entry. Use this as a guide as to the type of blank disc to insert. Most movies will burn to DVD±R/RW.
 -
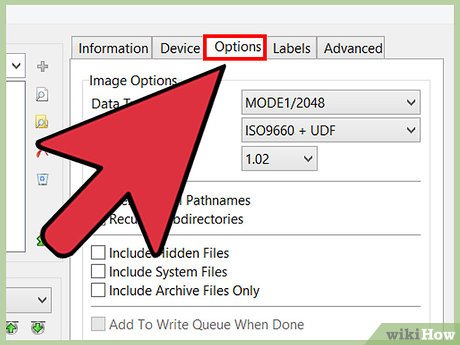 Click the "Options" tab. This will display the disc options.
 -
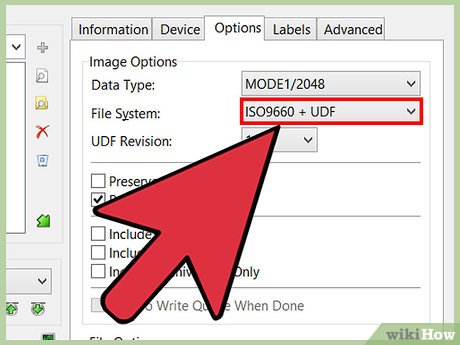 Select "ISO9660 + UDF" from the "File System" menu. The disc will be encoded in a way that can be read by DVD players.
 -
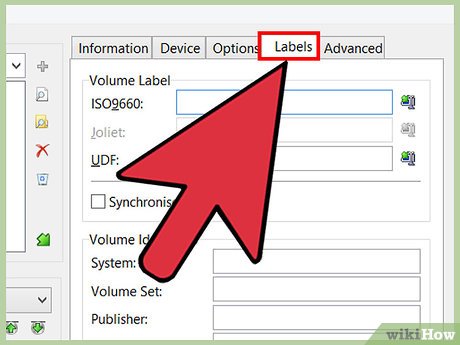 Click the Labels tab. This will allow you to add a label, which can help the player read your disc.
 -
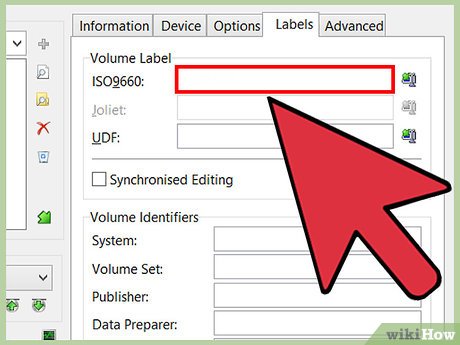 Enter a label in the "ISO9660" field. It can be whatever you'd like, but can't use spaces.
 -
 Click the "Copy" button next to the "ISO9660" field. The label you entered will be automatically entered into the other applicable fields (they need to match).
 -
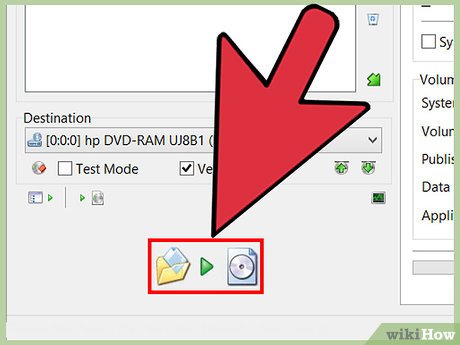 Click the "Build" button. This will start burning your project to the blank DVD in your drive. The time this takes will vary depending on your DVD burner and the size of the video.
 -
 Play your burned DVD. After the DVD has finished burning, you can use it in most DVD players. Some players will have problems with burned discs, and may not load the video.
FAQ
What is the easiest way to Play VOB Files?
Start with the requirements in this guide, then follow each step in order. Check the result after every major change so problems are easier to identify.
Can beginners follow these instructions?
Yes. The process is organized into practical steps, and you can repeat any step before moving forward.
What should I check if the method does not work?
Confirm your software or device version, permissions, settings, file format, and internet connection when the task depends on online services.


Reader Comments 0
Sign in with email or Google to join the discussion.