How to Install a DVD Player
Install the DVD player
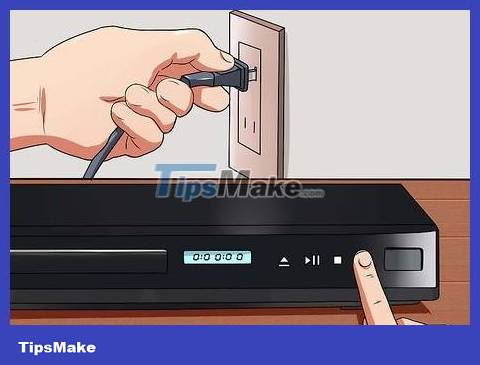
Plug in the DVD player and don't forget to turn it on. Before connecting the player to the TV, you need to plug it in and turn on the power button. Usually, you will see a light or notification appear on the device if it is still working.
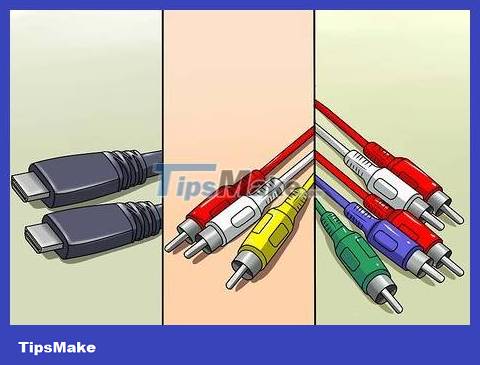
Decide which connection type to use. There are 3 methods of connecting a DVD player and each type uses a different type of cable. DVD players are usually sold with a full range of wires compatible with the connection types, but you need to check the connector on the TV as well. See the user manual or check on the device yourself to see which connection types can be used. Here are the 3 most popular connection methods:
HDMI: This is the most modern connection type, the HDMI port looks like a USB port but is longer and thinner. HDMI connection provides the best quality and you only need to use 1 connection cable to transmit both audio and video signals.
A/V cable (3 heads): Short for Audio/Video cable, this is the most common DVD connection port. There are 3 inputs, red, yellow, and white, compatible with inputs on TVs and DVD players.
Component cable: Better quality than A/V but worse than HDMI, hardware cable has 5 heads with colors compatible with input ports on TVs and DVD players.

Find a cable compatible with the connection port. After determining the connection port, choose the appropriate cable, making sure the cable is not torn or frayed. If you need to buy a new cable, take a photo of the device's input port and take it to an electronics store to buy a replacement.
If possible, use an HDMI cable because it is easy to install and gives the best image quality.
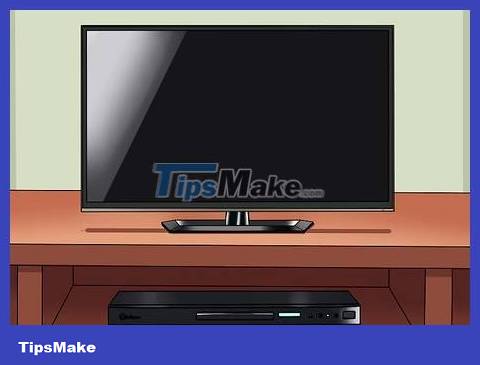
Place the DVD player near the TV. After determining the connection type, place the DVD player close enough to the TV for the cable length.
Do not place other electronic devices on top of a DVD player or TV as they will quickly increase in temperature and damage other devices.
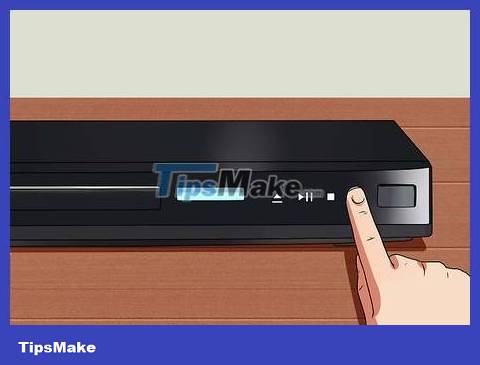
Turn off the DVD player and TV before connecting. Doing so will prevent electric shock and protect the device.
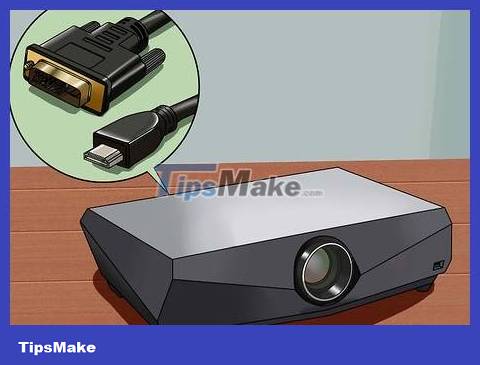
Understand the projector connection process. Most projectors have the same input ports as your TV, so you don't have to change much if you want to hook up a replacement projector.
Some projectors use a "DVI input port" instead of the three connection types mentioned above. If so then follow the "Connect using an HDMI cable" procedure replacing the DVi cable with the HDMI port.
Connect using HDMI Cable
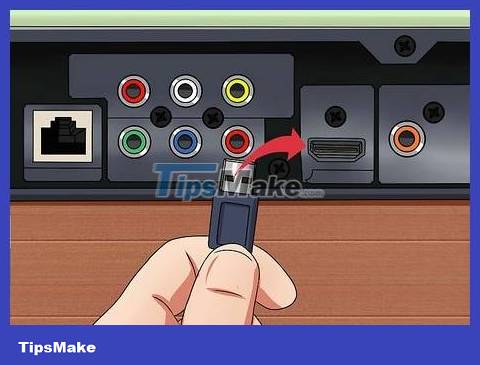
Plug one end of the cable into the HDMI port on the DVD player. Find the port that says "HDMI" or "HDMI Output" and plug the cable into it.
This is the highest quality connection for both audio and video, usually only modern DVD players have HDMI ports.
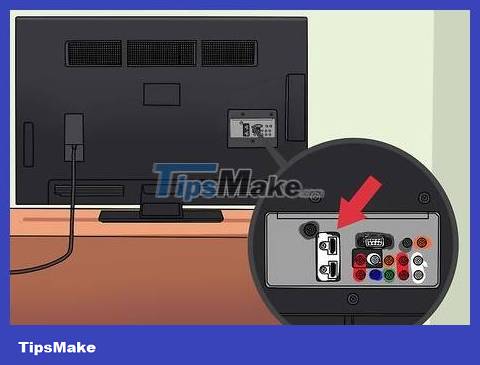
Plug the other end of the cable into the HDMI port on the TV. Similar to DVD players, only modern TVs have HDMI ports. On the TV there will be many HDMI ports, each labeled "HDMI" or "HDMI Input".
If the input ports are numbered, for example "HDMI 1", you will need to remember this number so you can use it later in the TV setup.
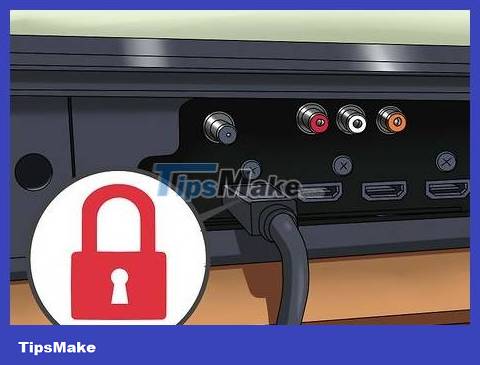
Make sure both HDMI connections are secure. HDMI connection requires only 1 cable to transmit audio and video signals on any device. But if you plug in the cable too loosely or too tightly, the signal will be affected.
There are many types of HDMI cables on the market but the difference in quality is not too obvious.
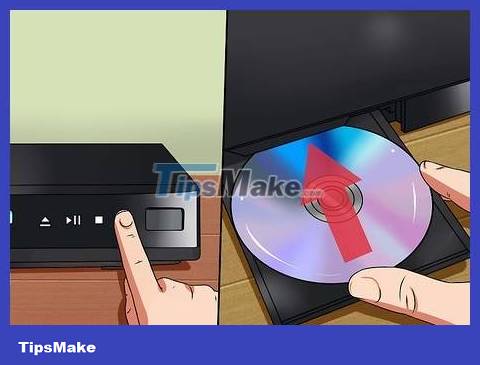
Power on the DVD player and TV. Insert the DVD into the player to test the sound and image.
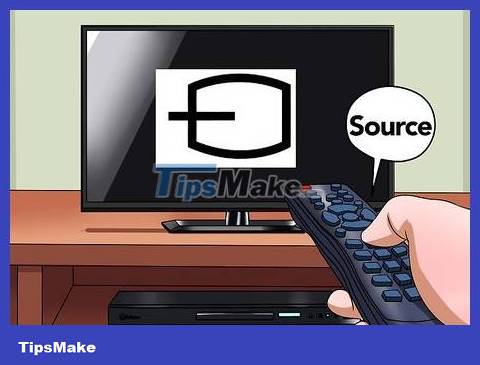
Select the TV's input port by pressing the "Source" button on the remote. On some TV models there is an "input" button. Use this button to switch to the input port where the TV receives audio and video information. You must select the input port corresponding to the port where the cable was plugged in.
If there is no name on the port or you don't remember which port you used, turn on the DVD player and try each port until image and sound appear.
Connect using A/V Cable (3 ends)
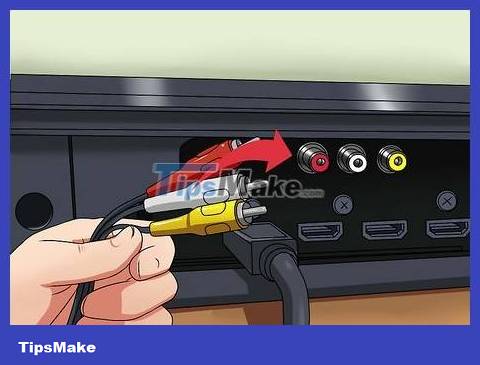
Plug one end of the A/V cable into the output port on the DVD player. Output ports are color coded to correspond to the A/V cable (Red, White and Yellow) and labeled "Output" or "Out". The Red and White (Audio) ports can be separate from the Yellow (Visual) port.
This set of connectors is often grouped and marked with a surrounding border.
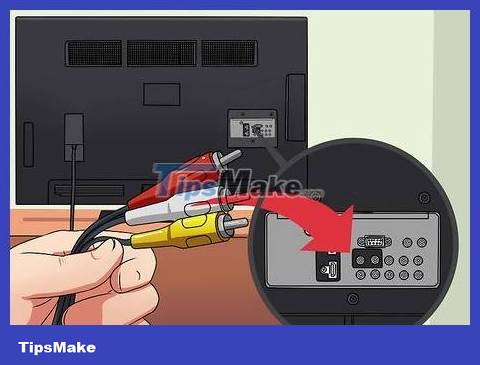
Plug the other end into the input port on the TV. Similar to a DVD player, input ports are also color coded and grouped. Look for a port that says "Input" or "In." A/V inputs are usually numbered so you can choose the port when setting up on the TV.
Sets of input ports are often grouped and marked with a border around them.
The Red and White (Audio) ports can be separate from the Yellow (Visual) port. On the port it will be clearly written which input port corresponds to.

Make sure the connections fit well and match the color. Insert the colored plug into each corresponding colored port on both the DVD player and TV.
The video Yellow port can be separate from the audio Red and Yellow ports.
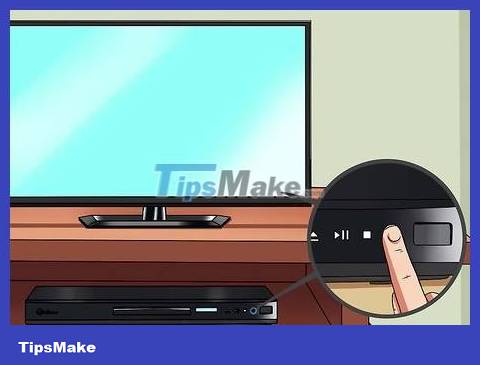
Turn on the DVD player and TV. Insert the DVD into the player to test the sound and image.
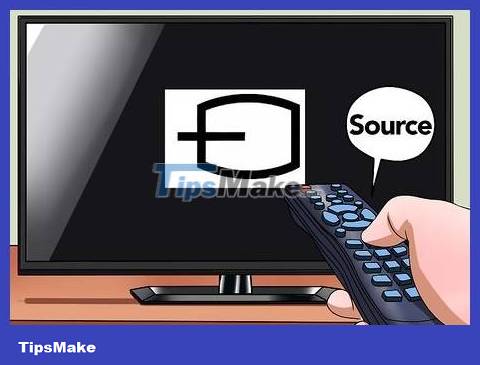
Select the TV's input port by pressing the "Source" button on the remote. On some TV models there is an "input" button. Use this button to switch to the input port where the TV receives audio and video information. You must select the input port corresponding to the port where the cable was plugged in.
If there is no name on the port or you don't remember which port you used, turn on the DVD player and try each port until image and sound appear.
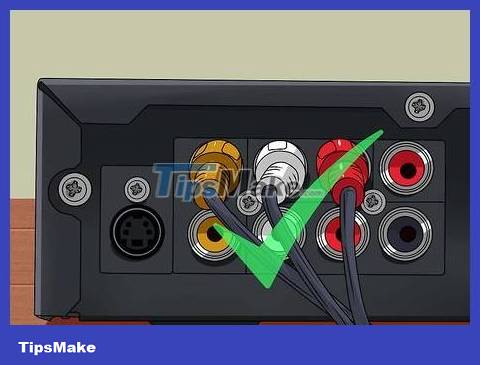
Make sure to connect the A/V cable correctly. If you only get a video or audio signal, or no signal at all, the cable may not be plugged in correctly. Check each port to see if the corresponding color plug is plugged in.
If you still don't see the picture, make sure the Yellow plug is properly connected to the corresponding colored input port on the TV and output port on the DVD player.
If no sound is heard, make sure the Red and White plugs are properly connected to the corresponding colored input port on the TV and output port on the DVD player.
Component Cable (5 leads)
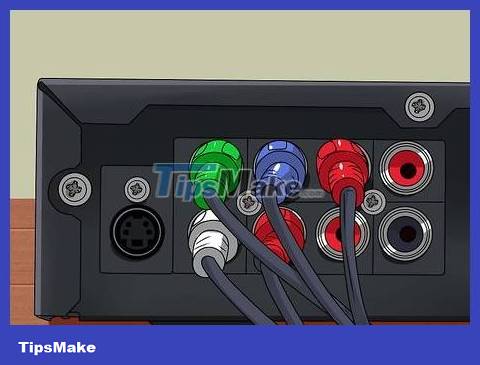
Plug all 5 wires into the corresponding ports on the DVD player. Ports that correspond to the plug color (Green, Blue, Red, White, Red) are often grouped and labeled "Output" or "Out". The Green, Blue and Red (Image) ports can be separate from the Red and White (Audio) ports, you must plug in all 5 ends.
Component cables have 2 red ends so it's easy to confuse. To distinguish these two ends, you just need to lay the cable down on a flat surface and the wire ends will be arranged in color order Green, Blue, Red (image), White, Red (audio).
Some component cables only have Green, Blue, and Red visual headers. You need to buy an audio cable with separate Red and White ends to hear sound from the DVD, similar to the A/V cable mentioned above.
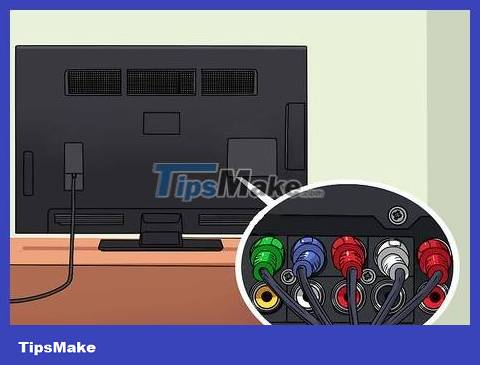
Plug the other end of the cable into the input port on the TV. Similar to a DVD player, you'll see colored ports grouped together and labeled "Input" or "In." They are usually numbered so you know which input to select on the TV.
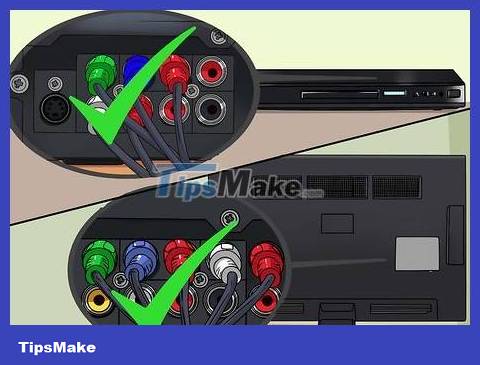
Make sure the connections fit well and match the correct color. You must insert the correct color plug on both the DVD player and the TV.
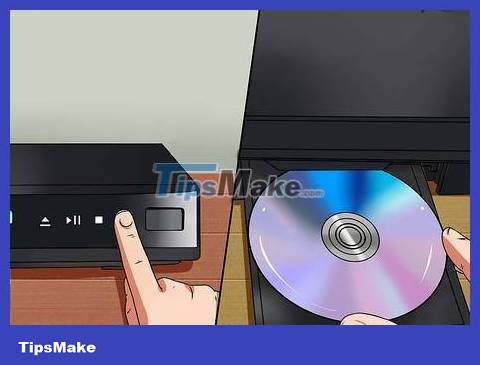
Turn on the DVD player and TV. Insert the DVD into the player to test the image and sound.
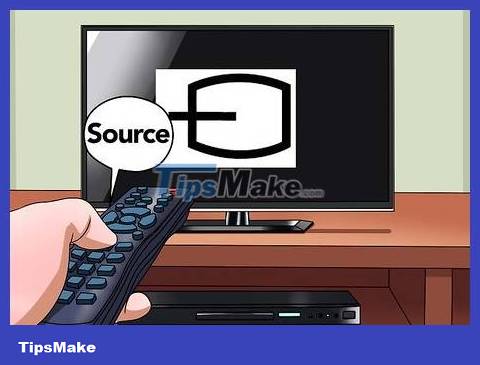
Select the TV's input port by pressing the "Source" button on the remote. On some TV models there is an "input" button. Use this button to switch to the input port where the TV receives audio and video information. You must select the input port corresponding to the port where the cable was plugged in.
If there is no name on the port or you don't remember which port you used, turn on the DVD player and try each port until image and sound appear.
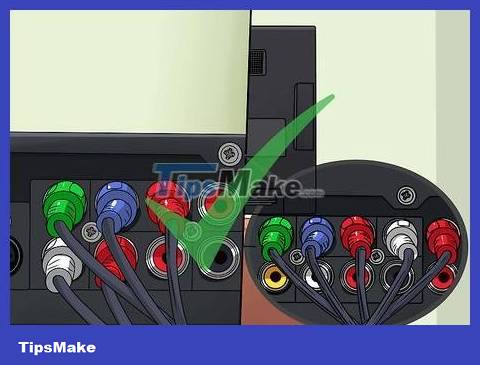
Make sure to insert the component cables correctly. If you only get a video or audio signal, or no signal at all, the cable may not be plugged in correctly. Check each port to see if the corresponding color plug is plugged in.
If you don't see an image, check that the Green, Blue and Red plugs are plugged into the corresponding colored input ports on the TV and output ports on the DVD player.
If there is no sound, check that the Red and White plugs are plugged into the corresponding colored input ports on the TV and output on the DVD.
Check the 2 red plugs to see if they are plugged into the correct ports. If you plug it into the wrong position, you will not receive both audio and video signals.
Troubleshoot
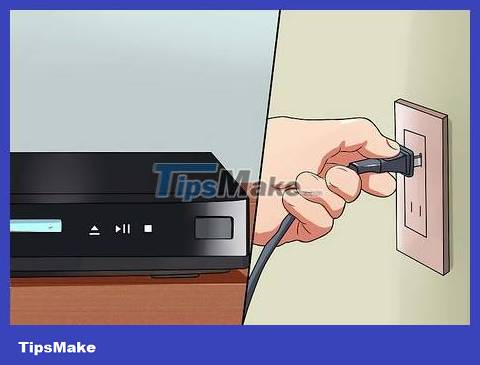
Don't forget to plug in the DVD player. This device needs to be connected to a power source to operate, please check whether it is plugged in or not.
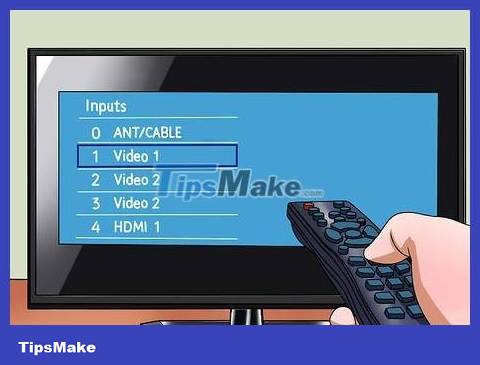
Check the Input and Plugin ports. The DVD player will display one of the Input and Auxiliary ports rather than port 3 or 4 as on some VCRs.
Some TVs will name the Input port according to the connection type, for example "HDMI", "AV" and "COMPONENT". Review Step 1 to determine the type of connection you intend to use.
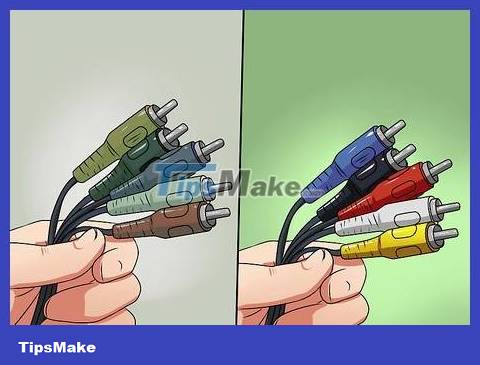
Try using another cable. Many times, old, frayed cables or loose plugs can weaken or fail to transmit the signal. Try using a new cable to see if that solves the problem.
Note: There are many companies advertising expensive cables. However, you won't notice a huge difference in signal when using a premium cable. Especially with HDMI cables, a 100,000 VND cable also provides image and sound quality equivalent to a cable worth more than 1 million VND.
You should read it
- How to install VLC Media Player 3 on CentOS 8
- How to Install VMware Player
- How to download and install Windows Media Player 12 on Windows 10
- Set up VLC Media Player as the default multimedia player on Windows 10
- How to install Unity Web Player to play 3D games
- How to fix errors that do not start or run up to 99% will stop on the Nox App Player version for Mac
 How to Connect Roku to TV
 How to use additional memberships on Netflix
 Europe may ban 8K TVs because they consume electricity
 Decode the characters appearing in the LG TV name
 The fastest and easiest way to set a password for smart TV
 Top 5 best Smart TVs of 2023