How to Open Hidden Files on USB
On Windows
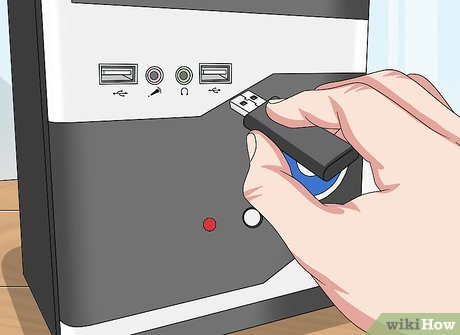
Plug the USB into the computer. Insert the USB drive into one of the flat rectangular slots located on the computer base.
For desktop computers, USB ports are usually located at the front or back of the case.
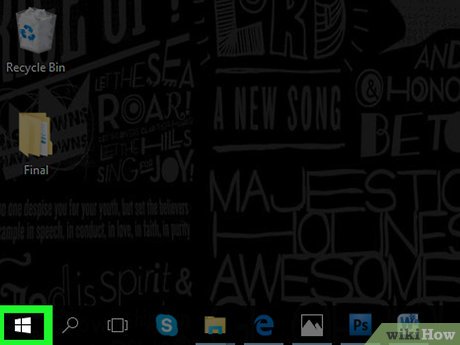
Open Start . Click the Windows icon in the lower left corner of the screen.
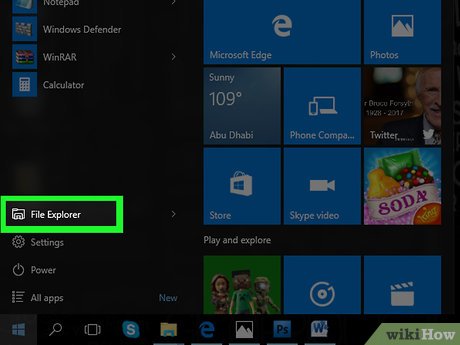
Open File Explorer. Click the File Explorer icon with the file cover in the lower left corner of the Start window.

Click the USB drive name located in the options column on the left side of the File Explorer window.
You may have to scroll down this column to find the USB drive.
If you don't see the USB drive, click the This PC tab and then double-click the USB drive name below the "Devices and drives" heading.

Click the View tab . It's at the top left of the File Explorer window. A drop-down menu will appear at the top of the File Explorer window.

Check the "Hidden items" box. Click the box to the left of the "Hidden items" option in the "Show/hide" section of the menu bar. The "Hidden items" box will be checked and all hidden files will also appear on your USB drive.
If the "Hidden items" box is checked, your USB is displaying hidden files.
Hidden files often appear more opaque and transparent than regular files.
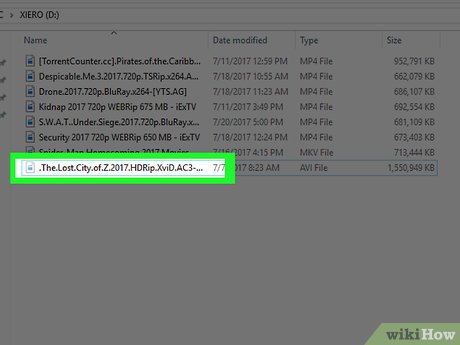
Double-click the hidden file you want to open. The file will be opened. If it's a system file, you probably won't be able to open it.
On Mac
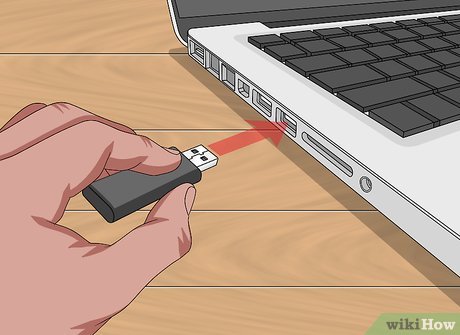
Plug the USB into the computer. Insert the USB drive into one of the flat rectangular slots on the computer base.
For iMacs, the USB port is usually located on the side of the keyboard or behind the computer screen.
Not all Mac computers have USB ports. For a newer Mac computer without a USB port, you need to buy a cable that converts the USB-C port to a regular USB port.
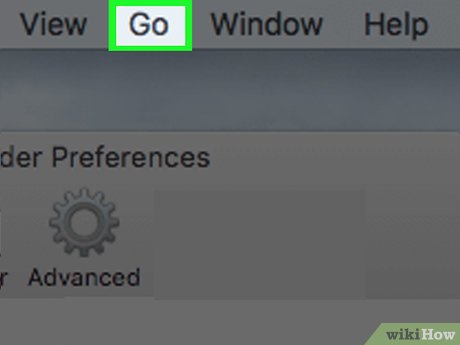
Click the Go task located at the top left of your computer screen. A drop-down menu will appear.
If you can't find the Go task , you can click on the desktop or open Finder (the blue face-shaped application, located on the dock of your Mac computer).

Click Utilities . It's near the bottom of the Go drop-down menu .
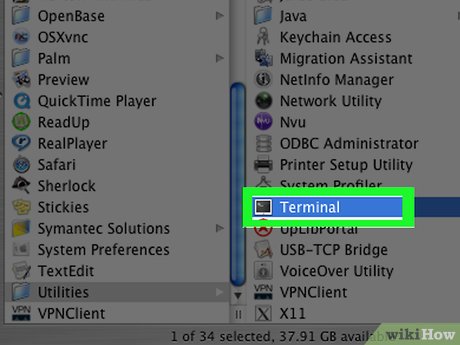
Double-click the Terminal application. You may have to scroll down in the Utilities folder to find it.

Enter the command "show hidden items" (show hidden items). Type defaults write com.apple.finder AppleShowAllFiles YESinto Terminal then press the key ⏎ Return.
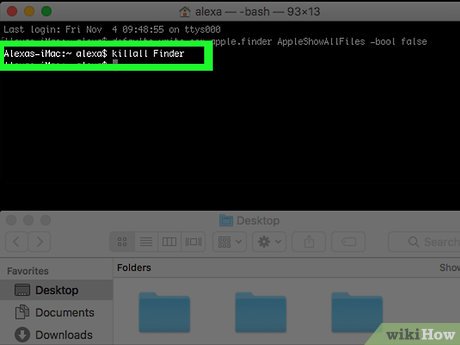
If Finder is already open, you'll need to close the app and reopen it to refresh it.
You can also type killall Finderinto Terminal to do this step automatically.
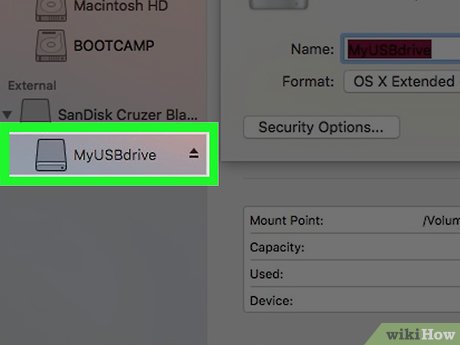
Click the USB drive name located at the bottom left of the Finder window. The contents of your drive will appear, including hidden folders and files.

Double-click the hidden file or folder. They are dull gray and look like disabled versions of regular files or folders; When you double-click, the hidden file or folder will open.
 How to Burn ISO File to DVD
 How to Manually Remove Adware
 How to Sign Out of Google Play
 How to Open the Terminal App on Mac
 How to Contact Xbox Live
 Convert WebM format videos to MP4 with VLC, Handbrake and online conversion tools