How to Open the Hidden Files in a USB Pen Drive
Method 1 of 2:
On Windows
- Plug your USB drive into your computer. Insert the USB drive into one of the thin, rectangular slots in your computer's housing.
- If you're using a desktop computer, USB ports are typically in either the front or the back of the computer's CPU box.
-
 Open Start. Click the Windows logo in the bottom-left corner of the screen.
-
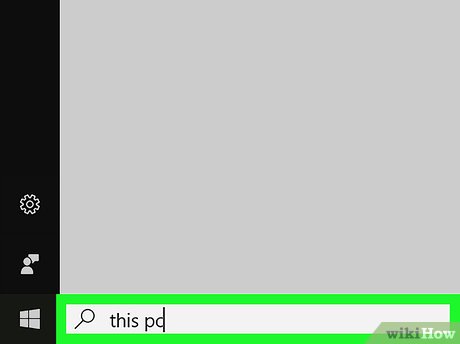
 Type in this pc. Doing so will search your computer for the This PC program.
 -
 Click This PC. It's a computer monitor-shaped icon at the top of the Start window. Doing so opens This PC.
 -
 Open your flash drive. Find your flash drive's name below the "Devices and drives" heading in the middle of the page, then double-click it.
- If you don't see your flash drive here, try unplugging the flash drive and plugging it back into a different USB slot.
-
 Click the View tab. It's in the upper-left side of the flash drive's window. Doing so prompts a menu bar to appear at the top of the File Explorer window.
 -
 Check the "Hidden items" box. Click the box to the left of the "Hidden items" option in the "Show/hide" section of the menu bar. Doing so will both place a checkmark in the "Hidden items" box and force any hidden files on your USB drive to display.
- If there's already a checkmark in the "Hidden items" box, your USB drive is currently displaying hidden files.
- Hidden files are generally dimmer and more transparent-looking than regular files.
-
 Double-click the hidden file you want to open. Doing so will open the file, allowing you to view its contents.
- If the file you're trying to open is a system file, you may not be able to complete the opening process.
Method 2 of 2:
On Mac
- Plug your USB drive into your computer. Insert the USB drive into one of the thin, rectangular slots in your computer's casing.
- If you're using an iMac, you may find the USB ports on the side of your keyboard or on the back of the iMac's screen.
- Not all Macs have USB ports. If you're using a newer Mac that doesn't come with USB ports, you'll need to purchase a USB to USB-C adapter.
-
 Click Go. This menu item is in the upper-left side of your Mac's screen. A drop-down menu will appear.
- If you don't see Go, first either click your desktop or open Finder (the blue, face-like app in your Mac's Dock).
-
 Click Utilities. This option should be near the bottom of the Go drop-down menu.
 -
 Double-clickTerminal. You may have to scroll down through the Utilities folder to find it.
-
 Enter the "show hidden items" command. Type defaults write com.apple.finder AppleShowAllFiles YES into Terminal, then press the ⏎ Return key.
 -
 Close and re-open Finder if it's open. If your Finder program is open, close it and then re-open it to refresh it.
- You can also enter killall Finder into Terminal to automatically perform this step.
-
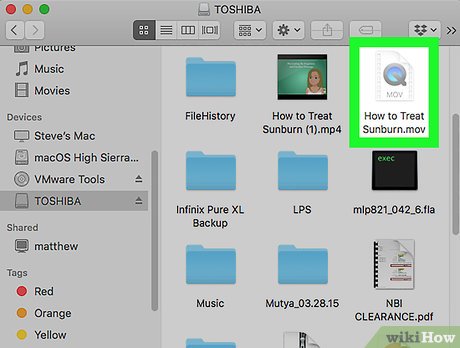
 Click your USB drive's name. It will be in the lower-left side of the Finder window. Doing so opens the USB drive's contents, including any hidden files and folders that are on it.
 -
 Double-click a hidden file or folder. Hidden items resemble greyed-out versions of regular files or folders; double-clicking a hidden file or folder will open it.
Share by
Micah Soto
Update 05 March 2020


