How to Make a Monogram
This article describes how to design a monogram using Microsoft Word. Once you've done that, you can save the monogram as a template or an image for use in other documents, such as invitations or business cards. These steps will work in...
Table of Contents
Part 1 of 3:
Designing a Monogram
-
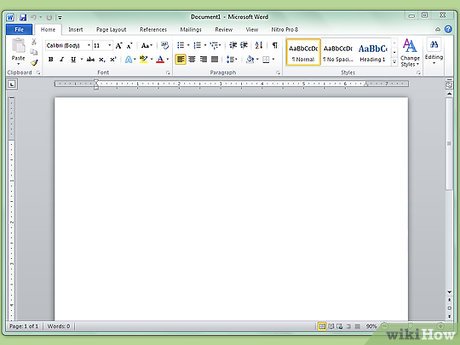 Open Microsoft Word.
 -
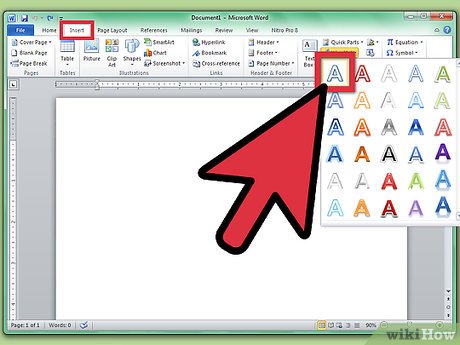 Click the Insert menu, and then click WordArt. A WordArt textbox is added to the Word document.
 -
 Delete the WordArt text, and then type the letter you'd like to be the largest in your monogram.
 -
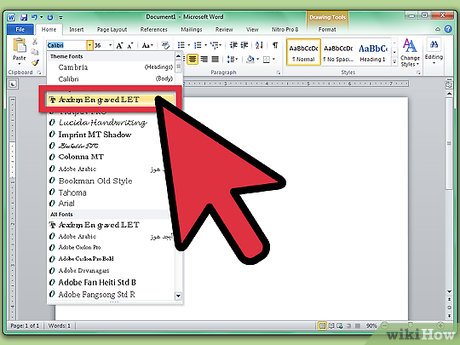 Change the font type to Lucida Handwriting. This font is included as a standard system font on Windows and Mac computers.
- You can use whatever font you'd like on this step.
-
 With the letter selected, change the font size to its largest size.
- When you increase the font size, the WordArt box doesn't always increase in size. Click and drag the corners of the WordArt box outward until you can see the whole letter.
- If you want the letter to be even larger, type a number, like 200, into the Font Size box.
-
 Add two more WordArt letters, but make their font sizes at least half the size of the first letter.
- You can change the sizing of the letters at any time, but resizing the WordArt text boxes won't change the size of the font.
-
 Click and drag the letters around until you like how they look. Move the mouse over the WordArt until you see the four arrows added to the mouse cursor, and then click and drag to move the WordArt.
- You can also move WordArt using the keyboard. Click a WordArt text box, and then press the arrow keys to move the WordArt.
-
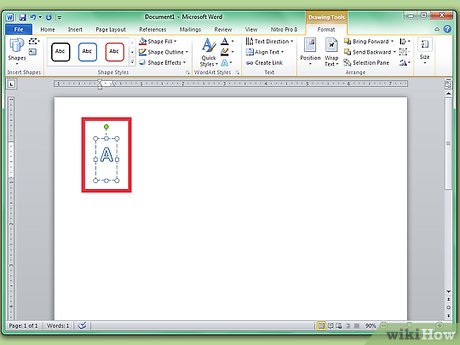
 Format the style of the WordArt. On the Format tab, in the Text Styles section, Word gives you options to change the WordArt styles.[1]
- Click the Quick Styles button to choose from a gallery of WordArt styles.
- Click the Fill dropdown arrow to choose a fill color for the WordArt. This changes the color inside the letter's lines.
- Click the Line Style dropdown arrow to change the outer line color of the letter, to change the thickness of the line, or to add other Line Effects.
- Click the Effects button to add effects, such as shadows and reflection, to the WordArt.
-
 If you make a change you don't like, press CTRL + Z to undo it.
Part 2 of 3:
Adding Additional Style to the Monogram
-
 Add a shape around the monogram. Often, monograms are enclosed in a shape, such as a circle or rectangular plaque shape.[2] Click the Insert menu, and then click Shape. Find a shape that you'd like to use, and then click and drag it onto the Word document.
 -
 Format the shape. On the Format tab, click the Fill dropdown arrow, and then click No Fill. Click the Line dropdown arrow, and then choose a color that matches your letter colors.
 -
 With the shape selected, click and drag the corners of the shape to make it big enough for the monogram letters to fit inside.
 -
 Arrange the letters of the monogram inside the shape, until you like how it looks.
Part 3 of 3:
Saving the Monogram as a Template
-
 Save the monogram. When you save a Word document as a template, when you open it, it will open a copy of that file that you can change without worrying about the original. Click the File menu, and then click Save As.
 -
 Name and save the file. In the Save dialog box, name the monogram. Click the Format dropdown menu, and then click Word Template. Click Save.
Was this article helpful?
Your feedback helps us improve.
Related Articles
 How to make a simple yet delicious carrot jam4 minutes read
 Instructions for making simple creams do not require an ice cream machine3 minutes read
 How to make taut apple jam, delicious on Tet holiday4 minutes read
 How to make money by Kwai5 minutes read
 How to make your own baby stickers on Microsoft Word4 minutes read
 How to make coconut jam more natural colors without color5 minutes read
Reader Comments 0
Sign in with email or Google to join the discussion.